The Graphic Liner Gauntlet: Conquering the Bold with ZenaMakeup’s Precision Gel Eyeliner (and a healthy dose of humor!)
Forget subtly smudged liner – we’re talking architectural masterpieces, folks! We’re diving headfirst into the exhilarating, sometimes terrifying, but always rewarding world of graphic liner, armed with the undisputed champion of crisp, clean lines: ZenaMakeup’s Precision Gel Eyeliner.
As the Product Manager for ZenaMakeup, I’ve seen trends come and go. But graphic liner? This is a force of nature. It’s a statement. It’s a mood. And with our Precision Gel Eyeliner, it’s surprisingly achievable.
Think of me as your Virgil, guiding you through the nine circles of graphic liner application (okay, maybe just a few steps, but dramatic effect is key here!). Forget those shaky hands and wobbly wings – we’re about to unlock the secrets to creating eyeliner looks so sharp, they could cut glass (metaphorically, of course. Safety first, makeup mavens!).
Why ZenaMakeup’s Precision Gel Eyeliner is Your Graphic Liner Soulmate:
Before we delve into the nitty-gritty, let’s address the elephant in the room: why this eyeliner? Why should you trust your precious eyelids to the fate of a single product?
Well, darlings, let me paint you a picture (with eyeliner, naturally). Our Precision Gel Eyeliner isn’t just another eyeliner. It’s a carefully crafted weapon in your beauty arsenal, designed with the precision and performance that even a seasoned makeup artist would envy.
Here’s the breakdown of why it’s the perfect partner in your graphic liner journey:
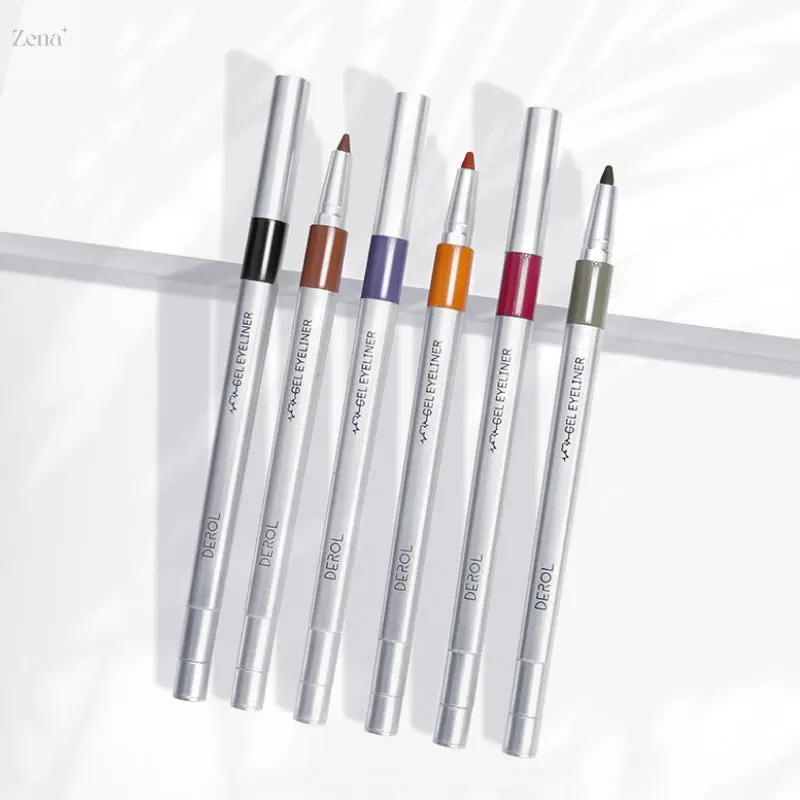
- The Pigment Payoff is Unreal: One swipe and BAM! Intense, opaque color that doesn’t fade or smudge. We’re talking a pigment party on your eyelids, people. No more layering and layering, only to end up with a patchy, uneven mess. This stuff is serious about color.
- The Glide is Glorious: Ever tried drawing a straight line with a dried-out, tugging eyeliner? Nightmare fuel, right? Our formula is unbelievably creamy, gliding across your skin like a figure skater on freshly Zambonied ice. This smooth application is crucial for achieving those sharp, defined lines that graphic liner demands.
- The Staying Power is Superhuman: We’re talking all-day (and all-night!) wear without smudging, fading, or transferring. Rain, sweat, tears of joy (or frustration – we’ve all been there!), this eyeliner will hold its ground. You can conquer the world knowing your liner looks as fierce as you feel.
- The Precision is in the Name: Our gel formula allows for incredibly fine lines, perfect for intricate designs and detailed work. Whether you’re going for a minimalist geometric look or a full-blown avant-garde masterpiece, this eyeliner has the precision you need to bring your vision to life.
- The Versatility is Unmatched: It’s not just for graphic liner! Use it for classic winged liner, tightlining, or even as a base for smoky eyes. This eyeliner is a true multitasker, a workhorse in your makeup bag.
- The Price is Right: High quality doesn’t have to mean high cost. We believe everyone deserves access to amazing makeup, which is why we’ve priced our Precision Gel Eyeliner competitively without compromising on quality.
| Feature | Benefit | Why it matters for Graphic Liner |
|---|---|---|
| Intense Pigment | Bold, opaque color in one swipe | Ensures clean, defined lines that stand out and don’t require multiple layers. |
| Creamy Formula | Glides smoothly without tugging or skipping | Allows for precise application and prevents jagged, uneven lines. |
| Long-Lasting Wear | Stays put all day without smudging or fading | Keeps your graphic liner looking flawless from morning till night. |
| Fine Tip Applicator | Creates incredibly thin, precise lines | Enables intricate designs and detailed work. |
| Versatile Formula | Can be used for a variety of eyeliner looks, from classic wings to smoky eyes | Makes it a valuable addition to your makeup collection, even beyond graphic liner. |
| Affordable Price | High quality without breaking the bank | Makes it accessible to everyone, regardless of budget. |
Ready to unleash your inner eyeliner artist? Let’s get started!
Step 1: Prep Your Canvas (aka Your Eyelids)
Just like a painter needs a primed canvas, you need a smooth, even base for your eyeliner.
- Cleanse: Start with a clean, dry eyelid. Remove any excess oil or makeup residue with a gentle cleanser.
- Prime: Apply an eyeshadow primer to create a smooth surface and prevent your eyeliner from creasing or fading. This is crucial for long-lasting wear, especially if you have oily eyelids. Think of it as the foundation for your masterpiece.
- Set (Optional): If you’re feeling extra cautious, you can set your primer with a light dusting of translucent powder. This will further absorb any excess oil and create an even smoother canvas.
Step 2: Arm Yourself with the Right Tools
While our Precision Gel Eyeliner is a star on its own, it needs a supporting cast to truly shine.
- The Right Brush: This is where the magic happens! A thin, angled brush with synthetic bristles is your best friend for graphic liner. The angled shape allows for precise application and helps you create sharp, clean lines. We recommend the ZenaMakeup Angled Liner Brush, specifically designed to work in perfect harmony with our gel formula.
- Cotton Swabs: These are your erasers! Keep a stash of cotton swabs dipped in makeup remover handy to clean up any mistakes or stray lines. Think of them as your safety net.
- Micellar Water: For bigger blunders, micellar water is your go-to. It gently removes makeup without irritating your skin.
- Mirror, Mirror on the Wall: A good quality mirror with magnification is essential for seeing those fine details.
Step 3: Mastering the Application Techniques
Okay, deep breaths. This is where things get exciting (and maybe a little nerve-wracking). But trust me, with a little practice and patience, you’ll be rocking graphic liner looks like a pro in no time.
- The Dot-to-Dot Method: This is a great technique for beginners. Start by creating a series of small dots along your lash line, following the shape of your desired liner. Then, connect the dots with short, precise strokes. This helps you create a smooth, even line without having to draw one continuous line.
- The Tape Trick: For perfectly symmetrical wings, use a piece of tape as a guide. Place the tape at an angle from the outer corner of your eye towards the end of your eyebrow. Then, simply fill in the space between the tape and your lash line with your eyeliner. Peel off the tape for a crisp, clean wing.
- The Freehand Finesse: For the more adventurous souls, try drawing your liner freehand. Start with a thin line along your lash line and gradually build up the thickness as desired. Use short, controlled strokes and keep your elbow steady.
- Layering is Your Friend: Don’t be afraid to layer your eyeliner. Start with a thin layer and gradually build up the intensity and thickness. This allows you to control the final look and prevents you from applying too much eyeliner at once.
- Practice Makes Perfect: The more you practice, the better you’ll become at applying graphic liner. Don’t get discouraged if you don’t get it right on the first try. Just keep practicing and experimenting until you find what works best for you.
Pro-Tip: Before diving into complex designs, practice on your hand or arm. This will help you get a feel for the brush and the eyeliner formula, and allow you to experiment with different shapes and techniques.
Step 4: Unleash Your Creativity: Graphic Liner Looks to Inspire
Step 4: Unleash Your Creativity: Graphic Liner Looks to Inspire
Now for the fun part! Let’s explore some graphic liner looks that you can create with ZenaMakeup’s Precision Gel Eyeliner.
- The Classic Wing with a Twist: Take the classic winged liner to the next level by adding a pop of color or a geometric detail. For example, try creating a double-winged liner with a thin line of gold or silver along the top of the wing.
- The Floating Liner: This edgy look involves drawing a line above your crease, creating a floating effect. Experiment with different shapes and colors to create a truly unique and eye-catching look.
- The Geometric Liner: Think sharp angles, bold lines, and geometric shapes. This look is perfect for those who want to make a statement. Try creating a triangle or square shape in the outer corner of your eye, or draw a series of intersecting lines along your lash line.
- The Negative Space Liner: This minimalist look involves using negative space to create a graphic effect. Try drawing a thin line along your lash line and then creating a gap between the line and your crease. This creates a subtle yet impactful look.
- The Inner Corner Pop: Add a pop of color to your inner corner with a bright eyeliner. This is a great way to brighten up your eyes and add a touch of personality to your look.
Remember: The key to graphic liner is to have fun and experiment! Don’t be afraid to try new things and push the boundaries of your creativity.
Step 5: Clean Up and Set for Longevity
Even the best artists make mistakes. Don’t worry, we’ve got you covered.
- Clean Up: Use a cotton swab dipped in makeup remover to clean up any mistakes or stray lines.
- Set: To ensure your graphic liner lasts all day, set it with a light dusting of translucent powder. This will help prevent smudging and fading.
- Seal (Optional): For extra staying power, you can use an eyeliner sealant. This will create a waterproof barrier and prevent your eyeliner from moving.
Troubleshooting Common Graphic Liner Mishaps:
- Shaky Hands: Take a deep breath and anchor your elbow on a stable surface. Try applying your eyeliner in front of a magnifying mirror.
- Uneven Lines: Use the dot-to-dot method or the tape trick to create symmetrical lines.
- Smudging: Use a primer and set your eyeliner with powder. Avoid touching your eyelids throughout the day.
- Dry Eyeliner: Store your eyeliner in a cool, dry place. If it starts to dry out, add a drop or two of eye drops to revive it.
The ZenaMakeup Promise:
We believe that everyone deserves to feel confident and beautiful. That’s why we’re committed to creating high-quality, affordable makeup that empowers you to express yourself. Our Precision Gel Eyeliner is just one example of our dedication to innovation and excellence.
Ready to take the plunge? Head over to our website https://zenamakeup.com/ and grab your ZenaMakeup Precision Gel Eyeliner today! Don’t forget to use the discount code zenamakeup2025 at checkout for a special discount!
(Limited time offer. Don’t miss out!)
Connect with us!
Share your graphic liner creations with us on social media using the hashtag #ZenaMakeupLinerLove. We can’t wait to see what you create!
You can also reach out to our customer support team at [email protected] with any questions or concerns. We’re always here to help!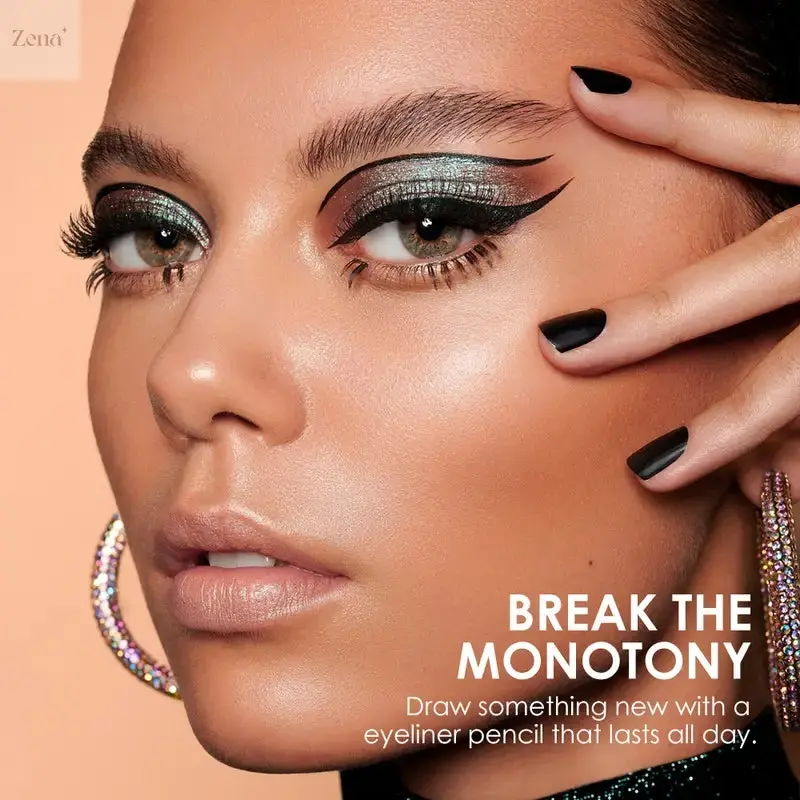
Final Thoughts:
Graphic liner might seem intimidating at first, but with the right tools, techniques, and a little bit of practice, you can master this bold and beautiful trend. So go ahead, unleash your inner artist and create eyeliner looks that are as unique and expressive as you are. Remember, makeup is all about having fun and experimenting, so don’t be afraid to try new things and push the boundaries of your creativity. And with ZenaMakeup’s Precision Gel Eyeliner, the possibilities are endless!
Now go forth and conquer the graphic liner gauntlet! We’re cheering you on! 🎉✨💖
For detailed product specifications and purchases, please go to :https://zenamakeup.com/products/precision-gel-eyeliner
Leave a Reply