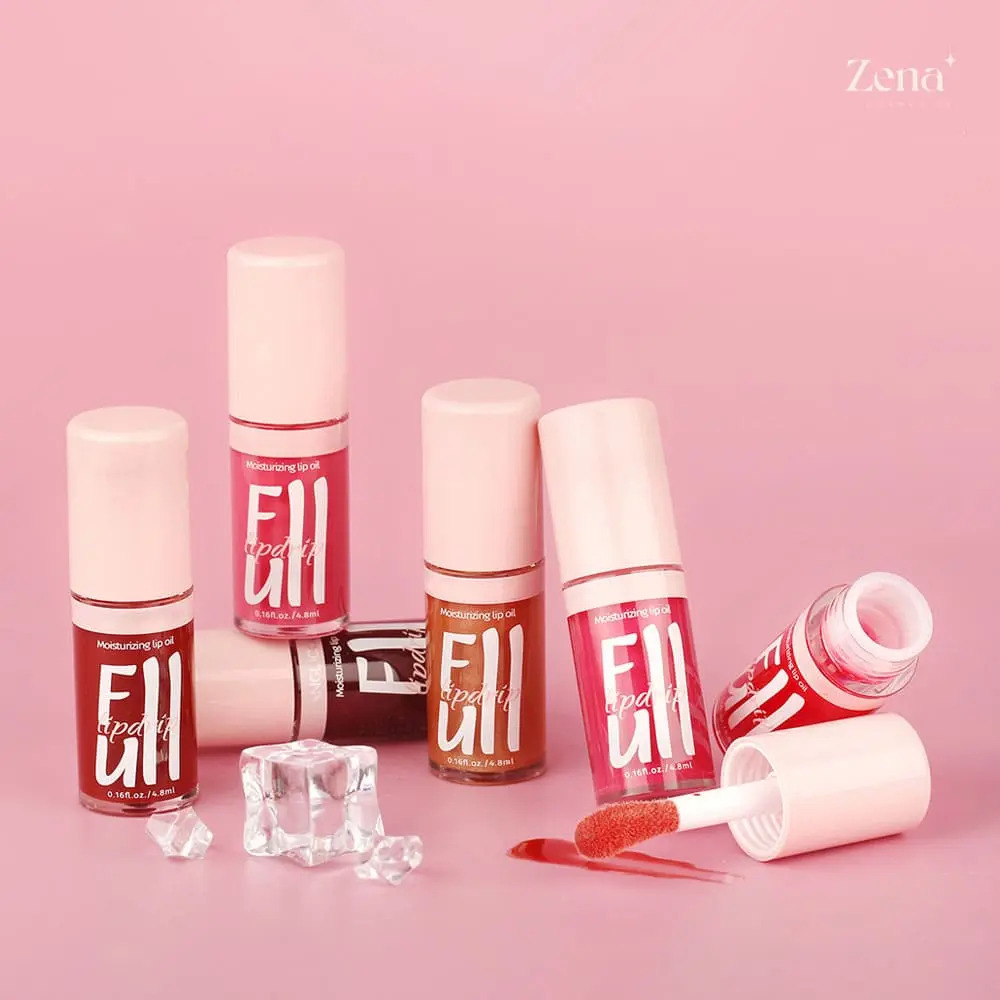
The Gospel of Gloss: Preserving Your Precious Juicy Glam Lip Oil Like the Treasure It Is! 💋✨
Welcome, my darlings, to the hallowed halls of Lip Oil Preservation 101! I, your humble lecturer, Professor Glossington the Third (at your service!), am here to guide you through the sacred art of keeping your Juicy Glam Lip Oil in tip-top, luscious condition.
We’ve all been there. You invest in that perfect, shimmering, hydrating potion – the one that makes your lips look like they’ve been kissed by a unicorn made of pure, organic shea butter – only to find it turning gloopy, cloudy, or just plain sad months later. Tragedy! 😭
But fear not! With a little knowledge and a touch of dedication, you can extend the life of your beloved lip oil and keep it ready for action whenever your pout demands it. So, grab your notebooks (or your favorite sparkly gel pen!), and let’s dive into the secrets of lip oil longevity!
Lecture Outline:
- The Anatomy of a Lip Oil: Understanding the Enemy (and the Friend!)
- The Unholy Trinity of Lip Oil Doom: Heat, Light, and Air
- Storage Solutions: From Basic to Bougie
- Application Etiquette: Keeping Contamination at Bay
- Troubleshooting: Diagnosing and Rehabilitating Ailing Lip Oils
- The Ultimate Lip Oil Preservation Cheat Sheet: A Summary for the Lazy Glamourati
- Frequently Asked Questions: Your Burning Lip Oil Queries, Answered!
1. The Anatomy of a Lip Oil: Understanding the Enemy (and the Friend!) 🧪
Before we can effectively protect our precious lip oils, we need to understand what makes them tick. What are they made of? What are their vulnerabilities? Think of it as getting to know your enemy – or, in this case, the things that can harm your friend!
Lip oils are essentially a blend of… well, oils! These can include:
- Carrier Oils: These form the base of the lip oil and provide hydration and nourishment. Common examples include:
- Jojoba Oil: Similar to the skin’s natural sebum, easily absorbed.
- Coconut Oil: A classic hydrator, but can solidify in cooler temperatures.
- Sweet Almond Oil: Rich in vitamins and antioxidants.
- Avocado Oil: Packed with fatty acids, great for dry lips.
- Argan Oil: Known for its moisturizing and anti-aging properties.
- Essential Oils: Added for fragrance, flavor, and potential therapeutic benefits. Think peppermint, lavender, or rose.
- Vitamins & Antioxidants: Often included to protect the lips and the oil itself from oxidation. Vitamin E is a common example.
- Colorants & Pigments: These give the lip oil its beautiful hue, from subtle shimmers to bold, vibrant shades.
- Emollients: These ingredients help to soften and smooth the lips.
- Humectants: These draw moisture to the lips from the air.
The Good Stuff vs. The Bad Stuff (Potential Issues):
| Component | Benefit | Potential Issue |
|---|---|---|
| Carrier Oils | Hydration, nourishment, smoothing | Can become rancid with exposure to oxygen and heat. Some oils are more prone to this than others. |
| Essential Oils | Fragrance, potential therapeutic benefits | Can degrade with light exposure, losing their scent and potency. Some essential oils can also be photosensitive, meaning they can make your skin more sensitive to the sun. |
| Vitamins & Antioxidants | Protect lips and oil from oxidation | They degrade over time, especially with exposure to air and light. Once they’re gone, the oil becomes more vulnerable to rancidity. |
| Colorants & Pigments | Beautiful color! | Can settle at the bottom of the container, requiring shaking. Some pigments can also be sensitive to light and heat, causing them to fade or change color. |
| Emollients | Softens and smooths lips | Generally stable, but some can be affected by extreme temperatures. |
| Humectants | Draws moisture to the lips | Can attract bacteria if the applicator is not kept clean. |
Key Takeaway: Understanding the ingredients in your lip oil allows you to anticipate potential problems and take preventative measures.
2. The Unholy Trinity of Lip Oil Doom: Heat, Light, and Air 👿🌞💨
These three villains are the bane of every lip oil’s existence. They are the sworn enemies of shimmer, the destroyers of hydration, and the harbingers of rancidity. Let’s examine them in detail:
- Heat: Think of your lip oil as a delicate flower. Would you leave it baking in the sun? Of course not! Heat accelerates the oxidation process, causing the oils to break down and become rancid. It can also affect the viscosity (thickness) of the oil, making it either too runny or too thick. Imagine applying melted butter to your lips instead of that glorious, smooth elixir! 😱
- Light: Especially sunlight, is a notorious degrader of oils and pigments. UV rays break down the chemical bonds in the oil, leading to a loss of potency, color fading, and overall deterioration. Essential oils are particularly vulnerable to light-induced degradation. Think of it as a slow, agonizing fade to dullness.
- Air (Oxygen): Oxygen is the primary culprit behind rancidity. When oils are exposed to air, they undergo oxidation, a chemical reaction that causes them to break down and develop an unpleasant odor and taste. The more air exposure, the faster the degradation process. It’s like watching your lip oil slowly turn into… well, something you definitely wouldn’t want to put on your lips. 🤢
The Deadly Triad in Action:
Imagine leaving your Juicy Glam Lip Oil on your car dashboard on a hot, sunny day. What happens?
- Heat: The oil heats up, accelerating oxidation.
- Light: UV rays degrade the oils, pigments, and essential oils.
- Air: The constant opening and closing of the tube exposes the oil to oxygen, further accelerating rancidity.
The result? A sad, faded, rancid lip oil that smells vaguely of old cooking oil. Disaster!
Key Takeaway: Avoid heat, light, and air like the plague! These are the enemies of lip oil longevity.
3. Storage Solutions: From Basic to Bougie 🏡💎
Now that we know what to avoid, let’s talk about how to store your lip oil properly. Here are some storage solutions, ranging from basic to utterly extravagant:
The Basic Bitch Method (But Effective!)
- Cool, Dark Place: The most important thing is to store your lip oil in a cool, dark place. This could be a drawer, a cabinet, or even a closet. The key is to keep it away from direct sunlight and sources of heat.
- Upright Position: Store the lip oil in an upright position to prevent the applicator from sitting in the oil for extended periods. This helps to minimize contamination and prevent the applicator from becoming saturated and potentially dripping.
- Original Packaging: The original packaging is often designed to protect the lip oil from light and air. Keep the cap tightly closed when not in use.
The Mid-Level Maven’s Approach
- Dedicated Makeup Drawer/Organizer: Invest in a makeup drawer organizer to keep your lip oils neatly organized and separated from other products. This helps to prevent accidental spills and contamination.
- Temperature-Controlled Environment: If you live in a particularly hot or humid climate, consider storing your lip oils in a temperature-controlled environment, such as a wine fridge (for the truly dedicated!) or a cool, dry room.
- Dark-Colored Containers: If your lip oil comes in a clear container, consider transferring it to a dark-colored (amber or cobalt blue) container to protect it from light. Make sure the container is airtight.
The Bougie Boss Babe’s Bonanza
- Custom Lip Oil Refrigerator: Yes, they exist! These miniature refrigerators are specifically designed to store cosmetics, including lip oils, at optimal temperatures. They are often equipped with UV-resistant glass doors and temperature controls. Because, why not? 💅
- Vacuum-Sealed Containers: For the ultimate in air protection, consider transferring your lip oil to vacuum-sealed containers. These containers remove all the air from the inside, preventing oxidation.
- Professional Cosmetic Storage Unit: If you’re a serious makeup enthusiast with a vast collection of lip oils, consider investing in a professional cosmetic storage unit. These units are designed to provide optimal storage conditions for all types of cosmetics, including temperature control, humidity control, and UV protection.
Storage Solutions Table:
| Method | Description | Cost | Effectiveness | Level |
|---|---|---|---|---|
| Cool, Dark Place | Store in a drawer or cabinet away from heat and light. | Free | High | Basic |
| Upright Position | Store standing up to prevent applicator saturation. | Free | Medium | Basic |
| Original Packaging | Keep in the original container with the cap tightly closed. | Free | Medium | Basic |
| Makeup Drawer Organizer | Organize lip oils to prevent spills and contamination. | $10-$30 | Medium | Mid-Level |
| Temp-Controlled Env. | Store in a cool, dry room or wine fridge. | $50+ | High | Mid-Level |
| Dark-Colored Container | Transfer to an amber or cobalt blue container. | $5-$20 | High | Mid-Level |
| Lip Oil Refrigerator | A mini fridge specifically for cosmetics. | $50-$200+ | High | Bougie |
| Vacuum-Sealed Container | Removes all air to prevent oxidation. | $15-$40 | Very High | Bougie |
| Cosmetic Storage Unit | Professional unit with temp, humidity, and UV control. | $500+ | Very High | Bougie |
Key Takeaway: Choose a storage solution that fits your budget and lifestyle. The goal is to minimize exposure to heat, light, and air.
4. Application Etiquette: Keeping Contamination at Bay 🦠🚫
Even with the best storage practices, contamination can still occur during application. Here’s how to keep your lip oil applicator clean and prevent the introduction of bacteria:
- Clean Lips: Always apply lip oil to clean, dry lips. Avoid applying it over lipstick or other lip products, as this can transfer pigments and oils into the lip oil container. Imagine dipping a dirty paintbrush back into your pristine paint! 🎨😱
- Avoid Sharing: Sharing is caring, but not when it comes to lip oil! Sharing lip oil can spread germs and bacteria, leading to contamination and potential infections. Keep your lip oil to yourself, my friend.
- Clean the Applicator: Regularly clean the lip oil applicator with a gentle cleanser or makeup brush cleaner. This helps to remove any buildup of product or bacteria. Allow the applicator to dry completely before reinserting it into the container.
- Avoid Touching the Applicator to Your Skin (Besides Your Lips!): The more you touch the applicator to your skin, the more likely you are to introduce bacteria and other contaminants. Be mindful of where you’re putting the applicator.
- Don’t Pump the Applicator: Pumping the applicator in and out of the container can force air into the lip oil, accelerating oxidation. Instead, gently dip the applicator into the oil and apply it to your lips.
Application Etiquette Checklist:
- [ ] Clean lips before application
- [ ] Avoid sharing lip oil
- [ ] Clean the applicator regularly
- [ ] Avoid touching the applicator to your skin (besides your lips!)
- [ ] Don’t pump the applicator
Key Takeaway: Practice good hygiene during application to prevent contamination and extend the life of your lip oil.
5. Troubleshooting: Diagnosing and Rehabilitating Ailing Lip Oils 🚑
Even with the best precautions, lip oils can sometimes go rogue. Here’s how to diagnose common problems and attempt to rehabilitate your precious potions:
5. Troubleshooting: Diagnosing and Rehabilitating Ailing Lip Oils 🚑
Even with the best precautions, lip oils can sometimes go rogue. Here’s how to diagnose common problems and attempt to rehabilitate your precious potions:
- Cloudiness: Cloudiness can be caused by temperature fluctuations or the separation of ingredients.
- Diagnosis: Check the temperature of the lip oil. If it’s too cold, the oil may have solidified.
- Rehabilitation: Gently warm the lip oil by placing it in a warm water bath for a few minutes. Shake well to redistribute the ingredients.
- Settling: Pigments and shimmers can settle at the bottom of the container over time.
- Diagnosis: Observe the lip oil for settled pigments or shimmers.
- Rehabilitation: Shake the lip oil vigorously before each use to redistribute the pigments and shimmers.
- Rancidity: A rancid lip oil will have an unpleasant odor and taste.
- Diagnosis: Smell and taste (a tiny amount!) the lip oil. If it smells or tastes off, it’s likely rancid.
- Rehabilitation: Unfortunately, there’s no way to rehabilitate a rancid lip oil. Discard it immediately. 😢
- Change in Viscosity: The lip oil may become too thick or too runny.
- Diagnosis: Observe the consistency of the lip oil.
- Rehabilitation: If the lip oil is too thick, gently warm it. If it’s too runny, store it in a cooler place.
- Change in Color: The color of the lip oil may fade or change over time.
- Diagnosis: Compare the color of the lip oil to its original color.
- Rehabilitation: If the color change is minimal, you can still use the lip oil. However, if the color is significantly faded or changed, it’s best to discard it.
Troubleshooting Table:
| Problem | Diagnosis | Rehabilitation |
|---|---|---|
| Cloudiness | Temperature fluctuations, ingredient separation | Warm in a water bath, shake well. |
| Settling | Pigments or shimmers settled at the bottom | Shake vigorously before each use. |
| Rancidity | Unpleasant odor and taste | Discard immediately. 😭 |
| Viscosity Change | Too thick or too runny | Warm if too thick, cool if too runny. |
| Color Change | Faded or changed color | Use if minimal change, discard if significant. |
Key Takeaway: Regularly inspect your lip oils for signs of deterioration. Early detection can help you rehabilitate some problems, but rancidity is a death sentence.
6. The Ultimate Lip Oil Preservation Cheat Sheet: A Summary for the Lazy Glamourati 😴
Okay, I get it. You’re busy. You’re fabulous. You don’t have time to memorize all the details. Here’s a quick cheat sheet for preserving your Juicy Glam Lip Oil:
- Store in a cool, dark place.
- Keep the cap tightly closed.
- Store upright.
- Clean the applicator regularly.
- Don’t share!
- Avoid extreme temperatures.
- Shake well before use.
- Inspect regularly for signs of deterioration.
- If it smells or tastes off, throw it out!
Cheat Sheet Icons:
- Cool, Dark Place: 🕶️
- Tightly Closed: 🔒
- Upright: ⬆️
- Clean Applicator: 🧼
- Don’t Share: 🙅♀️
- Avoid Extremes: 🌡️🚫
- Shake Well: 🔄
- Inspect Regularly: 👀
- Throw it Out: 🗑️
Key Takeaway: Follow these simple steps to keep your lip oil in tip-top condition without breaking a sweat.
7. Frequently Asked Questions: Your Burning Lip Oil Queries, Answered! 🤔
Q: How long will my lip oil last?
A: It depends on the ingredients, storage conditions, and usage habits. Generally, a well-stored lip oil can last for 12-24 months. However, always check the expiration date on the packaging.
Q: Can I store my lip oil in the refrigerator?
A: Yes, you can! Storing your lip oil in the refrigerator can help to extend its shelf life and prevent oxidation. However, be aware that some oils may solidify in the refrigerator, so you may need to warm them slightly before use.
Q: What’s the best way to clean my lip oil applicator?
A: You can clean your lip oil applicator with a gentle cleanser or makeup brush cleaner. Simply apply the cleanser to the applicator, gently massage it to remove any buildup of product, and rinse thoroughly with water. Allow the applicator to dry completely before reinserting it into the container.
Q: Is it safe to use a lip oil that has changed color slightly?
A: If the color change is minimal, it’s generally safe to use the lip oil. However, if the color is significantly faded or changed, it’s best to discard it.
Q: My lip oil has a weird smell. Is it still okay to use?
A: No! A weird smell is a sign of rancidity. Discard the lip oil immediately.
Q: Can I add essential oils to my lip oil to customize the scent?
A: While you can add essential oils to your lip oil, it’s important to do so with caution. Some essential oils can be irritating to the skin, and some can be photosensitive. Always do a patch test before applying a new essential oil to your lips, and avoid using essential oils that are known to be irritating.
Q: Help! I accidentally left my lip oil in my car on a hot day! Is it ruined?
A: Sadly, it’s highly likely. The heat and light exposure probably damaged the oil. Check for any signs of rancidity (smell, taste) and if you notice any, toss it! It’s better to be safe than sorry when it comes to your precious pout.
Key Takeaway: Don’t be afraid to ask questions! And remember, when in doubt, throw it out!
Congratulations, my glamourous pupils! You have now completed Lip Oil Preservation 101. Go forth and protect your precious potions! May your lips always be glossy, hydrated, and utterly irresistible. ✨💋 Professor Glossington the Third, signing off!
For detailed product specifications and purchases, please go to :https://zenamakeup.com/products/juicy-glam-lip-oil-gloss
Leave a Reply