Lecture: The Art of the Quickie: Mastering Translucent Loose Setting Powder for Speedy Mattifying Touch-Ups
Alright, class! Settle down, settle down! Today, we’re diving headfirst into the often-misunderstood, sometimes-feared, but always-essential world of translucent loose setting powder. Forget the full-face bake for a minute, we’re talking about the quickie. The speed date of makeup application. The "I’m-running-late-but-still-want-to-look-presentable" power move.
We’re tackling the art of using translucent loose setting powder for a quick mattifying touch-up. Think of it as your secret weapon against midday shine, your oily-skin savior, and your instant confidence booster.
(✨ Imagine dramatic spotlight on a jar of translucent powder ✨)
Now, before you start picturing yourself covered in a ghostly white film (we’ve all been there!), let’s break down the magic, the mishaps, and the masterful techniques involved.
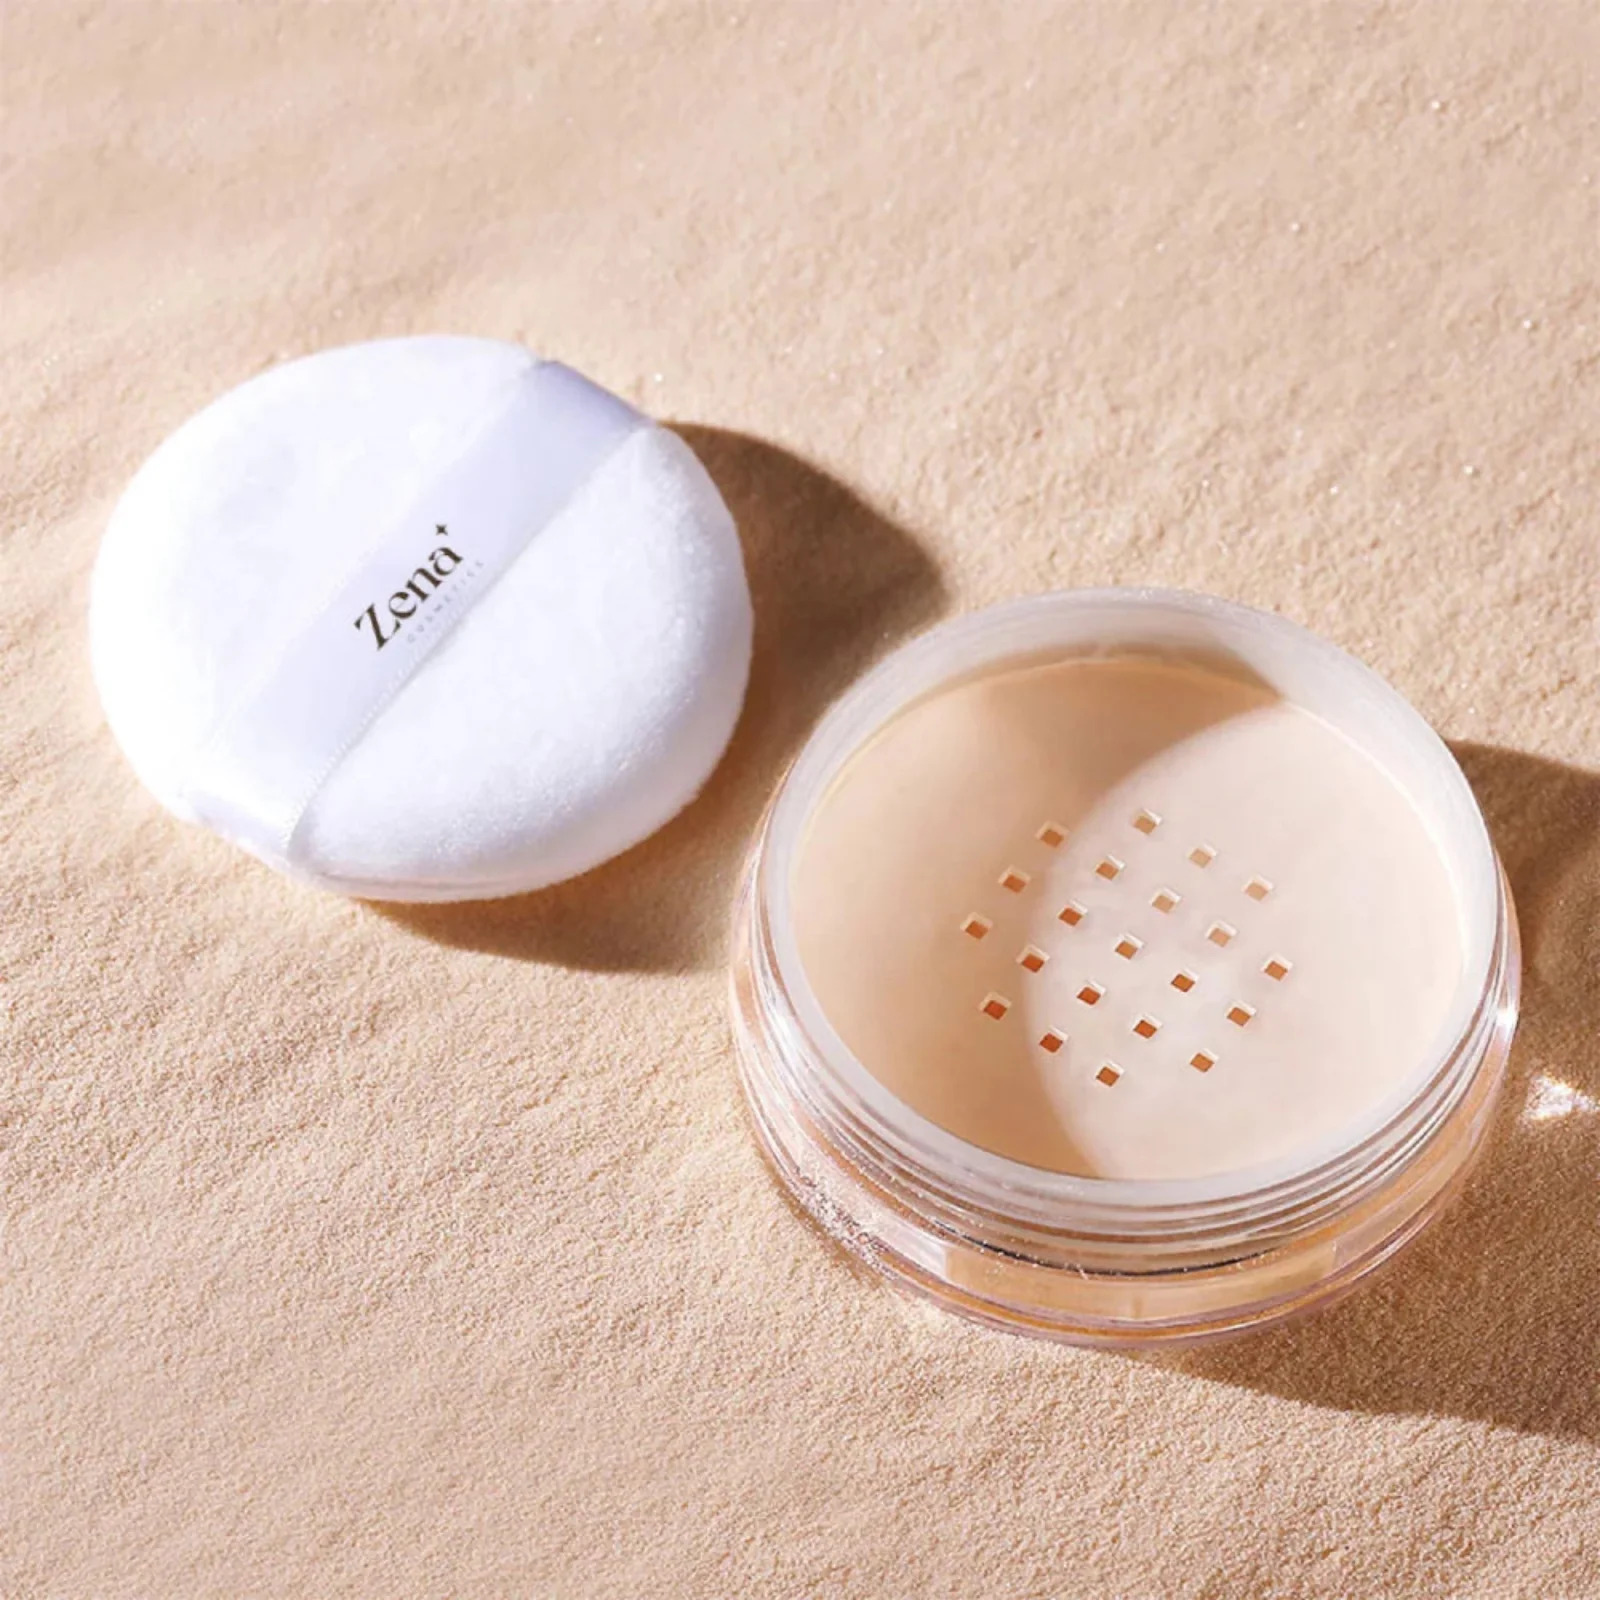
I. Translucent Loose Setting Powder 101: What the Heck Is This Stuff?
Let’s start with the basics. What even is translucent loose setting powder?
Think of it as the fairy dust of the makeup world. It’s a finely milled powder, usually white or slightly tinted, designed to:
- Set Makeup: Lock your foundation, concealer, and everything else in place, preventing creasing and fading.
- Mattify Skin: Absorb excess oil and shine, creating a smooth, matte finish.
- Blur Imperfections: Soften the appearance of pores and fine lines.
- Brighten (Subtly): Some formulas have light-reflecting particles that can subtly brighten the complexion.
Key Differences from Pressed Powder:
| Feature | Translucent Loose Powder | Pressed Powder |
|---|---|---|
| Formulation | Loose, finely milled particles | Compacted, often with binders and pigments |
| Coverage | Minimal to none; primarily for setting & mattifying | Can offer light to medium coverage |
| Application | Usually applied with a brush or sponge | Usually applied with a sponge, brush, or puff |
| Oil Absorption | Generally better oil absorption capabilities | Oil absorption varies depending on the formula |
| Best For | Setting makeup, mattifying, blurring pores | Touch-ups, light coverage, on-the-go application |
| Travel Friendliness | 🚨 Requires careful handling to avoid spillage! 🚨 | 😊 Much more travel-friendly! 😊 |
II. The Great Powder Debate: Choosing Your Weapon Wisely
Not all translucent powders are created equal. It’s a jungle out there, folks! Here’s what to consider when selecting your perfect mattifying companion:
- Ingredient List: Look for talc-free options if you have sensitive skin or are concerned about potential health risks. Silica, rice powder, and cornstarch are common alternatives.
- Milling: The finer the mill, the smoother the application. Avoid powders that feel gritty or heavy. You want it to feel like silk, not sandpaper. (Okay, maybe not sandpaper, but you get the idea.)
- Color: "Translucent" doesn’t always mean completely clear. Some powders have a slight tint. Make sure the tint complements your skin tone and doesn’t leave a white cast, especially in flash photography. Test it out!
- Finish: Do you want a completely matte finish, or something with a subtle luminosity? Consider your skin type and personal preference. Oily skin usually benefits from a more matte finish, while dry skin might prefer something with a hint of radiance.
- Oil Control: If you’re battling serious shine, opt for a powder specifically formulated for oil control. Look for ingredients like silica or clay.
Pro-Tip: Don’t be afraid to sample different powders before committing to a full-size jar. Many brands offer travel-sized versions or samples. Your skin will thank you (and so will your wallet!).
III. The Arsenal: Tools of the Mattifying Trade
You can’t conquer shine without the right tools. Here’s what you’ll need for a quick mattifying touch-up:
- Translucent Loose Setting Powder: (Duh!)
- Fluffy Brush: A large, fluffy brush is ideal for dusting powder lightly over the skin. Look for one with soft bristles that won’t irritate your face. A tapered brush also works well for precision application.
- Powder Puff (Optional): A powder puff can be used for a more targeted application, especially under the eyes or in the T-zone.
- Blotting Papers (Backup): Keep these handy for absorbing excess oil before applying powder. They’re like the emergency responders of your makeup bag.
- Mirror: Crucial for seeing what you’re doing! A compact mirror is perfect for on-the-go touch-ups.
( 🖌️ Image of various brushes and a powder puff 🖌️)
IV. The Art of the Quickie: Step-by-Step Domination of Shine
Alright, let’s get down to business! Here’s how to use translucent loose setting powder for a quick mattifying touch-up like a pro:
Step 1: Assess the Situation (The Shine Reconnaissance)
Before you start slathering on powder, take a moment to assess your skin. Where is the shine concentrated? Is it all over, or just in your T-zone (forehead, nose, and chin)? Understanding the battlefield is key to a successful mission.
( 🕵️♀️ Emoji of a detective with a magnifying glass 🕵️♀️)
Step 2: Blot, Don’t Pile!
If you have a lot of excess oil, blotting is crucial. Use blotting papers to gently press and lift away the oil from your skin. Avoid rubbing, which can smudge your makeup. Think of it as politely requesting the oil to leave, rather than forcefully evicting it.
If you have a lot of excess oil, blotting is crucial. Use blotting papers to gently press and lift away the oil from your skin. Avoid rubbing, which can smudge your makeup. Think of it as politely requesting the oil to leave, rather than forcefully evicting it.
(🧻 Image of blotting papers in action 🧻)
Step 3: The Brush Technique (The Featherlight Touch)
This is where the magic happens.
- Tap Off the Excess: Dip your fluffy brush into the powder and tap off the excess. Seriously, tap it off! You want a light dusting, not a powdered-donut look. You can tap into the lid or on the back of your hand.
- Gentle Application: Lightly dust the powder over the areas where you want to mattify. Use circular motions or a patting motion, depending on your preference. Focus on the T-zone, under the eyes, and any other areas prone to shine.
- Less is More: Remember, you can always add more, but it’s much harder to take away. Start with a light layer and build up as needed.
- Buff, Buff, Buff: After applying, gently buff the powder into your skin with the same brush, using small, circular motions. This will help blend the powder seamlessly and prevent a cakey appearance.
Step 4: The Puff Technique (The Targeted Strike)
If you prefer using a powder puff, here’s how to do it:
- Press and Roll: Dip the puff into the powder and press it onto the back of your hand to distribute the product evenly.
- Targeted Application: Gently press and roll the puff onto the areas you want to mattify. This is a great technique for setting concealer under the eyes or targeting specific areas of shine.
- Fold the Puff: To get into smaller areas, like around the nose, fold the puff in half.
- Clean Up: Use a clean brush to dust away any excess powder.
Step 5: The Flashback Test (The Photographic Evidence)
This is crucial, especially if you’re going to be photographed. Take a photo of yourself with the flash on. If you see a white cast, you’ve used too much powder. Gently buff away the excess with a clean brush or a damp sponge.
(📸 Emoji of a camera 📸)
V. Pro Tips and Common Pitfalls: Avoiding the Powder Apocalypse
Let’s talk about some common mistakes and how to avoid them:
- Using Too Much Powder: This is the biggest offender! Too much powder can make your skin look dry, cakey, and aged. Remember, less is more.
- Applying Powder to Dry Skin: If your skin is dry, applying powder can accentuate dryness and flakiness. Make sure to moisturize well before applying powder, and consider using a hydrating setting spray instead.
- Using the Wrong Brush: A stiff or scratchy brush can irritate your skin and make the powder look uneven. Invest in a good quality, fluffy brush.
- Not Blending Properly: Unblended powder can look obvious and unnatural. Take the time to blend the powder seamlessly into your skin.
- Ignoring Your Skin Type: What works for one person might not work for another. Consider your skin type when choosing a powder and application technique.
- Forgetting to Reapply: Touch-ups are inevitable, especially if you have oily skin. Keep your powder and brush handy for quick reapplications throughout the day.
Here’s a handy table of troubleshooting common powder problems:
| Problem | Possible Cause(s) | Solution(s) |
|---|---|---|
| White Cast (Flashback) | Using too much powder; powder contains light-reflecting ingredients | Use less powder; choose a powder without light-reflecting particles; buff away excess with a damp sponge. |
| Cakey Appearance | Using too much powder; dry skin; not blending properly | Use less powder; moisturize well beforehand; blend thoroughly; use a hydrating setting spray. |
| Dry Patches/Accentuated Texture | Dry skin; using a mattifying powder on dry areas | Moisturize well beforehand; avoid applying powder to dry areas; use a hydrating setting spray. |
| Powder Settling into Fine Lines/Wrinkles | Using too much powder; dry skin; not setting concealer properly | Use less powder; moisturize well beforehand; set concealer with a damp sponge before applying powder. |
| Powder Looking Uneven/Patchy | Using the wrong brush; not blending properly; uneven skin texture | Use a fluffy brush; blend thoroughly; exfoliate regularly; use a primer to create a smooth base. |
VI. The Translucent Touch-Up: Beyond the Basics
Once you’ve mastered the basic technique, you can start experimenting with different ways to use translucent loose setting powder for a quick touch-up:
- Baking (Mini Version): Apply a thicker layer of powder under the eyes and let it "bake" for a few minutes before dusting it away. This can help brighten the under-eye area and set concealer. Just be careful not to overdo it! We’re going for a lightly toasted look, not a burnt offering to the makeup gods.
- Spot Mattifying: Use a small, pointed brush to target specific areas of shine, like around the nose or on the chin.
- Setting Lipstick: Lightly dust powder over your lipstick to help it last longer. This will give it a more matte finish.
- Taming Eyeliner Smudges: If your eyeliner tends to smudge, lightly dust powder along your lash line to help set it in place.
(💡 Emoji of a lightbulb 💡)
VII. Conclusion: Embrace the Powder Power!
Congratulations, class! You’ve officially graduated from Translucent Loose Setting Powder 101. You’re now armed with the knowledge and skills to conquer shine and achieve a flawless, matte finish in a matter of minutes.
Remember, the key to success is practice, experimentation, and a healthy dose of humor. Don’t be afraid to try new techniques and find what works best for you. And most importantly, don’t take yourself too seriously! Makeup should be fun.
(🎉 Emoji of confetti 🎉)
So go forth, my shining (but soon-to-be-matte) students, and embrace the power of the translucent powder touch-up! Your skin (and your Instagram feed) will thank you. Now, go on, get out there and conquer the world, one perfectly mattified cheekbone at a time! Class dismissed!
(🚪 Emoji of an open door 🚪)
For detailed product specifications and purchases, please go to :https://zenamakeup.com/products/flawless-finish-translucent-loose-setting-powder
Leave a Reply