Translucent Loose Setting Powder: A Shine-Fighting Masterclass (Or, How to Stop Looking Like You’ve Been Dunked in Oil) 🎓✨
Welcome, glamour gurus and aspiring matte magicians, to the ultimate deep dive into the world of translucent loose setting powder! Today, we’re not just talking about slapping some dust on your face and hoping for the best. Oh no, darling. We’re diving deep into the art and science of targeted shine control using this magical, often misunderstood product.
Prepare to unleash the power of powder and banish that unwanted gleam with precision and panache! 😈
(Before we begin, please silence your phones and prepare for some serious knowledge bombs. And maybe grab a snack. This could take a while. 🍿)
Lecture Outline:
- Translucent Loose Setting Powder 101: The Basics (and Why It’s Not Just Fancy Talcum Powder)
- The Shine Enemy: Understanding Oil Production and Your Skin Type
- Tools of the Trade: Brushes, Sponges, and the Quest for Application Perfection
- Targeted Shine Control Techniques: The Main Event!
- The "Baking" Method: Is It Worth the Hype?
- Spot Setting: Precision Shine Eradication
- Powder Puff Perfection: For the Oil-Prone All-Stars
- The Undereye Brightening Hack (and How Not to Look Like a Ghost)
- T-Zone Triumph: Conquering the Shiny Forehead
- Choosing the Right Powder: Not All Powders Are Created Equal!
- Ingredient Insights: What to Look For (and What to Avoid)
- Color Considerations: Translucent Doesn’t Always Mean Invisible
- Finishing Touches: Matte vs. Satin vs. Radiant (Oh My!)
- Troubleshooting: Common Mistakes and How to Fix Them
- The dreaded "flashback" 👻
- Cakey Apocalypse 🎂
- Dry Skin Drama 🌵
- Uneven Application 🦓
- Maintenance and Touch-Ups: Keeping the Shine at Bay Throughout the Day
- Advanced Techniques: Pro Tips for the Truly Obsessed
- Conclusion: Go Forth and Conquer the Shine!
- Q&A (Because You’re Bound to Have Questions!)
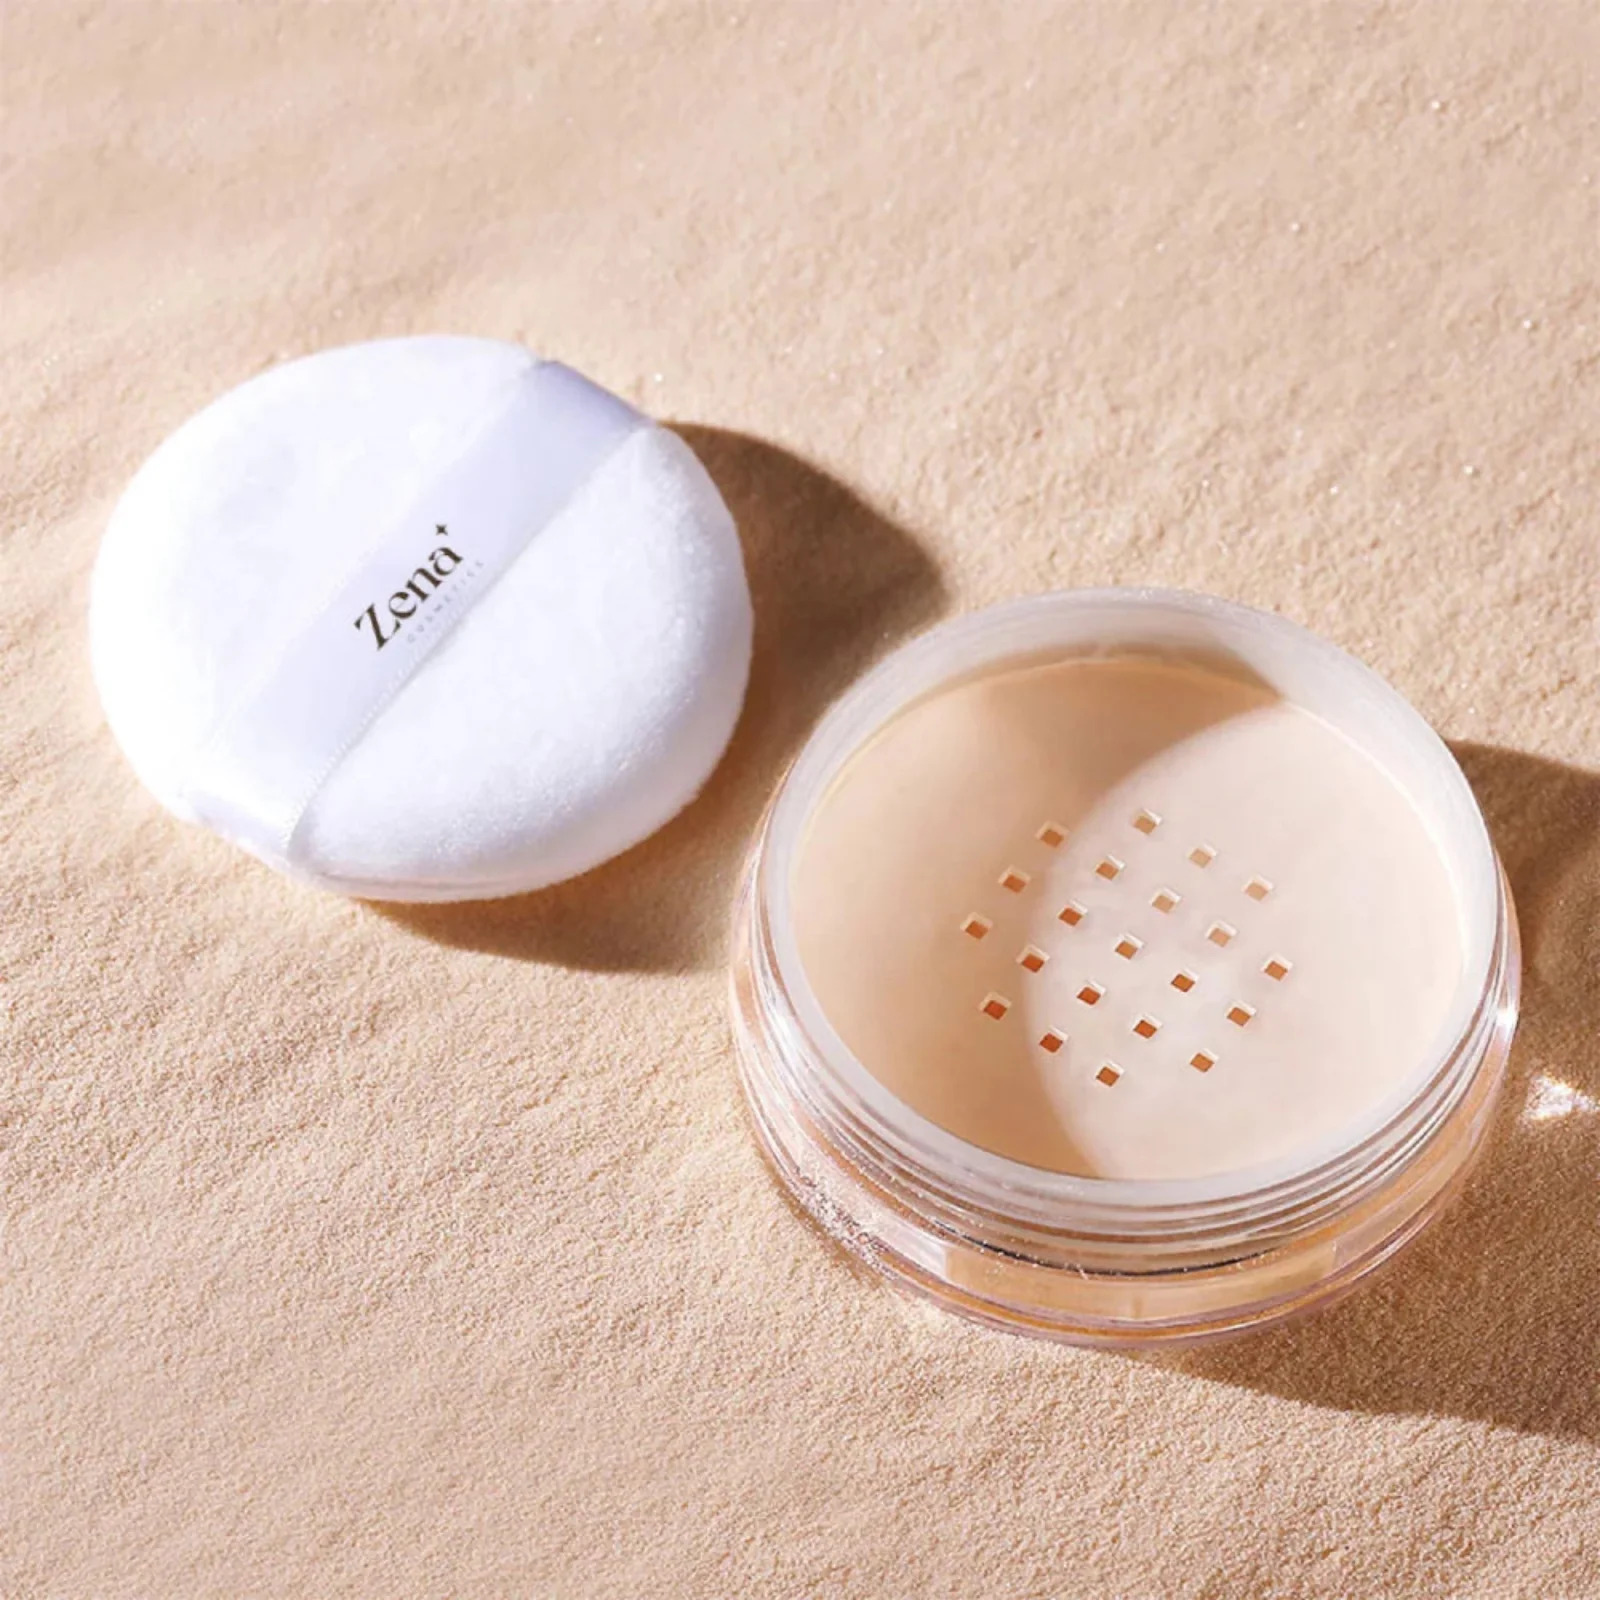
1. Translucent Loose Setting Powder 101: The Basics (and Why It’s Not Just Fancy Talcum Powder)
Let’s start with the fundamentals. What is translucent loose setting powder? Simply put, it’s a finely milled powder designed to:
- Set your makeup: Locking in your foundation, concealer, and other cream or liquid products to prevent them from creasing, smudging, or fading.
- Control shine: Absorbing excess oil and creating a matte or satin finish.
- Blur imperfections: Minimizing the appearance of pores and fine lines (like a real-life Instagram filter! 📸).
Now, some of you might be thinking, "Isn’t this just glorified talcum powder?" And while some powders do contain talc (we’ll get to that later), high-quality translucent powders are formulated with ingredients that are much finer and more effective at achieving these goals. Think of it as the difference between a bicycle and a Ferrari. Both get you from point A to point B, but one does it with a whole lot more finesse and horsepower (or, in this case, oil-absorbing power! 💪).
2. The Shine Enemy: Understanding Oil Production and Your Skin Type
Before we wage war on shine, we need to understand our enemy. Sebum, the oily substance produced by our skin, is essential for keeping our skin moisturized and protected. However, overproduction can lead to that dreaded shine, enlarged pores, and even breakouts. Understanding your skin type is crucial for effective shine control. Here’s a quick rundown:
| Skin Type | Characteristics | Shine Level | Powder Needs |
|---|---|---|---|
| Oily | Shiny all over, prone to enlarged pores, breakouts, and blackheads. | High – like a disco ball! 🪩 | Heavy-duty oil absorption, mattifying formula, frequent touch-ups. |
| Dry | Feels tight and uncomfortable, flaky patches, minimal shine. | Low – bordering on non-existent. | Light dusting to set makeup, avoid overly mattifying formulas. |
| Combination | Oily T-zone (forehead, nose, chin), dry or normal cheeks. | Medium – T-zone tends to be the culprit. | Targeted application in the T-zone, balancing oil control with hydration for drier areas. |
| Normal | Balanced hydration, small pores, minimal shine. | Low – a subtle glow is often desirable! ✨ | Light dusting for setting makeup, minimal shine control needed. |
| Sensitive | Easily irritated, prone to redness, itching, and breakouts. | Varies – often reacts to certain ingredients, leading to increased oil production or dryness. | Hypoallergenic, fragrance-free formulas, patch test before full application. |
3. Tools of the Trade: Brushes, Sponges, and the Quest for Application Perfection
Just like a painter needs the right brushes, we need the right tools to apply our setting powder effectively. Here are some of the most popular options:
- Large Fluffy Brush: Ideal for all-over application, creating a soft, diffused finish. Think of it as the "light touch" applicator. ☁️
- Tapered Brush: Perfect for precise application in smaller areas, such as around the nose and under the eyes. A sniper for shine! 🎯
- Powder Puff: A classic choice for baking and setting makeup, providing a more concentrated application. Think of it as a velvet hammer against shine! 🔨 (but gentle, of course!)
- Makeup Sponge (Damp): Can be used to press powder into the skin, creating a seamless, long-lasting finish. Particularly good for drier skin types. 💧
Experiment with different tools to find what works best for your skin and application style. There’s no "one size fits all" approach here!
4. Targeted Shine Control Techniques: The Main Event!
Alright, let’s get down to business! Here are some of the most effective techniques for targeted shine control using translucent loose setting powder:
-
The "Baking" Method: Is It Worth the Hype?
Baking involves applying a thick layer of powder to areas prone to creasing or shine (usually the undereye area, T-zone, and chin), letting it "bake" for 5-10 minutes, and then dusting away the excess. This technique is popular for creating a bright, flawless finish.
Pros: Brightens the undereye area, fills in fine lines, creates a long-lasting matte finish.
Cons: Can look heavy and cakey, especially on dry skin. Prone to flashback in photos. Requires practice to master.
Verdict: Best for oily skin types and special occasions when you need your makeup to last all day (or night!). Use with caution and a light hand. -
Spot Setting: Precision Shine Eradication
This technique involves using a small, tapered brush to apply powder only to areas where you experience shine. It’s perfect for combination skin types or for those who want a more natural finish.
How to: Dip your brush into the powder, tap off the excess, and gently press the powder onto areas like the forehead, nose, and chin.
Pros: Precise, natural-looking, minimizes the risk of cakiness.
Cons: Requires a steady hand and good lighting. -
Powder Puff Perfection: For the Oil-Prone All-Stars
Using a powder puff allows you to press the powder firmly into the skin, providing maximum oil absorption and a long-lasting matte finish.
How to: Fold the puff in half, dip it into the powder, and gently roll and press it onto your skin.
Pros: Excellent oil control, long-lasting, good for oily skin types.
Cons: Can look heavy if applied too liberally. -
The Undereye Brightening Hack (and How Not to Look Like a Ghost)
To brighten the undereye area, apply a thin layer of powder with a damp sponge after applying concealer. This will set the concealer and prevent creasing while also brightening the area.
To brighten the undereye area, apply a thin layer of powder with a damp sponge after applying concealer. This will set the concealer and prevent creasing while also brightening the area.
How to Avoid the Ghost Look: Use a powder with a slight yellow or peach tint to counteract any ashiness. Apply sparingly and blend thoroughly. Remember, you want to look awake, not undead! 🧟♀️➡️😊
-
T-Zone Triumph: Conquering the Shiny Forehead
The T-zone is often the shiniest area of the face. Use a large, fluffy brush to apply a light dusting of powder to the forehead, nose, and chin. You can also use a tapered brush for more precise application around the nose.
Pro Tip: Blot your T-zone with blotting papers before applying powder to absorb excess oil and prevent cakiness.
5. Choosing the Right Powder: Not All Powders Are Created Equal!
The world of translucent loose setting powder is vast and varied. Here’s what to consider when choosing the right one for you:
-
Ingredient Insights: What to Look For (and What to Avoid)
- Talc: A common ingredient in setting powders, but some people are sensitive to it. If you have sensitive skin, look for talc-free options.
- Silica: A great oil-absorbing ingredient.
- Mica: Provides a subtle shimmer and helps to blur imperfections.
- Dimethicone: A silicone-based ingredient that creates a smooth, silky texture.
- Avoid: Fragrances, dyes, and other potentially irritating ingredients, especially if you have sensitive skin.
-
Color Considerations: Translucent Doesn’t Always Mean Invisible
While most translucent powders appear white in the jar, they can have subtle undertones that can affect the final look.
- White/Colorless: Works well for most skin tones, but can sometimes cause flashback on deeper skin tones.
- Yellow/Banana: Great for brightening the undereye area and canceling out redness.
- Peach/Pink: Adds warmth and radiance to the skin.
-
Finishing Touches: Matte vs. Satin vs. Radiant (Oh My!)
- Matte: Provides the most shine control and creates a velvety smooth finish. Best for oily skin types.
- Satin: Offers a subtle glow while still controlling shine. Good for combination and normal skin types.
- Radiant: Contains light-reflecting particles that add a subtle luminosity to the skin. Best for dry skin types who want to add a touch of radiance.
6. Troubleshooting: Common Mistakes and How to Fix Them
Even the most experienced makeup artists make mistakes. Here’s how to avoid some common pitfalls:
-
The dreaded "flashback" 👻: Using too much powder, especially powders with high silica content, can cause a white cast in photos taken with flash.
- Solution: Use a lighter hand, choose a powder with a yellow or peach tint, and blend thoroughly.
-
Cakey Apocalypse 🎂: Applying too much powder, especially on dry skin, can create a cakey, unnatural look.
- Solution: Use a light hand, moisturize your skin well before applying makeup, and use a damp sponge to press the powder into the skin.
-
Dry Skin Drama 🌵: Setting powder can exacerbate dry skin.
- Solution: Use a hydrating primer before applying foundation, choose a radiant or satin finish powder, and use a setting spray to add moisture back into the skin.
-
Uneven Application 🦓: Patchy or uneven application can result in a streaky, unnatural finish.
- Solution: Use a good quality brush, tap off the excess powder, and blend thoroughly.
7. Maintenance and Touch-Ups: Keeping the Shine at Bay Throughout the Day
Even with the best application, shine can creep back in throughout the day. Here’s how to keep it under control:
- Blotting Papers: Keep blotting papers on hand to absorb excess oil without disturbing your makeup.
- Powder Touch-Ups: Use a small brush or powder puff to lightly touch up areas that are becoming shiny.
- Setting Spray: A setting spray can help to lock in your makeup and keep shine at bay.
8. Advanced Techniques: Pro Tips for the Truly Obsessed
Ready to take your powder game to the next level? Here are some pro tips:
- Powder Before Foundation: Applying a light layer of powder before foundation can help to create a smoother canvas and prevent oil from breaking through.
- Mix and Match: Combine different powders to create a custom blend that meets your specific needs. For example, mix a matte powder with a radiant powder for a balanced finish.
- Use as Eyeshadow Primer: Dusting a light layer of powder over your eyelids before applying eyeshadow can help to prevent creasing and improve color payoff.
9. Conclusion: Go Forth and Conquer the Shine!
Congratulations, you’ve made it to the end of our powder-packed lecture! You are now armed with the knowledge and skills to conquer shine and achieve a flawless, long-lasting finish. Remember to experiment, practice, and find what works best for your skin.
10. Q&A (Because You’re Bound to Have Questions!)
(I’m ready for your questions! Let’s discuss your specific shine-fighting struggles and find the perfect powder solution for you. No question is too silly – we’ve all been there! 🙋♀️)
Good luck, and may your skin be forever matte (or satin, or radiant – whatever floats your boat! 😉)
For detailed product specifications and purchases, please go to :https://zenamakeup.com/products/flawless-finish-translucent-loose-setting-powder
Leave a Reply