Is the Earth Heartbeat 9-Shade Palette Beginner-Friendly? A Beginner’s Guide to Navigating Nature’s Palette
(Lecture delivered by Professor Glitz, PhD in Shimmers and Self-Expression, with a generous helping of glitter and a side of sass.)
Alright, darlings! Settle down, settle down! Today, we’re diving deep into the world of eyeshadow palettes, specifically, the "Earth Heartbeat 9-Shade Palette." Is it a beginner’s best friend or a seasoned artist’s secret weapon? That’s what we’re here to uncover.
(Professor Glitz adjusts her oversized, rhinestone-encrusted glasses.)
Now, before we even dare to touch a brush, let’s address the elephant in the room: makeup can be intimidating! All those colors, brushes, techniques… it’s enough to make a newbie run screaming back to the safe haven of tinted lip balm. But fear not, my pretties! I’m here to guide you, armed with knowledge, a healthy dose of humor, and enough glitter to blind a unicorn.
(Professor Glitz winks dramatically.)
I. The Earth Heartbeat: A Palette Profile
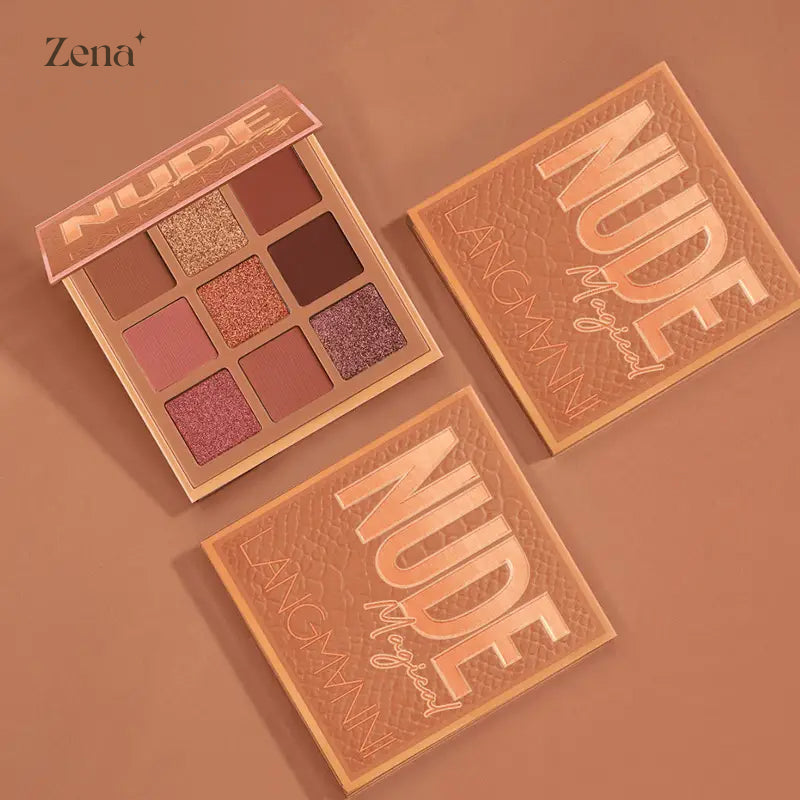
Let’s start by dissecting our subject. The "Earth Heartbeat 9-Shade Palette" (let’s call it "The Heartbeat" for brevity) typically features a collection of earthy tones – think browns, beiges, greens, golds, maybe even a pop of terracotta. The finish can vary from matte to shimmer to metallic.
(Professor Glitz gestures dramatically with a shimmering makeup brush.)
Think of it as a wearable landscape! Imagine rolling hills of matte brown, shimmering riverbeds of gold, and lush forests of deep green. Gorgeous, right?
To determine if it’s beginner-friendly, we need to consider several factors:
- Pigmentation: How much color payoff do you get with a single swipe? Too much, and you risk looking like you’ve been punched in the face with a pigment bomb. Too little, and you’ll be blending for days with minimal results.
- Blendability: Does the shadow blend effortlessly, or does it cling to your skin like a lovesick octopus? Smooth blending is crucial for a polished look.
- Color Selection: Are the colors versatile and easy to combine, or are they a hodgepodge of shades that clash like a cat in a bagpipe factory?
- Fallout: Does the shadow rain down on your cheeks like confetti after a parade, or does it stay put where it belongs?
- Price Point: Is it affordable enough for a beginner to experiment without breaking the bank?
Let’s break it down with a handy table:
| Factor | Beginner-Friendly? | Explanation | 🌟 Emoji Rating (Out of 5) |
|---|---|---|---|
| Pigmentation | Moderate | Aim for shadows that are buildable. You can always add more color, but it’s harder to take it away! | ⭐⭐⭐ |
| Blendability | High | This is KEY. Beginners need shadows that forgive mistakes and blend effortlessly. Look for reviews that specifically mention blendability. | ⭐⭐⭐⭐⭐ |
| Color Selection | Cohesive & Versatile | Earth tones are generally a safe bet. Look for a mix of light, medium, and dark shades. Avoid palettes with too many overly bright or unusual colors. | ⭐⭐⭐⭐ |
| Fallout | Minimal | Nobody wants eyeshadow raining down their face. Look for reviews that mention minimal fallout. | ⭐⭐⭐⭐ |
| Price Point | Affordable | As a beginner, you don’t need to spend a fortune. There are plenty of excellent and affordable palettes available. | ⭐⭐⭐⭐⭐ |
(Professor Glitz taps the table with a manicured finger.)
So, based on these factors, the "Earth Heartbeat" palette can be beginner-friendly, but it depends on the specific formulation and the shades within the palette.
II. Decoding the Colors: A Beginner’s Guide to Earth Tones
Now, let’s talk colors! Earth tones are generally considered universally flattering and easy to work with. They mimic the natural hues of the earth, creating a soft, harmonious look.
Here’s a breakdown of common earth tones and how to use them:
- Beige/Cream: These are your base shades. Use them all over the lid to create a smooth canvas.
- Light Brown/Taupe: Perfect for transition shades. Apply them in the crease to add depth and dimension.
- Medium Brown: Use these to define the outer corner of the eye or to create a subtle smoky effect.
- Dark Brown/Chocolate: For adding intensity. Use sparingly in the outer corner or along the lash line.
- Gold/Bronze: Shimmering shades for adding a touch of glamour. Apply them to the center of the lid or in the inner corner to brighten the eyes.
- Green (Olive, Forest): These can add a unique twist to your look. Use them on the lid or as a liner.
- Terracotta/Rusty Orange: These warm shades can add a pop of color and make your eyes appear brighter.
(Professor Glitz pulls out a color wheel and points dramatically.)
Remember the color wheel, darlings! Earth tones are generally analogous colors, meaning they sit next to each other on the wheel. This makes them naturally harmonious and easy to blend.
Here’s a table with examples of each color, its purpose, and application tips:
| Color Category | Example Shade | Purpose | Application Tips | 🎨 Emoji |
|---|---|---|---|---|
| Base | Creamy Beige | Creates a smooth canvas, neutralizes lid. | Apply all over the lid, from lash line to brow bone. | ⚪ |
| Transition | Light Taupe | Adds depth to the crease, blends colors. | Apply with a fluffy brush in the crease, blending upwards towards the brow bone. | 🧸 |
| Definition | Medium Brown | Defines the outer corner, adds dimension. | Apply with a smaller brush in the outer corner, blending inwards. | 🍫 |
| Intensity | Dark Chocolate | Creates a smoky effect, defines lash line. | Apply with a very small brush along the lash line or in the outer corner, blending carefully. | 🖤 |
| Highlight | Champagne Gold | Brightens the eyes, adds shimmer. | Apply to the center of the lid, in the inner corner, or under the brow bone. | ✨ |
| Accent | Olive Green | Adds a unique touch, creates a statement. | Apply to the lid, in the crease, or as a liner. | 🫒 |
| Warmth | Rusty Terracotta | Adds warmth, brightens the eyes. | Apply to the lid or in the crease. Use sparingly at first and build up the color gradually. | 🧱 |
(Professor Glitz strikes a pose, showcasing a flawlessly blended smoky eye.)
The key is to experiment and find what works best for your eye shape and skin tone!
III. Tools of the Trade: Essential Brushes for Beginners
Now, let’s talk brushes! You can’t create a masterpiece without the right tools, darling. But don’t worry, you don’t need to buy a million brushes to get started. A few essential brushes will do the trick.
Here are the must-have brushes for a beginner:
- Fluffy Blending Brush: For applying transition shades and blending everything together. This is your best friend!
- Flat Shader Brush: For packing color onto the lid.
- Small Crease Brush: For defining the crease and adding depth.
- Angled Liner Brush: For applying eyeliner or creating a winged effect.
(Professor Glitz holds up each brush, explaining its purpose with dramatic flair.)
Here’s a table summarizing the brushes, their uses, and tips for choosing them:
Here’s a table summarizing the brushes, their uses, and tips for choosing them:
| Brush Type | Use | Tips for Choosing | 🖌️ Emoji |
|---|---|---|---|
| Fluffy Blending Brush | Applying transition shades, blending. | Look for soft, fluffy bristles that are not too dense. The brush should feel comfortable in your hand. | ☁️ |
| Flat Shader Brush | Packing color onto the lid. | Look for a firm, flat brush with tightly packed bristles. This will help you pick up and apply the shadow evenly. | 🥞 |
| Small Crease Brush | Defining the crease, adding depth. | Look for a small, tapered brush with slightly firmer bristles. This will allow you to apply the shadow precisely in the crease. | 📐 |
| Angled Liner Brush | Applying eyeliner, creating wings. | Look for a thin, angled brush with stiff bristles. This will give you control and precision when applying liner. | 🔪 |
(Professor Glitz emphasizes the importance of cleaning your brushes regularly.)
Remember to clean your brushes regularly! Dirty brushes can harbor bacteria and lead to breakouts. Plus, clean brushes apply makeup more smoothly.
IV. Techniques for Triumph: Beginner-Friendly Eyeshadow Looks
Alright, let’s get to the fun part: creating eyeshadow looks! Here are a few beginner-friendly techniques that you can use with your "Earth Heartbeat" palette:
- One-Shadow Wonder: Apply a single shade all over the lid. This is the easiest and quickest way to create a polished look. A shimmery shade like gold or bronze works particularly well for this.
- The Classic Three: Use a light shade on the lid, a medium shade in the crease, and a dark shade in the outer corner. Blend, blend, blend!
- Halo Eye: Apply a dark shade to the inner and outer corners of the eye and a shimmery shade to the center of the lid. This creates a halo effect that makes your eyes appear larger and brighter.
(Professor Glitz demonstrates each technique on a volunteer, providing step-by-step instructions.)
Let’s put these techniques into practice with some specific looks using the "Earth Heartbeat" palette:
Look 1: Everyday Earthy
- Step 1: Apply a creamy beige shade all over the lid as a base.
- Step 2: Apply a light brown shade in the crease as a transition shade.
- Step 3: Apply a medium brown shade to the outer corner, blending inwards.
- Step 4: Apply a champagne gold shimmer to the center of the lid.
- Step 5: Apply mascara.
Look 2: Golden Hour Glam
- Step 1: Apply a light brown shade all over the lid as a base.
- Step 2: Apply a golden bronze shade to the lid.
- Step 3: Apply a dark brown shade to the outer corner, blending inwards.
- Step 4: Apply a gold shimmer to the inner corner.
- Step 5: Apply eyeliner and mascara.
Look 3: Forest Fairy Fantasy
- Step 1: Apply a light beige shade all over the lid as a base.
- Step 2: Apply an olive green shade to the lid.
- Step 3: Apply a dark brown shade to the outer corner, blending inwards.
- Step 4: Apply a gold shimmer to the inner corner.
- Step 5: Apply mascara.
(Professor Glitz beams with pride at the finished looks.)
Remember, practice makes perfect! Don’t be afraid to experiment and try new things.
V. Troubleshooting Tips: Conquering Common Beginner Challenges
Even with the perfect palette and the right brushes, beginners often face some common challenges. Let’s tackle them head-on!
- Patchy Eyeshadow: This usually happens when you don’t have a smooth base. Always prime your eyelids before applying eyeshadow.
- Muddy Colors: This occurs when you over-blend or use too many colors without proper transition. Start with a light hand and build up the color gradually.
- Fallout: To minimize fallout, tap off excess shadow from your brush before applying it to your lid. You can also apply your eye makeup before your foundation to avoid ruining your base.
- Uneven Eyeshadow: Use a mirror and check your work regularly. Adjust the placement and blending as needed.
- Intense Eyeshadow: If you’ve applied too much shadow, use a clean blending brush to soften the edges or a makeup wipe to gently remove some of the color.
(Professor Glitz shares her secret weapon: a cotton swab dipped in makeup remover for cleaning up mistakes.)
Here’s a table summarizing the common problems and their solutions:
| Problem | Solution | 💡 Emoji |
|---|---|---|
| Patchy Shadow | Prime your eyelids before applying eyeshadow. | 🩹 |
| Muddy Colors | Start with a light hand and build up the color gradually. Use a transition shade to blend the colors together. | 🎨 |
| Fallout | Tap off excess shadow from your brush before applying it to your lid. Apply your eye makeup before your foundation. | 🧹 |
| Uneven Shadow | Use a mirror and check your work regularly. Adjust the placement and blending as needed. | 🪞 |
| Intense Shadow | Use a clean blending brush to soften the edges or a makeup wipe to gently remove some of the color. | 🧼 |
(Professor Glitz winks reassuringly.)
Don’t be discouraged by mistakes! Everyone makes them. The important thing is to learn from them and keep practicing.
VI. Conclusion: The Verdict on the Earth Heartbeat
So, is the "Earth Heartbeat 9-Shade Palette" beginner-friendly? The answer, my dears, is a resounding… it depends!
(Professor Glitz pauses for dramatic effect.)
It depends on the specific brand, the pigmentation, the blendability, and your personal preferences. However, the concept of an earth-toned palette is generally a good starting point for beginners due to its versatility and flattering shades.
To ensure your "Earth Heartbeat" palette is a beginner’s dream, remember these key points:
- Read Reviews: Before you buy, research the palette and read reviews from other beginners.
- Prioritize Blendability: Look for shadows that are easy to blend.
- Start Simple: Don’t try to create complex looks right away.
- Practice Makes Perfect: The more you practice, the better you’ll get.
- Have Fun!: Makeup should be enjoyable! Don’t take yourself too seriously.
(Professor Glitz throws a handful of glitter into the air.)
Now go forth, my pretties, and conquer the world, one perfectly blended eyeshadow look at a time! And remember, the most beautiful makeup is the confidence you wear with it. Class dismissed!
For detailed product specifications and purchases, please go to :https://zenamakeup.com/products/earth-heartbeat-9-shade-glimmer-eyeshadow-palette
Leave a Reply