Is the Long-Wear Precision Gel Eyeliner Pen Suitable for Creating Smoky Eye Looks? A Masterclass in Smudge-tastic Possibilities! 🎓
Alright, class, settle down, settle down! Today, we’re diving deep into a topic that strikes fear into the hearts of eyeliner newbies and fills the dreams of makeup mavens: the smoky eye. But we’re not just talking about any smoky eye. We’re tackling a specific, slightly controversial question: Can you actually achieve a respectable, smoldering smoky eye using a gel eyeliner pen? 🤨
Now, I know what you’re thinking. A pen? For a smoky eye? Sounds like a recipe for disaster, right? Like trying to paint the Mona Lisa with a Q-tip. But hold your horses (or unicorns, if that’s more your style 🦄). We’re going to explore the potential, the pitfalls, and the downright hilarious mishaps that might occur along the way.
Welcome to Eyeliner 101: Smoky Edition! Prepare to have your preconceived notions challenged and your blending skills put to the test. Grab your coffee (or wine, no judgement here 🍷), and let’s get started!
Lecture Outline:
- Introduction: The Smoky Eye – A Timeless Classic (and Why We Love It)
- The Contenders: Different Eyeliner Formats and Their Smoky Eye Suitability
- The Star of the Show: The Long-Wear Precision Gel Eyeliner Pen – An Anatomy Lesson
- The Challenge: Can a Gel Eyeliner Pen Actually Deliver a Smoky Eye? (Spoiler Alert: It Depends!)
- Techniques for Smoky Eye Success with a Gel Eyeliner Pen (The How-To Guide)
- Troubleshooting: Common Mistakes and How to Avoid Becoming a Raccoon 🦝
- Product Recommendations: Gel Eyeliner Pens Worthy of the Smoky Eye Challenge
- Beyond the Basics: Advanced Techniques and Creative Variations
- Conclusion: The Verdict – Gel Eyeliner Pens and Smoky Eyes: A Match Made in Makeup Heaven (or Hell?)
- Q&A: Ask Me Anything (Seriously, Anything!)
1. Introduction: The Smoky Eye – A Timeless Classic (and Why We Love It)
The smoky eye. A makeup look so iconic, it has its own Wikipedia page. It’s been gracing red carpets and Instagram feeds for decades, evolving with the times but always maintaining its core essence: a sultry, smoldering gaze that screams "I’m mysterious and probably know more than you do." 😎
But why do we love it so much?
- Versatility: It can be adapted for any eye shape, skin tone, and occasion. From a subtle daytime smudge to a full-on gothic glam, the possibilities are endless.
- Drama: It adds instant drama and intensity to your look. Perfect for a night out, a special event, or when you just want to feel a little extra.
- Confidence Boost: Let’s be honest, a well-executed smoky eye can make you feel like you can conquer the world (or at least get away with skipping the line at Starbucks).
- Eye Enhancement: It can make your eyes appear bigger, brighter, and more defined. Who doesn’t want that?
However, achieving the perfect smoky eye can feel like scaling Mount Everest. It requires skill, patience, and the right tools. Which brings us to our next point…
2. The Contenders: Different Eyeliner Formats and Their Smoky Eye Suitability
Not all eyeliners are created equal, especially when it comes to the smoky eye. Let’s break down the usual suspects:
| Eyeliner Type | Smoky Eye Potential | Pros | Cons |
|---|---|---|---|
| Pencil Eyeliner | High | Easy to smudge, blendable, widely available, forgiving for beginners. | Can be too soft and transfer easily, may require frequent sharpening, not always the most precise. |
| Gel Eyeliner (Pot) | High | Rich pigmentation, long-lasting, versatile (can be used for tightlining, winged liner, and smoky eyes). | Requires a separate brush, can dry out quickly if not stored properly, steeper learning curve. |
| Liquid Eyeliner | Low | Precise lines, bold color payoff, long-lasting. | Difficult to smudge, unforgiving mistakes, not ideal for a soft, diffused look. |
| Kajal Eyeliner | High | Ultra-soft and smudgy, ideal for creating a lived-in, grunge-inspired smoky eye. | Can be very messy, prone to smudging and transferring, may not be the most long-lasting. |
| Gel Eyeliner Pen | Medium (We’ll See!) | Precise application, long-wearing, convenient, less messy than pot gel eyeliner. | The big question is blendability! Can be difficult to smudge if the formula sets too quickly, may not be as pigmented as pot gel eyeliner, the tip can sometimes be too rigid. |
As you can see, the gel eyeliner pen falls somewhere in the middle. It has the long-wearing power of a gel formula but the convenience of a pen. But can it truly be smudged and blended into a beautiful smoky masterpiece? That’s what we’re here to find out!
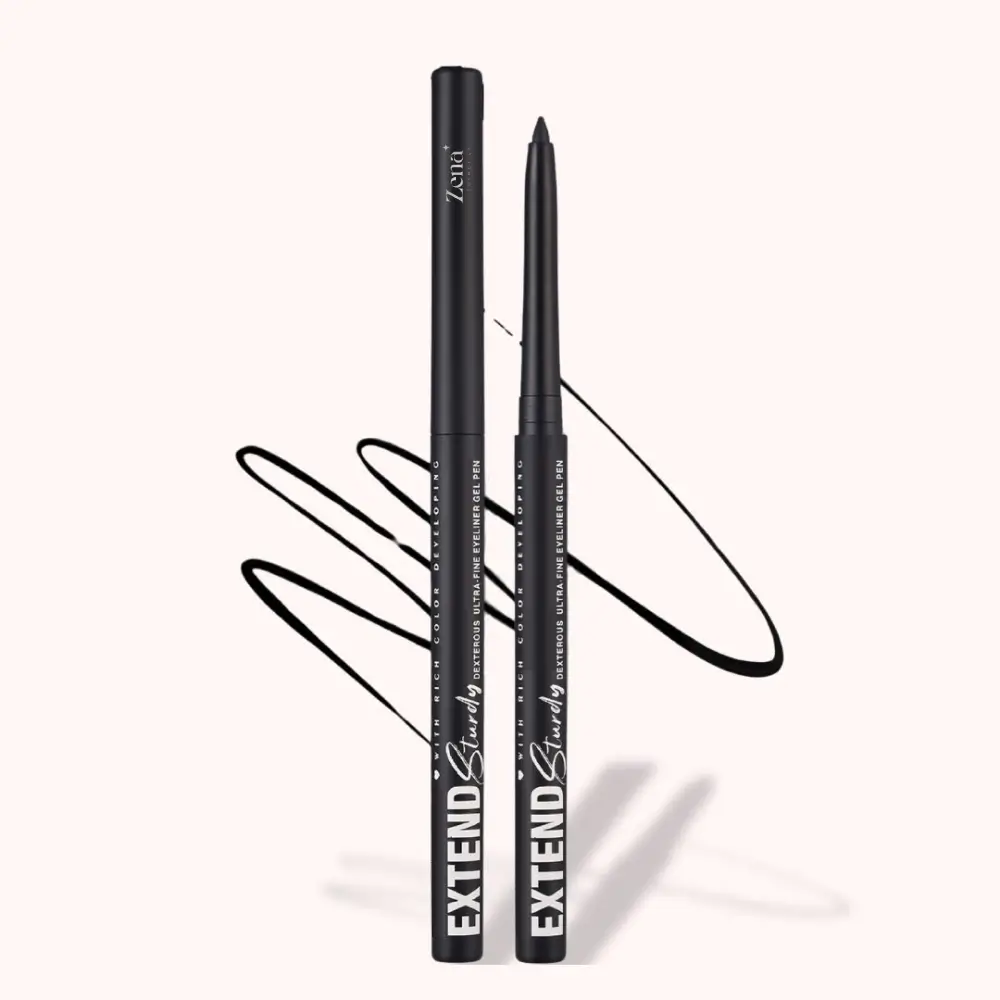
3. The Star of the Show: The Long-Wear Precision Gel Eyeliner Pen – An Anatomy Lesson
Before we put our gel eyeliner pen to the test, let’s get to know it a little better. What makes it tick? What are its strengths and weaknesses?
Think of it as dissecting a frog in biology class, but instead of formaldehyde, we’re using makeup remover. (Much more pleasant, I promise!) 🐸
Here’s the breakdown:
- The Formula: This is the most crucial element. A good gel eyeliner pen should have a creamy, pigmented formula that glides smoothly onto the eyelid. It should be long-wearing but not so quick-drying that you can’t blend it at all.
- The Tip: The tip’s shape and material are also important. A fine, pointed tip allows for precise application, while a slightly thicker tip can be used to fill in larger areas more quickly.
- The Packaging: The pen should be easy to hold and control. The mechanism that dispenses the product should be smooth and consistent.
- The Claims: Does it claim to be smudge-proof? Waterproof? Long-wearing? These claims will give you an idea of what to expect in terms of performance.
Key Considerations:
- Pay attention to the dry-down time. Some gel eyeliner pens dry down almost instantly, making blending a nightmare.
- Check the pigmentation. A sheer or patchy formula will require multiple layers, which can make blending even more difficult.
- Consider the tip’s texture. A scratchy or stiff tip will irritate the delicate skin around your eyes.
4. The Challenge: Can a Gel Eyeliner Pen Actually Deliver a Smoky Eye? (Spoiler Alert: It Depends!)
Okay, drumroll please… 🥁
The answer to the million-dollar question is: It depends! (I know, I know, anticlimactic, right? But that’s makeup for you.)
Here’s why it’s not a simple yes or no:
- Formula Matters: Some gel eyeliner pen formulas are simply too stubborn to smudge. They set like cement, leaving you with a harsh, unblended line. Others are more forgiving, allowing you to create a soft, diffused effect.
- Technique is Key: Even with a blendable formula, you need to use the right techniques to achieve a smoky eye with a gel eyeliner pen. We’ll get to those in the next section.
- Your Expectations: Are you aiming for a super dramatic, blown-out smoky eye? Or a more subtle, everyday smudge? A gel eyeliner pen might be better suited for the latter.
Bottom Line: Don’t expect to achieve the same level of drama and diffusion as you would with a traditional pencil or pot gel eyeliner. But with the right formula and technique, you can create a beautiful, wearable smoky eye using a gel eyeliner pen.
5. Techniques for Smoky Eye Success with a Gel Eyeliner Pen (The How-To Guide)
Alright, let’s get down to business! Here’s a step-by-step guide to creating a smoky eye with a gel eyeliner pen:
Step 1: Prime Your Lids
This is crucial for any eye makeup look, but especially for a smoky eye. Use an eyeshadow primer to create a smooth, even base and prevent creasing.
Step 2: Apply a Transition Shade
Using a fluffy brush, apply a neutral eyeshadow shade that’s slightly darker than your skin tone to your crease. This will help to blend the eyeliner later on.
Step 3: Line Your Eyes
This is where the magic (or the mayhem) begins! Using your gel eyeliner pen, line your upper lash line, starting from the inner corner and extending outwards. Don’t worry about being perfect – we’re going to smudge it out anyway.
Step 4: Smudge, Smudge, Smudge!
This is the most important step! Immediately after applying the eyeliner, use a small, dense brush (a pencil brush or a smudging brush works best) to smudge the line upwards and outwards. Work quickly, before the formula has a chance to set.
Pro Tip: Use short, back-and-forth motions to blend the eyeliner into the transition shade.
Pro Tip: Use short, back-and-forth motions to blend the eyeliner into the transition shade.
Step 5: Repeat and Intensify
If you want a more intense smoky eye, repeat steps 3 and 4, gradually building up the color and intensity.
Step 6: Line Your Lower Lash Line
Line your lower lash line with the gel eyeliner pen, focusing on the outer corner. Smudge it out using the same brush you used for your upper lash line.
Step 7: Add Eyeshadow (Optional)
For a more complex smoky eye, you can add a darker eyeshadow shade to the outer corner of your lid and blend it into the eyeliner.
Step 8: Highlight
Apply a light, shimmery eyeshadow to your inner corner and brow bone to highlight your eyes.
Step 9: Mascara, Mascara, Mascara!
Finish off the look with several coats of mascara to add volume and length to your lashes.
Step 10: Admire Your Handiwork (and Take Lots of Selfies!)
You did it! You successfully created a smoky eye with a gel eyeliner pen. Now go forth and conquer the world (or at least your Instagram feed). 🤳
Visual Guide:
(Imagine a series of images here illustrating each step described above. Each image should show a close-up of the eye with the corresponding step being demonstrated.)
6. Troubleshooting: Common Mistakes and How to Avoid Becoming a Raccoon 🦝
Even with the best techniques, things can still go wrong. Here are some common mistakes and how to fix them:
- Eyeliner is too hard to smudge: You’re probably using a formula that dries down too quickly. Try using a more creamy formula or working in smaller sections.
- Eyeliner is smudging everywhere: You’re probably using a formula that’s too soft or not setting properly. Try using a primer and setting the eyeliner with a powder eyeshadow.
- The smoky eye looks muddy: You’re probably over-blending the eyeliner or using too many different shades of eyeshadow. Keep it simple and focus on blending the eyeliner seamlessly into the transition shade.
- The smoky eye looks uneven: You’re probably not applying the eyeliner evenly or blending it symmetrically. Take your time and pay attention to detail.
Remember: Practice makes perfect! Don’t get discouraged if your first attempt isn’t flawless. Keep experimenting and find what works best for you.
7. Product Recommendations: Gel Eyeliner Pens Worthy of the Smoky Eye Challenge
Not all gel eyeliner pens are created equal. Here are a few that are known for their blendability and long-wearing power:
| Product | Key Features | Price Range |
|---|---|---|
| Maybelline Hyper Easy No-Skip Eyeliner | Affordable, readily available, creamy formula, relatively blendable. | $5 – $8 |
| NYX Professional Makeup Epic Ink Liner | Pigmented, long-lasting, fine tip for precise application, can be smudged if you work quickly. | $8 – $10 |
| Stila Stay All Day Waterproof Liquid Eye Liner (yes, even the liquid one!) | Surprisingly blendable right after application, intensely pigmented, long-wearing, a cult classic. Work fast! | $22 – $24 |
| Marc Jacobs Beauty Highliner Gel Eye Crayon Eyeliner | Creamy, highly pigmented, long-wearing, comes in a variety of colors, more like a pencil but applies like gel. Excellent blendability. | $26 – $28 |
Disclaimer: These are just suggestions based on general reviews and opinions. Always do your own research and find a product that works best for your skin type and preferences.
8. Beyond the Basics: Advanced Techniques and Creative Variations
Once you’ve mastered the basic smoky eye with a gel eyeliner pen, you can start experimenting with more advanced techniques and creative variations:
- Colored Smoky Eye: Use a colored gel eyeliner pen (burgundy, green, blue) to create a unique and eye-catching smoky eye.
- Reverse Smoky Eye: Apply the eyeliner to your lower lash line only, creating a dramatic and edgy look.
- Halo Smoky Eye: Apply a light, shimmery eyeshadow to the center of your lid to create a halo effect.
- Graphic Smoky Eye: Use the gel eyeliner pen to create graphic shapes and lines around your eyes, adding a modern twist to the classic smoky eye.
The possibilities are endless! Don’t be afraid to experiment and have fun with it.
9. Conclusion: The Verdict – Gel Eyeliner Pens and Smoky Eyes: A Match Made in Makeup Heaven (or Hell?)
So, can you create a smoky eye with a gel eyeliner pen? The answer is a resounding maybe!
It’s not the easiest or most traditional method, but with the right formula, technique, and a healthy dose of patience, you can absolutely achieve a beautiful, wearable smoky eye using a gel eyeliner pen.
Think of it as a challenge. A test of your blending skills, your product knowledge, and your ability to laugh at yourself when things go hilariously wrong.
And who knows, you might even discover a new favorite way to create a smoky eye.
10. Q&A: Ask Me Anything (Seriously, Anything!)
Alright, class, that’s all for today’s lecture. Now it’s your turn! Ask me anything about gel eyeliner pens, smoky eyes, or anything else makeup-related. No question is too silly (or too serious). Let’s get the conversation started! 🗣️
For detailed product specifications and purchases, please go to :https://zenamakeup.com/products/long-wear-precision-gel-eyeliner-pen
Leave a Reply