Jelly Essence Blush Stick: Unlocking the Secrets to a Lit-From-Within Glow (A Lecture)
(Professor Blushington, DSc. – Doctor of Sparkle and Chromatic Radiance – adjusts her sequined glasses and beams at the eager faces before her.)
Alright, my darlings! Welcome, welcome to Blush 101: The Gospel of Glowing Cheeks! Today, we’re diving deep into the luscious, jiggly world of the Jelly Essence Blush Stick. Forget everything you thought you knew about blush application. We’re ditching the clown cheeks and embracing the cherubic flush, the "I just spent a weekend frolicking in a field of wildflowers" look. Are you ready to unlock the secrets to a healthy, lit-from-within glow? Good! Let’s begin!
(A projection of a perfectly flushed cheek, radiating health and happiness, appears on the screen. ✨)
I. The Blush Renaissance: Why Jelly Essence is the Future
(Professor Blushington taps the screen with a sparkly pointer.)
For far too long, blush has been misunderstood. Often relegated to the back of the makeup drawer, a forgotten relic from a bygone era of harsh contouring and overly matte skin. But I’m here to tell you, my friends, that blush is experiencing a renaissance! And leading the charge? The Jelly Essence Blush Stick!
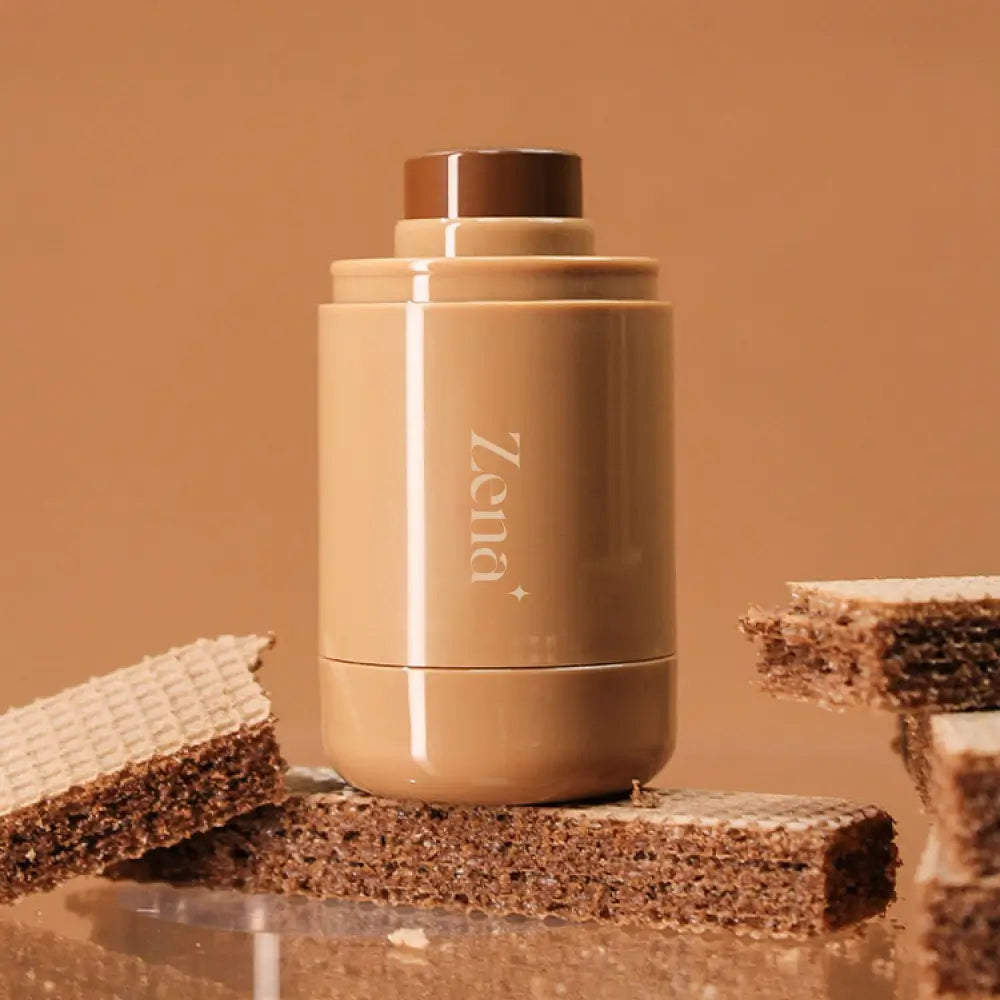
(Professor Blushington pulls a brightly colored blush stick from her lab coat pocket. It wobbles enticingly.)
Why, you ask? Because it’s more than just a color stick. It’s a revolution! This isn’t your grandma’s powdery compact. This is a modern marvel, a testament to the power of innovation and a commitment to achieving that coveted, naturally radiant look.
Think of it as the difference between a stuffy, formal portrait and a candid, sun-kissed snapshot. Which one would you rather be? Exactly!
Here’s why jelly essence blush sticks are stealing the show:
- Texture is Everything: Forget dry, chalky powders that settle into fine lines and emphasize texture. Jelly blush is like a refreshing drink for your skin. It’s lightweight, hydrating, and blends like a dream. Imagine spreading a cool, soothing gel on your cheeks – that’s the experience! 💧
- Buildable Color: No more accidental clown face! Jelly blush offers buildable color, allowing you to control the intensity of your flush. Want a subtle hint of rosy goodness? One swipe will do the trick. Craving a bolder, more vibrant look? Layer it up! It’s completely customizable. 🎨
- Natural Finish: The dewy, luminous finish of jelly blush mimics the natural radiance of healthy skin. It doesn’t sit on top of your skin; it melts into it, creating a seamless, "lit-from-within" glow that’s both believable and breathtaking. ✨
- Easy Application: Say goodbye to complicated brushes and blending techniques. The stick format makes application a breeze. Simply swipe, blend with your fingers, and voilà! Instant radiance. Perfect for makeup beginners and seasoned pros alike. 💖
- Hydrating Properties: Many jelly blush formulas contain hydrating ingredients like hyaluronic acid and glycerin, leaving your skin feeling plump, moisturized, and comfortable. It’s makeup that actually cares about your skin! 🥰
(Professor Blushington winks.)
So, are you convinced yet? I thought so! Now, let’s get down to the nitty-gritty of choosing the right jelly essence blush stick for you.
II. Choosing Your Perfect Jelly Match: A Color Theory Crash Course
(A vibrant color wheel appears on the screen, showcasing a spectrum of blush shades.)
Okay, class, listen up! Choosing the right blush shade is crucial. It’s the difference between looking like you’ve just spent a day at the beach and looking like you’ve just wrestled a tomato. 🍅 (Not a good look, trust me.)
Here’s a breakdown to help you navigate the colorful world of blush:
| Skin Tone | Undertone | Recommended Blush Shades | Avoid |
|---|---|---|---|
| Fair | Cool (Pink) | Soft pinks, mauves, berry tones | Anything too orange or bronze, as it can look muddy. |
| Warm (Yellow) | Peach, coral, apricot | Dusty rose shades that can wash you out. | |
| Light/Medium | Cool (Pink) | Rose, berry, plum, rosy pink | Anything too bright or neon. |
| Warm (Yellow) | Coral, peach, bronze, golden pink | Cool-toned pinks that can look ashy. | |
| Medium/Olive | Cool (Pink) | Berry, plum, mauve, deep rose | Very pale pinks that lack pigment. |
| Warm (Yellow) | Bronze, terracotta, warm peach, golden brown | Anything too cool or pastel. | |
| Deep | Cool (Pink) | Deep berry, plum, wine, raspberry | Light, pastel shades that won’t show up. |
| Warm (Yellow) | Brick red, terracotta, bronze, deep peach | Anything too ashy or muted. |
(Professor Blushington points to the table.)
Understanding Undertones:
- Cool Undertones: Skin tends to have pink, red, or blue hues. Silver jewelry often looks better.
- Warm Undertones: Skin tends to have yellow, golden, or olive hues. Gold jewelry often looks better.
- Neutral Undertones: A mix of both warm and cool. You can rock both gold and silver!
(Professor Blushington pulls out a magnifying glass and examines her own wrist.)
Pro Tip: Check the veins on your wrist! Blue/purple veins indicate cool undertones, green veins indicate warm undertones, and a mix suggests neutral undertones.
Beyond the Basics:
- Consider Your Eye Color: Matching your blush to your eye color can create a harmonious and flattering look. For example, brown eyes pair beautifully with bronze and peach tones, while blue eyes pop with rosy pinks.
- Think About Your Overall Makeup Look: If you’re rocking a bold lip, opt for a more subtle blush. If you’re going for a more natural look, you can afford to be a bit bolder with your blush.
- Experiment! The best way to find your perfect shade is to try different colors and see what works best for you. Don’t be afraid to step outside your comfort zone!
(Professor Blushington strikes a pose, showcasing a different blush shade on each cheek.)
III. Mastering the Art of Jelly Blush Application: From Stick to Stunning
(A diagram appears on the screen, illustrating different blush placement techniques.)
Now that you’ve found your perfect shade, it’s time to learn how to apply it like a pro! Remember, application is key. You can have the most beautiful blush in the world, but if you apply it wrong, you’ll end up looking… well, let’s just say less than fabulous. 🙈
Here are some tips and tricks for flawless jelly blush application:
Tools of the Trade:
- Your Fingers: The warmth of your fingers helps to melt the jelly blush into your skin for a seamless, natural finish. This is my preferred method!
- A Damp Beauty Sponge: A damp sponge can be used to gently blend and diffuse the blush for a softer, more airbrushed look.
- A Stippling Brush: A stippling brush can be used to build up color gradually and create a more diffused effect.
Application Techniques:
- The Apple of the Cheek: This is the classic blush placement technique. Smile to find the apples of your cheeks and apply the blush directly to that area, blending upwards and outwards towards your temples. This technique is great for adding a youthful, radiant glow. 🍎
- The High Cheekbone: For a more sculpted and lifted look, apply the blush along your cheekbones, starting near the hairline and blending inwards towards the apples of your cheeks. This technique is perfect for defining your features. ✨
- The Sun-Kissed Look: Apply the blush across the bridge of your nose and the apples of your cheeks for a natural, sun-kissed effect. This technique is ideal for creating a healthy, outdoorsy glow. ☀️
- The "C" Shape: Apply the blush in a "C" shape, starting at your temples, sweeping down to your cheekbones, and then blending towards the apples of your cheeks. This technique is great for creating a soft, blended, and natural-looking flush.
- Layering is Key: Start with a light layer of blush and gradually build up the color until you achieve your desired intensity. Remember, it’s always easier to add more blush than to take it away!
(Professor Blushington demonstrates each technique on a willing volunteer – a very patient mannequin named Bartholomew.)
Pro Tips for Jelly Blush Success:
Pro Tips for Jelly Blush Success:
- Prep Your Skin: Make sure your skin is properly moisturized before applying blush. This will help the blush glide on smoothly and prevent it from clinging to dry patches.
- Less is More: Start with a small amount of blush and build up the color gradually. You can always add more, but it’s difficult to remove excess blush without messing up your foundation.
- Blend, Blend, Blend! Blending is crucial for achieving a natural-looking finish. Use your fingers, a sponge, or a brush to blend the blush seamlessly into your skin.
- Set with Powder (Optional): If you have oily skin or want to extend the wear time of your blush, you can set it with a light dusting of translucent powder. However, be careful not to over-powder, as this can dull the dewy finish of the jelly blush.
- Don’t Forget Your Lips! Dab a small amount of your jelly blush onto your lips for a coordinated and natural-looking flush.
(Professor Blushington beams, holding up a perfectly blushed Bartholomew.)
IV. Troubleshooting Common Jelly Blush Mishaps: Avoiding Blush Blunders
(A cartoon image of a face with comically over-blushed cheeks flashes on the screen.)
Even with the best techniques, blush mishaps can happen. Don’t despair! We’re here to troubleshoot those common blunders and turn those blush boo-boos into blush blessings!
Problem: Too much blush! I look like a clown! 🤡
Solution: Don’t panic! Grab a clean beauty sponge or brush and gently buff away the excess blush. You can also apply a thin layer of foundation or concealer over the blush to tone it down.
Problem: My blush looks patchy and uneven.
Solution: Make sure your skin is properly moisturized and that you’re using a smooth, even application technique. Try using a damp beauty sponge to blend the blush seamlessly into your skin.
Problem: My blush fades away after a few hours.
Solution: Set your blush with a light dusting of translucent powder. You can also use a blush primer to create a smooth, long-lasting base for your blush.
Problem: My blush looks muddy or dull.
Solution: Choose a blush shade that complements your skin tone and undertones. Avoid using too much powder, as this can dull the dewy finish of the jelly blush.
Problem: My blush is emphasizing my pores.
Solution: Use a pore-filling primer before applying your foundation and blush. Avoid using too much blush in areas where you have enlarged pores.
(Professor Blushington shakes her head disapprovingly at the over-blushed cartoon face.)
V. Beyond the Cheeks: Creative Uses for Your Jelly Essence Blush Stick
(The screen displays images of blush being used on the eyes and lips.)
The versatility of the Jelly Essence Blush Stick extends far beyond just your cheeks! Get ready to unleash your inner artist and explore the many creative ways you can use this magical product:
- Eyeshadow: Apply a small amount of jelly blush to your eyelids for a soft, monochromatic look. The dewy finish will add a beautiful sheen to your eyes.
- Lip Tint: Dab a small amount of jelly blush onto your lips for a natural, stained effect. Top with a clear gloss for added shine.
- Highlighter: Choose a light, shimmery shade of jelly blush and apply it to the high points of your face for a subtle, dewy highlight.
- Color Corrector: Use a peach or coral-toned jelly blush to neutralize dark circles under your eyes.
- Body Glow: Mix a small amount of jelly blush with your body lotion for an all-over radiant glow.
(Professor Blushington applies a touch of blush to her eyelids, transforming into a shimmering vision.)
VI. The Jelly Essence Blush Stick Hall of Fame: Some Recommendations
(Images of various popular Jelly Essence Blush Sticks appear on the screen.)
Alright, class! You’ve learned the theory, mastered the techniques, and are ready to embark on your jelly blush journey! Here are some of my personal favorites to get you started:
- [Brand Name] [Blush Stick Name]: (Professor Blushington enthusiastically describes the product’s texture, color payoff, and overall performance.)
- [Brand Name] [Blush Stick Name]: (Professor Blushington highlights the unique features and benefits of this particular blush stick.)
- [Brand Name] [Blush Stick Name]: (Professor Blushington raves about the affordability and accessibility of this budget-friendly option.)
(Professor Blushington encourages students to do their own research and find the perfect jelly blush stick for their individual needs and preferences.)
VII. Conclusion: Embrace the Glow!
(Professor Blushington smiles warmly at the class.)
And there you have it, my dears! Everything you need to know to unlock the secrets of the Jelly Essence Blush Stick and achieve that coveted, lit-from-within glow. Remember, blush is more than just a makeup product; it’s a tool for self-expression, a way to enhance your natural beauty, and a confidence booster!
So, go forth and embrace the glow! Experiment with different shades, techniques, and creative uses. Don’t be afraid to make mistakes – that’s how you learn! And most importantly, have fun!
(Professor Blushington picks up her sparkly pointer and gives a final wink.)
Class dismissed! Now go forth and blush your way to world domination! ✨💖💋
For detailed product specifications and purchases, please go to :https://zenamakeup.com/products/jelly-essence-blush-stick
Leave a Reply