Lecture: Decoding the Depths: A Deep Dive into the Shades and Intensity of Long-Wear Precision Gel Eyeliner Pens
(Intro Music: Dramatic suspenseful music fades in and then abruptly cuts off)
Alright, settle in, settle in, future makeup maestros! Welcome to Eyeliner 101: Beyond the Basic Black! Today, we’re not just learning how to apply eyeliner (though we’ll sprinkle in some pro-tips, don’t worry). No, no. Today, we’re delving into the very soul of the Long-Wear Precision Gel Eyeliner Pen. We’re cracking the code of its shades, understanding their intensity, and ultimately, mastering the art of using these chromatic weapons to achieve eyeliner enlightenment.
(Professor appears on screen – maybe a bit frazzled, wearing slightly smudged eyeliner, but with a twinkle in their eye)
I’m your instructor, Professor Liner-Logic (you can call me Prof. LL, if you’re feeling brave). And I’ve seen it all. I’ve witnessed the good, the bad, and the tragically smudged. I’ve helped rescue countless wings from plummeting into oblivion. And today, I’m here to impart my wisdom…before my caffeine wears off.
(Sips dramatically from an oversized mug that reads "Eyeliner Emergency Response Team")
So, grab your notebooks (digital or actual, I’m not judging), and let’s embark on this eye-opening journey!
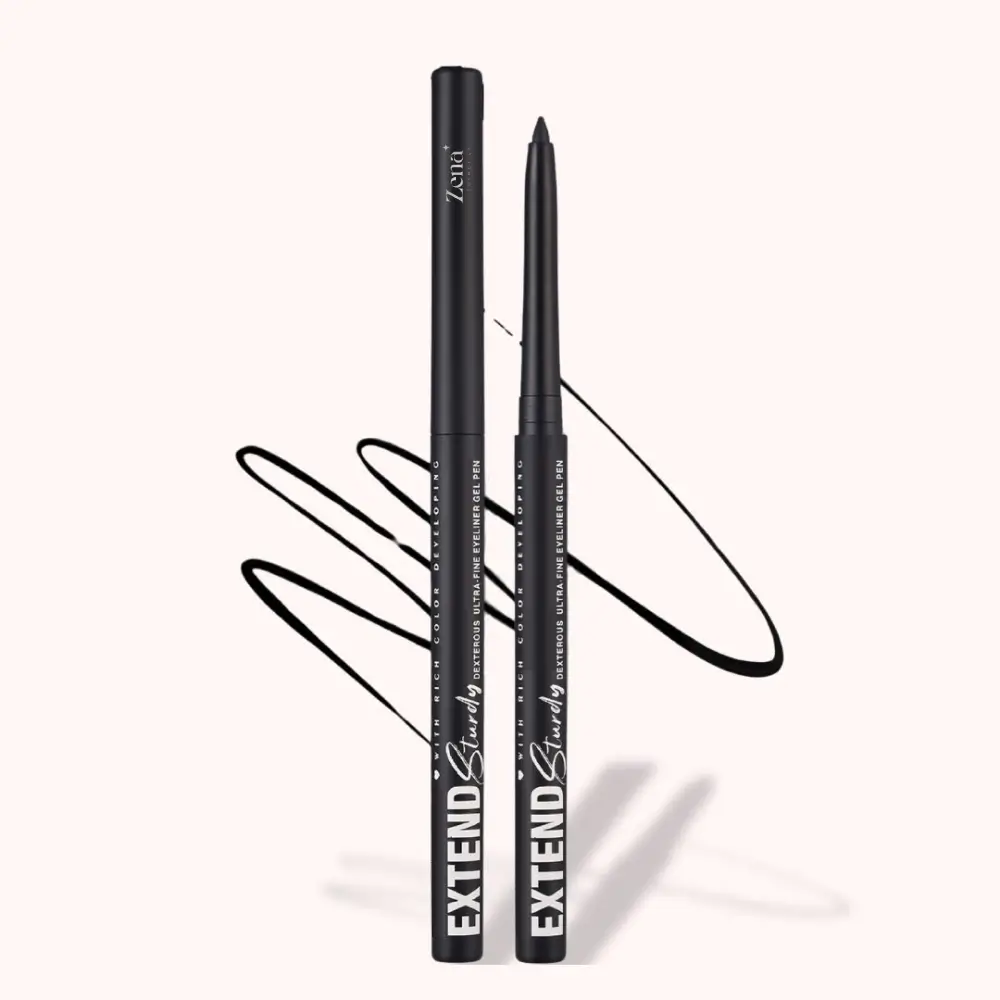
(Section 1: The Gel Eyeliner Pen – A Love Story (and Why It Matters))
First, a little background for the uninitiated. Why are we so obsessed with gel eyeliner pens? Why not stick to pencils or liquid liners? Well, my dear students, it boils down to a glorious trifecta:
- Precision: That fine-tipped applicator is your best friend for creating crisp lines, delicate flicks, and intricate designs. Think of it as an extension of your artistic vision.
- Pigment Power: Gel formulas are notorious for their intense color payoff. We’re talking one-swipe wonder levels of saturation.
- Longevity: The "long-wear" claim isn’t just marketing fluff (well, mostly). These formulas are designed to resist smudging, fading, and generally betraying you halfway through the day.
(Icon: A heart with an eyeliner pen piercing through it)
Now, let’s move on to the heart of the matter: the shades themselves!
(Section 2: The Spectrum of Sensational: Exploring the Available Shades)
The world of gel eyeliner pens isn’t just black and white (although those are, admittedly, essential). Prepare yourselves for a kaleidoscope of colors! Let’s break down the common shade categories and their personalities:
(Table 1: Common Gel Eyeliner Pen Shade Categories and Their Personalities)
| Shade Category | Typical Shades | Personality | Best For |
|---|---|---|---|
| Classic Blacks | Jet Black, Onyx, Carbon Black | Timeless, sophisticated, powerful, a little bit mysterious. The LBD of eyeliners. | Everyday looks, smoky eyes, creating dramatic wings, defining the lash line. |
| Browns & Bronzes | Chocolate Brown, Espresso, Bronze | Warm, inviting, natural, softer than black. Your "no-makeup makeup" secret weapon. | Softening a daytime look, enhancing brown or hazel eyes, creating a subtle wing. |
| Grays & Silvers | Charcoal Gray, Slate Gray, Silver | Cool, modern, edgy, a touch futuristic. Adds a hint of dimension without being too overpowering. | Creating a smoky eye with a twist, complementing cool skin tones, adding a subtle sparkle. |
| Blues & Purples | Navy Blue, Cobalt Blue, Violet | Playful, vibrant, romantic, eye-catching. Lets you express your inner artist. | Enhancing blue or green eyes, adding a pop of color to a neutral look, experimenting with bold styles. |
| Greens & Teals | Emerald Green, Forest Green, Teal | Earthy, exotic, captivating, a little bit unexpected. Perfect for adding a touch of nature to your look. | Enhancing green or hazel eyes, creating a unique smoky eye, adding a subtle pop of color. |
| Jewel Tones | Ruby Red, Sapphire Blue, Amethyst | Luxurious, opulent, glamorous, instantly elevates any look. Perfect for special occasions. | Evening events, parties, creating a bold and unforgettable statement. |
| Metallics | Gold, Copper, Rose Gold | Radiant, illuminating, adds a touch of sparkle and shine. Perfect for highlighting the eyes. | Highlighting the inner corner of the eye, creating a glamorous look, adding a touch of festivity. |
| Unconventional Hues | White, Yellow, Neon Pink | Bold, experimental, attention-grabbing, not for the faint of heart. Express your unique personality! | Editorial looks, costume makeup, expressing individuality, turning heads wherever you go. |
(Emoji: A rainbow emoji to symbolize the variety of shades)
Pro-Tip #1: When choosing a shade, consider your eye color! Certain shades will make your eyes pop. For example:
- Blue eyes: Browns, coppers, golds, and warm oranges will enhance the blue.
- Green eyes: Purples, mauves, and burgundies will make your green eyes stand out.
- Brown eyes: You’re lucky! Most shades will look great on you, so experiment and have fun!
(Section 3: Intensity Matters: Decoding the Pigment Power)
Not all shades are created equal. Some are demure and subtle, while others scream for attention. Understanding the intensity of a shade is crucial for achieving your desired look.
(3.1: Factors Influencing Intensity)
Several factors contribute to the intensity of a gel eyeliner pen:
- Pigment Concentration: The higher the concentration of pigment, the more intense the color will be.
- Formula Texture: A creamier formula tends to deliver more intense color than a drier one.
- Application Technique: Applying multiple layers or using a heavier hand will increase the intensity.
- Finish: A matte finish will appear more intense than a shimmery or metallic finish.
(3.2: Intensity Levels: From Subtle to Show-Stopping)
Let’s categorize the intensity levels:
(Table 2: Intensity Levels of Gel Eyeliner Pens)
| Intensity Level | Characteristics | Shades Typically Found | Best For | Application Tips |
|---|---|---|---|---|
| Subtle | Sheer, buildable, natural-looking, adds a hint of color. | Light browns, grays, pastels, muted metallics. | Everyday looks, softening a harsh line, no-makeup makeup. | Use a light hand, blend the edges, apply a thin layer. |
| Medium | Opaque, noticeable, provides good color payoff, versatile. | Chocolate browns, charcoals, navy blues, emerald greens. | Daytime looks with a pop of color, creating a classic wing, defining the eyes without being too dramatic. | Apply a single layer for a defined line, build up the color for more intensity. |
| Intense | Highly pigmented, bold, dramatic, commands attention. | Jet blacks, jewel tones, vibrant blues and purples, bright metallics. | Evening events, creating a smoky eye, adding a dramatic flair. | Use a precise applicator, apply with a firm hand, build up the color in layers, consider using a primer. |
(3.3: Swatching Like a Pro)
Before committing to a full-fledged eyeliner masterpiece, always swatch the shade! Swatching allows you to:
- Assess the true color payoff.
- Gauge the intensity.
- Determine the formula’s texture.
- Check for any potential smudging or fading.
(Icon: A hand with swatches of different eyeliner colors on the back)
- Assess the true color payoff.
- Gauge the intensity.
- Determine the formula’s texture.
- Check for any potential smudging or fading.
(Icon: A hand with swatches of different eyeliner colors on the back)
Pro-Tip #2: Swatch on your eyelid! The skin on your eyelid is different from the skin on your arm, so you’ll get a more accurate representation of how the shade will look on your eyes.
(Section 4: Beyond the Basics: Advanced Techniques and Considerations)
Now that you’ve mastered the fundamentals, let’s explore some advanced techniques and considerations:
(4.1: Layering and Mixing Shades)
Don’t be afraid to experiment with layering and mixing shades! This allows you to create custom colors and add dimension to your eyeliner looks.
- Layering: Apply a lighter shade first, then layer a darker shade on top to create a gradient effect.
- Mixing: Use a small brush to mix two different shades on a palette, then apply the custom color to your eyes.
(4.2: Using Eyeliner as Eyeshadow)
Gel eyeliner pens can also be used as eyeshadow! Simply apply a small amount to your eyelid and blend it out with a brush. This is a great way to create a quick and easy smoky eye.
(4.3: Considering Your Skin Tone)
Your skin tone can affect how a shade appears on your eyes.
- Fair skin: Lighter shades and pastels will look more flattering. Avoid overly dark shades, as they can be too harsh.
- Medium skin: You can wear a wider range of shades, but avoid shades that are too similar to your skin tone.
- Dark skin: Rich, deep shades will look stunning. Don’t be afraid to experiment with bold colors and metallics.
(4.4: The Importance of a Good Eyeliner Remover)
Let’s face it: mistakes happen. A good eyeliner remover is essential for cleaning up smudges and removing your eyeliner at the end of the day. Choose a gentle, oil-based remover that won’t irritate your eyes.
(Emoji: An angel emoji holding an eyeliner remover)
(Section 5: The Hall of Shame: Common Eyeliner Mistakes and How to Avoid Them)
We’ve all been there. The eyeliner wing that resembles a seagull in distress. The shaky line that looks like it was drawn by a toddler. Let’s address some common eyeliner mistakes and how to avoid them:
(Table 3: Common Eyeliner Mistakes and How to Avoid Them)
| Mistake | Cause | Solution |
|---|---|---|
| The Uneven Wing | Lack of practice, shaky hand, not using a guide. | Practice makes perfect! Use a piece of tape or a business card as a guide. Start with a thin line and gradually build up the thickness. |
| The Smudged Eyeliner | Oily eyelids, using a non-waterproof formula, rubbing your eyes. | Use an eyelid primer to control oil. Choose a long-wear, waterproof formula. Avoid rubbing your eyes. Set your eyeliner with a powder eyeshadow of the same color. |
| The Too-Thick Eyeliner | Applying too much product at once, not blending properly. | Start with a thin line and gradually build up the thickness. Use a small brush to blend the edges. |
| The Droopy Eyeliner | Following the natural curve of your eye downwards. | Angle your wing upwards and outwards, following the direction of your lower lash line. |
| Using the Wrong Shade for Your Eye Color | Not considering your eye color when choosing a shade. | Refer to Section 2 for tips on choosing the right shade for your eye color. |
| Not Sharpening Your Pencil (If Applicable) | Using a dull pencil can result in a thick, uneven line. | Keep your pencil sharp! Invest in a good quality sharpener. |
(Professor LL dramatically sighs and wipes away a rogue eyeliner smudge)
(Section 6: Conclusion: Go Forth and Wing It!)
And there you have it, my aspiring eyeliner aficionados! You’re now equipped with the knowledge to navigate the wonderful world of Long-Wear Precision Gel Eyeliner Pens. Remember, practice is key, experimentation is encouraged, and a good sense of humor is essential (because let’s be honest, sometimes eyeliner just has a mind of its own).
(Professor LL winks at the camera)
Now go forth, conquer those wings, and create eyeliner looks that will make the world say, "WOW!"
(Outro Music: Upbeat, empowering music fades in)
(Final slide: A picture of perfectly winged eyeliner with the text "Wing It Like You Mean It!")
(Bonus Content: A blooper reel of Professor LL struggling to apply eyeliner, followed by a montage of students showcasing their best eyeliner looks.)
For detailed product specifications and purchases, please go to :https://zenamakeup.com/products/long-wear-precision-gel-eyeliner-pen
Leave a Reply