Lecture: The Glitterati’s Guide to Eyelid Sparkle: Wear Time, Intensity & the Art of Not Looking Like a Disco Ball Gone Wrong
(🎤 clears throat dramatically ✨)
Alright, glitter-loving graduates! Welcome, welcome! Today, we’re diving deep into the shimmering, sparkly, and sometimes slightly scary world of eyelid glitter. Specifically, we’re tackling the burning question: how long will that sparkle last, and how intensely will you blind onlookers with its brilliance? We’ll be using our hypothetical 5-Piece Glitter Set as a case study. Buckle up, buttercups, because this is going to be a glitter-infused rollercoaster!
(⚠️ Disclaimer: No actual disco balls were harmed in the making of this lecture. Side effects of excessive glitter exposure may include spontaneous dance parties, an overwhelming urge to sing ABBA, and attracting magpies. ⚠️)
I. Introduction: Why Glitter on the Eyes Matters (And Why It’s So Complicated)
(🤔 Professor strokes imaginary beard thoughtfully)
Let’s face it: glitter on the eyes is an instant mood booster. It’s the makeup equivalent of a shot of espresso mixed with confetti. But unlike espresso, glitter can be… temperamental. One wrong move, and you’re not shimmering; you’re shedding. You’re not sophisticated sparkle; you’re a glitter-bombed kindergartener.
The key to glitter glory lies in understanding the factors that influence its wear time and intensity. We’re talking about things like:
- Glitter Formulation: Is it loose, pressed, gel-based, or a liquid shadow?
- Glitter Particle Size & Shape: Chunky glitter? Micro-glitter? Hexagonal? Iridescent? They all behave differently!
- Application Technique: Slap it on with your finger? Precise placement with a brush? We’ll dissect it all!
- Underlying Base: Primer? Eyeshadow? Glitter glue? The foundation is crucial!
- Environmental Factors: Humidity? Wind? A rogue toddler determined to smear your face? Life happens.
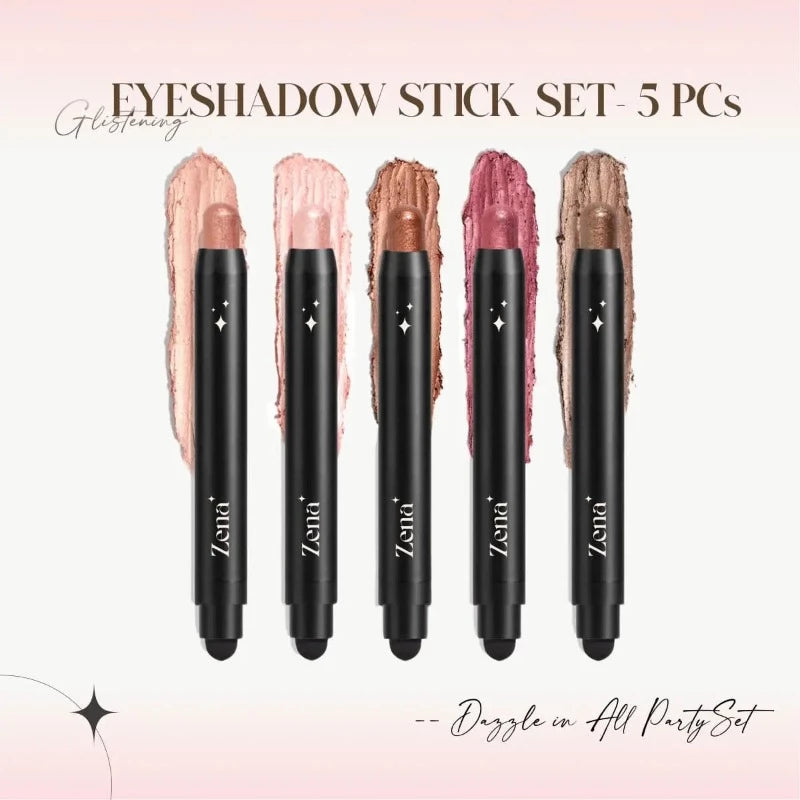
Our hypothetical 5-Piece Glitter Set will help us illustrate these points beautifully. Let’s assume this set includes the following:
| Glitter Type | Description | Particle Size | Consistency |
|---|---|---|---|
| Loose Glitter #1 | Ultra-fine, iridescent glitter in a shimmering champagne color. | Micro-glitter | Loose powder |
| Loose Glitter #2 | Chunky, holographic glitter with large hexagonal pieces. | Chunky Glitter | Loose powder |
| Pressed Glitter #1 | A shimmering teal glitter pressed into a pan. | Fine-Medium | Pressed Powder |
| Gel Glitter | A clear gel base infused with multi-colored, fine glitter. | Fine Glitter | Gel |
| Liquid Glitter | A liquid eyeshadow with a high concentration of silver glitter. | Fine-Medium | Liquid |
This variety gives us a great platform to explore the nuances of glitter application and longevity.
II. The Glitter Breakdown: Formulation, Particle Size, and the Impact on Wear Time & Intensity
(🔎 Professor puts on metaphorical magnifying glass)
Let’s dissect each glitter type in our set and see how its formulation and particle size affect its performance.
A. Loose Glitter #1: The Champagne Dream
- Formulation: Loose powder, ultra-fine, iridescent.
- Particle Size: Micro-glitter.
- Wear Time Potential: Medium (4-6 hours with proper base).
- Intensity Potential: Subtle shimmer to moderate sparkle, depending on application.
Micro-glitter is generally easier to work with than chunky glitter. It blends more seamlessly and creates a softer, more diffused sparkle.
- Pros: Easy to apply, buildable intensity, less likely to feel gritty.
- Cons: Can be messy (glitter fallout is real!), requires a good base for adherence.
- Application Tips: Use a damp brush or a glitter glue for best results. Pat the glitter onto the lid rather than sweeping it.
- Humorous Analogy: Think of it as the "pearl necklace" of glitters – classy, understated, but still undeniably sparkly.
B. Loose Glitter #2: The Holographic Havoc
- Formulation: Loose powder, chunky, holographic.
- Particle Size: Chunky Glitter.
- Wear Time Potential: Low (1-3 hours, even with a strong base).
- Intensity Potential: Maximum sparkle! Prepare to blind onlookers.
Chunky glitter is the rockstar of the glitter world. It’s bold, attention-grabbing, and… a bit of a diva.
- Pros: High impact, creates a dramatic effect, perfect for special occasions.
- Cons: Difficult to apply, prone to fallout, can feel uncomfortable, may require special removal techniques. (⚠️ AVOID GETTING IT IN YOUR EYES AT ALL COSTS!)
- Application Tips: Use a thick layer of glitter glue and apply the glitter one piece at a time with tweezers or a silicone applicator. Consider using a glitter primer specifically designed for chunky glitters.
- Humorous Analogy: The "sequined jumpsuit" of glitters – fabulous, but not exactly practical for grocery shopping.
C. Pressed Glitter #1: The Teal Temptation
- Formulation: Pressed Powder, shimmering teal.
- Particle Size: Fine-Medium.
- Wear Time Potential: Medium-High (5-8 hours, depending on the formula and primer).
- Intensity Potential: Moderate to high sparkle, depending on application.
Pressed glitters offer a more controlled application and less fallout compared to loose glitters.
- Pros: Easier to apply than loose glitter, less messy, often contains binding agents that improve adherence.
- Cons: May not have the same intensity as loose glitter, can sometimes be difficult to pick up with a brush.
- Application Tips: Use a dense brush or your finger to pick up the product and pat it onto the lid. A glitter primer can enhance its intensity and longevity.
- Humorous Analogy: The "little black dress" of glitters – versatile, reliable, and always appropriate (well, almost always).
D. Gel Glitter: The Glitter Glue-In-One
- Formulation: Clear gel base, multi-colored fine glitter.
- Particle Size: Fine Glitter.
- Wear Time Potential: Medium-High (4-7 hours, depending on the gel formula).
- Intensity Potential: Moderate sparkle, evenly distributed.
Gel glitters offer a convenient and relatively mess-free way to apply glitter.
- Pros: Easy to apply, less fallout than loose glitter, often contains moisturizing ingredients.
- Cons: Can sometimes feel sticky, may crease if applied too thickly, the glitter intensity may be limited by the gel base.
- Application Tips: Apply a thin layer of the gel glitter to the lid and allow it to dry slightly before applying another layer for added intensity. Avoid applying too much product at once to prevent creasing.
- Humorous Analogy: The "yoga pants" of glitters – comfortable, easy to wear, and perfect for a casual sparkle.
E. Liquid Glitter: The Silver Siren
- Formulation: Liquid eyeshadow, high concentration of silver glitter.
- Particle Size: Fine-Medium.
- Wear Time Potential: High (6-10 hours, often waterproof).
- Intensity Potential: High sparkle, often with a metallic sheen.
Liquid glitters are known for their long-lasting wear and intense sparkle.
- Pros: Long-wearing, often waterproof, easy to apply, provides a uniform layer of glitter.
- Cons: Can sometimes feel drying, may be difficult to remove, can crease if applied too thickly.
- Application Tips: Apply a thin layer of the liquid glitter to the lid and blend the edges with a brush. Allow it to dry completely before applying additional layers.
- Humorous Analogy: The "power suit" of glitters – polished, professional, and ready to conquer the world (or at least a Tuesday).
(📊 Professor points to an imaginary chart)
Here’s a handy table summarizing the wear time and intensity potential of each glitter type:
| Glitter Type | Wear Time Potential | Intensity Potential |
|---|---|---|
| Loose Glitter #1 | Medium | Subtle to Moderate |
| Loose Glitter #2 | Low | Maximum |
| Pressed Glitter #1 | Medium-High | Moderate to High |
| Gel Glitter | Medium-High | Moderate |
| Liquid Glitter | High | High |
III. The Base Race: Primers, Eyeshadows, and the Quest for Glitter Adhesion
(🏁 Professor waves a checkered flag)
Now, let’s talk about the unsung heroes of the glitter world: the bases. Think of them as the glue that holds your glitter dreams together (literally). Choosing the right base can dramatically impact your glitter’s wear time and intensity.
- Primer: Eyeshadow primer is a must-have for any glitter application. It creates a smooth, tacky surface that helps the glitter adhere to the lid and prevents creasing. Look for a primer specifically designed for glitter or a sticky base like MAC Paint Pot.
- Eyeshadow: Applying a base eyeshadow that complements your glitter color can enhance its intensity and create a more dimensional look.
- Glitter Glue: This is the MVP for loose glitters, especially chunky ones. Glitter glue is designed to provide a super-strong hold and prevent fallout. Brands like NYX and Lit Cosmetics offer excellent options.
- Cream Eyeshadows: These can also serve as a sticky base for glitter. Just make sure to blend them well and allow them to set slightly before applying the glitter.
(💡 Professor has a lightbulb moment)
Pro-Tip: For maximum wear time and intensity, consider layering your bases. Start with an eyeshadow primer, followed by a cream eyeshadow or glitter glue, and then apply your glitter.
IV. Application Nation: Techniques for Glitter Perfection
(🖌️ Professor wields an imaginary makeup brush)
The way you apply your glitter is just as important as the glitter itself. Here are some techniques to help you achieve glitter perfection:
- Patting vs. Sweeping: Always pat the glitter onto the lid rather than sweeping it. Sweeping can disrupt the base and cause fallout.
- Brush Selection: Use a dense, flat brush for pressed glitters and a smaller, more precise brush for loose glitters. Silicone applicators are great for applying chunky glitter.
- Finger Application: Sometimes, the best tool is your finger! The warmth of your finger can help the glitter adhere to the base.
- Setting Spray: After applying your glitter, lightly mist your face with a setting spray to help lock everything in place.
(🆘 Professor anticipates a glitter-related emergency)
Emergency Glitter Removal: Keep some scotch tape or a lint roller handy to remove any stray glitter particles. Micellar water or an oil-based cleanser can also help dissolve glitter. NEVER RUB GLITTER OFF YOUR FACE! This can irritate your skin and potentially scratch your eyes.
V. Environmental Enemies: Humidity, Wind, and the Glitter-Smearing Toddler
(🌪️ Professor points to a weather map)
Even with the perfect glitter, base, and application technique, environmental factors can still wreak havoc on your sparkle.
- Humidity: High humidity can cause glitter to crease and smudge. Use a waterproof primer and setting spray to combat this.
- Wind: Windy conditions can blow loose glitter all over your face (and everyone else’s). Avoid wearing loose glitter on windy days or use a setting spray to create a protective barrier.
- The Glitter-Smearing Toddler: Need I say more? Embrace the chaos! (Or invest in a good makeup setting spray and a strong coffee.)
VI. Conclusion: Glitter Wisdom for the Ages
(🎓 Professor puts on a graduation cap)
Congratulations, glitter graduates! You’ve made it through the glitter gauntlet! Now you’re armed with the knowledge to conquer any glitter-related challenge. Remember:
- Choose the right glitter for the occasion. A subtle shimmer for work, a bold sparkle for a night out.
- Invest in a good base. Primer, glitter glue, and a complementary eyeshadow are your best friends.
- Apply your glitter with care. Pat, don’t sweep!
- Embrace the sparkle! Glitter is meant to be fun and expressive. Don’t be afraid to experiment and find what works best for you.
(✨ Professor throws glitter into the air with wild abandon)
Now go forth and sparkle! But please, for the love of all that is holy, don’t get glitter in my eyes. Class dismissed! 🎉
For detailed product specifications and purchases, please go to :https://zenamakeup.com/products/glimmer-glow-5-piece-glitter-cream-eyeshadow-stick-set
Leave a Reply