The Art of the Quick Fix: A Masterclass in Minimalist Beauty with the Traceless Matte Foundation Repair Stick 💄✨
(A Lecture for Aspiring Makeup Ninjas)
Alright, class, settle down, settle down! Today, we’re ditching the 50-step routines and the multi-product madness. We’re diving headfirst into the glorious world of minimalism, specifically, the art of the quick fix using our star player: the Traceless Matte Foundation Repair Stick. 🎉
Forget the hours spent perfecting your base, contouring like a Michelangelo of cheekbones, and blending like a human airbrush. We’re talking about those moments when life throws you a curveball – a surprise Zoom meeting, an impromptu date, a rogue pimple staging a rebellion, or just a general case of “I woke up like this… and by ‘this’ I mean slightly terrifying.” 😱
This isn’t about a full face transformation; it’s about targeted precision, strategic camouflage, and the confidence that comes with knowing you can look polished and pulled-together in minutes. Think of it as beauty triage.🚑 We’re diagnosing the problem areas and applying the perfect dose of corrective magic.
Why the Traceless Matte Foundation Repair Stick? (Besides the Obvious Genius of Its Name)
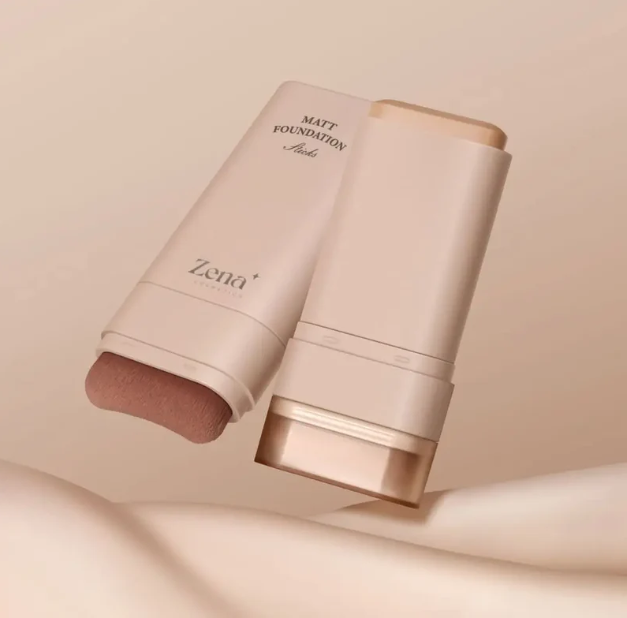
Before we get our hands dirty, let’s appreciate our tool. The Traceless Matte Foundation Repair Stick isn’t just any foundation stick. It’s a cleverly formulated, multi-tasking marvel. Here’s the breakdown:
- Matte Finish: Crucial for controlling shine and providing a polished, even canvas. We’re aiming for "effortlessly chic," not "freshly glazed donut." 🍩 (Unless you’re into that, no judgment, but this lecture is about matte.)
- High Pigment: A little goes a long way. This isn’t a sheer wash of color; it’s a targeted dose of coverage.
- Blendable Formula: Despite the high pigment, it melts into the skin with ease. We want seamless blending, not a visible line of demarcation. Think "invisible force field against imperfections," not "war paint."
- Portable & Convenient: The stick format is perfect for on-the-go touch-ups. Toss it in your purse, your desk drawer, your gym bag – anywhere you might need a quick fix. It’s basically a beauty emergency kit in solid form.
- Versatility: It’s not just for foundation. This stick can moonlight as concealer, spot treatment, and even a subtle contour (if you’re feeling ambitious).
The Minimalist Touch-Up Routine: A Step-by-Step Guide
Now, let’s get down to business. This routine focuses on addressing common skin concerns and creating a naturally flawless look in minimal time.
Step 1: Assess the Situation (The Beauty Triage)
Before you even reach for the stick, take a good look at your face in the mirror (preferably in natural light). Identify the areas that need the most attention. Are we battling:
- Under-eye circles? 🐼 The classic culprit.
- Redness around the nose? 🤧 A common issue, especially during allergy season or after a good cry.
- Blemishes or breakouts? 🌋 The uninvited guests that always seem to show up at the worst possible time.
- Uneven skin tone? 🎨 Patches of discoloration or hyperpigmentation.
- General dullness? 😴 The "I need more sleep" look.
Knowing your problem areas is half the battle.
Step 2: Prep the Canvas (Optional, But Recommended)
If you have time (and we’re talking seconds, not minutes), a quick spritz of hydrating mist can work wonders. It will plump the skin and help the foundation stick blend even more seamlessly. Think of it as priming the pump for a flawless finish. 💦
If you’re particularly oily, a quick blot with blotting papers can also be beneficial. We want to control shine, not exacerbate it.
Step 3: Targeted Application (The Art of Strategic Camouflage)
This is where the magic happens. Remember, less is more! We’re aiming for precision, not a full face mask.
This is where the magic happens. Remember, less is more! We’re aiming for precision, not a full face mask.
| Concern | Application Technique | Tool(s) | Pro Tip |
|---|---|---|---|
| Under-eye Circles | Draw a small triangle of product under the eye, with the base along the lower lash line and the point towards the cheek. Blend upwards and outwards. | Finger, sponge, or small concealer brush. | Focus on the inner corner of the eye, where darkness is usually most prominent. Avoid applying too much product directly under the lash line, as this can accentuate fine lines. Set with a light dusting of powder if needed to prevent creasing. |
| Redness | Dab the stick directly onto the areas of redness (around the nose, cheeks, or chin). Blend outwards to diffuse the color. | Finger, sponge, or small concealer brush. | Use a stippling motion (light tapping) to avoid irritating sensitive skin. If redness is severe, consider using a green color-correcting primer underneath the foundation stick for extra neutralization. |
| Blemishes | Dot the stick directly onto the blemish. Let it sit for a few seconds to allow the pigment to adhere. Then, gently tap around the edges to blend. | Small detail brush or clean fingertip. | Avoid rubbing the blemish, as this can spread bacteria and worsen the inflammation. For particularly stubborn blemishes, layer the product in thin coats, allowing each layer to dry slightly before applying the next. Consider a salicylic acid spot treatment underneath the foundation stick for overnight healing. |
| Uneven Skin Tone | Apply the stick to the areas of discoloration (hyperpigmentation, sun spots) and blend outwards to create a seamless transition. | Finger, sponge, or foundation brush. | Use a shade slightly lighter than your skin tone to brighten the discolored areas. Exfoliate regularly to help fade hyperpigmentation over time. |
| General Dullness | Focus on brightening the high points of the face (center of the forehead, bridge of the nose, cheekbones, and chin). Blend well for a natural glow. | Finger, sponge, or foundation brush. | Choose a shade that’s slightly lighter than your skin tone for a subtle highlighting effect. Add a touch of cream blush to the apples of your cheeks for a healthy flush. |
A Note on Shade Matching:
Ideally, you’ll have a Traceless Matte Foundation Repair Stick that matches your skin tone perfectly. If not, here are a few tips:
- For Concealing: Choose a shade that’s slightly lighter than your skin tone to brighten under the eyes and highlight the high points of your face.
- For Spot Treatment: Choose a shade that matches your skin tone as closely as possible to seamlessly cover blemishes and imperfections.
- For Contour (if you’re feeling bold): Choose a shade that’s 2-3 shades darker than your skin tone and has cool undertones. Apply sparingly to the hollows of your cheeks, along the jawline, and along the sides of the nose. Blend, blend, blend!
Step 4: Blending is Your Best Friend (Seriously)
Blending is the key to a natural-looking finish. No one wants to see obvious patches of foundation.
- Fingers: Your fingertips are warm and provide a natural, diffused blend. Perfect for smaller areas like under the eyes or around the nose.
- Sponge: A damp beauty sponge is excellent for creating a seamless, airbrushed effect. Just remember to squeeze out any excess water before using.
- Brush: A small, dense brush is ideal for precise application and blending, especially around blemishes.
The Golden Rule of Blending: Start at the center of the area you’re covering and blend outwards, feathering the edges to create a smooth transition with your natural skin.
Step 5: Set It and Forget It (Optional, But Recommended for Longevity)
If you want your touch-up to last all day, a light dusting of translucent powder can help set the foundation and prevent shine.
- Powder Brush: Use a large, fluffy brush to lightly dust the powder over the areas where you applied the foundation stick.
- Beauty Sponge: For a more targeted application, use a damp beauty sponge to press the powder into the skin. This technique is called "baking" and can help lock in the foundation for extra-long wear.
Step 6: The Final Check (The "Did I Get Away With It?" Moment)
Take one last look in the mirror to make sure everything is blended seamlessly and that you’ve addressed all your problem areas. Adjust as needed.
Bonus Tips & Tricks for the Traceless Matte Foundation Repair Stick Aficionado
- The "No Makeup" Makeup Look: Use the stick to even out your skin tone and cover imperfections, then add a touch of mascara and lip balm for a naturally polished look.
- The "Travel Hack": Pack the stick in your carry-on to touch up your makeup after a long flight. It’s a lifesaver for combating travel-induced dullness.
- The "Emergency Kit Essential": Keep the stick in your purse for unexpected touch-ups throughout the day. You never know when you might need a quick fix!
- The "Contour Cheat Code": Use a shade that’s 2-3 shades darker than your skin tone to create subtle contour on the cheekbones, jawline, and nose. Remember to blend, blend, blend!
- The "Highlight Hero": Use a shade that’s slightly lighter than your skin tone to highlight the high points of your face for a natural glow.
- Don’t be afraid to experiment: The beauty of the Traceless Matte Foundation Repair Stick is its versatility. Play around with different techniques and find what works best for you.
Troubleshooting Common Issues
- Cakey Finish: You’re using too much product! Remember, a little goes a long way. Use a damp beauty sponge to blend out the excess.
- Dry Patches: Make sure to moisturize your skin well before applying the foundation stick. You can also mix a drop of facial oil into the foundation stick for extra hydration.
- Foundation is Sliding Off: You’re not setting it with powder! A light dusting of translucent powder will help lock in the foundation and prevent it from sliding off.
- Shade Doesn’t Match: It happens! Try blending the foundation stick with a moisturizer or mixing it with another foundation to adjust the shade.
The Takeaway: Embrace the Minimalist Mindset
The Traceless Matte Foundation Repair Stick is more than just a makeup product; it’s a tool for embracing a minimalist mindset. It’s about simplifying your routine, focusing on what matters most, and feeling confident in your own skin.
So, go forth and conquer! Armed with your trusty foundation stick and these newfound skills, you’re ready to tackle any beauty emergency that comes your way. Remember, beauty isn’t about perfection; it’s about feeling good in your own skin. And sometimes, all it takes is a quick fix to boost your confidence and get you ready to face the world. 🌍 💪
Class dismissed! Now go practice your newfound ninja skills! 🥷
For detailed product specifications and purchases, please go to :https://zenamakeup.com/products/traceless-matte-foundation-repair-stick
Leave a Reply