Simplify Your Eye Routine: This No-Crease Boosting Creamy Eye Primer Set Offers Multiple Options for Perfect Eye Prep – A Deep Dive (with Snacks!) 🤓🍿
Alright, class! Settle down, settle down. Grab your metaphorical notebooks (or real ones, I’m not your mom), because today we’re diving headfirst into the wonderful world of eye primer. Yes, I know, it sounds like something your grandma uses, but trust me, this little pot of magic is the unsung hero of flawless eye makeup. And we’re not just talking about any eye primer, we’re talking about the No-Crease Boosting Creamy Eye Primer Set, which, frankly, sounds like a superhero team-up waiting to happen. 🦸♀️🦸♂️
Think of this lecture as a choose-your-own-adventure guide to eye prep. We’ll explore why eye primer is essential, dissect the benefits of a creamy formula, and ultimately, empower you to create eye looks that last longer than your last online shopping spree.
So, let’s get started!
Lecture Outline:
- The Case for Eye Primer: Why Bother? (Spoiler alert: It’s not just for Instagram influencers)
- Creamy vs. Other Formulas: The Texture Showdown! (May the best consistency win!)
- Decoding the "No-Crease Boosting" Claims: What Does It All Mean?! (We’ll separate fact from fiction)
- The Power of Choice: Exploring the "Multiple Options" in the Set (Color, texture, and special effects – oh my!)
- Application Techniques: From Dab-and-Pat to Pro-Level Blending (No more streaks, I promise!)
- Primer Pairings: Finding the Perfect Match for Your Eyeshadows (Unlock the power of synergy!)
- Troubleshooting Common Primer Problems: The Eye Prep ER (Redness, dryness, and other emergencies!)
- Beyond Eyeshadow: Unexpected Uses for Your Creamy Primer (Think outside the lid!)
- The No-Crease Boosting Creamy Eye Primer Set: A Product Spotlight (Let’s talk specifics!)
- Final Thoughts: Eye Prep Nirvana Achieved! (Go forth and conquer those creases!)
1. The Case for Eye Primer: Why Bother?
Okay, let’s be honest. When you’re running late, eye primer is usually the first thing to get the axe. "Ain’t nobody got time for that!" But, my friends, skipping eye primer is like building a house on a shaky foundation. Sure, it might look good for a while, but eventually, things are going to crumble… or in this case, crease. 😫
Here’s the deal: Your eyelids are oily. (Yes, even if you think you have dry skin, those little lids are sneaky.) This oil breaks down your eyeshadow, causing it to fade, crease, and generally look sad by lunchtime. Eye primer acts as a barrier, absorbing that excess oil and creating a smooth, even canvas for your eyeshadow.
Think of it like this:
| Scenario | Without Primer | With Primer |
|---|---|---|
| The Canvas | Oily, uneven, and textured | Smooth, even, and oil-free |
| Eyeshadow Adhesion | Poor, prone to fading and creasing | Excellent, eyeshadow stays put all day |
| Color Payoff | Muted, less vibrant | True-to-pan color, pops beautifully |
| Longevity | Fades quickly, creases within hours | Lasts all day (or night!) without budging |
| Overall Look | "I’m tired and my makeup knows it" | "I woke up like this (flawless)" |
| Emoji | 😩 | 😍 |
Bottom line: Eye primer is an investment in your eye makeup. It’s the difference between a rushed, messy look and a polished, professional one. And let’s face it, who doesn’t want to look like a makeup artist waved a magic wand over their face? ✨
2. Creamy vs. Other Formulas: The Texture Showdown!
Now that we’re all on board with the importance of eye primer, let’s talk texture. Creamy eye primers are just one option in a sea of formulas, including:
- Liquid Primers: Often come with a doe-foot applicator, similar to lip gloss. Can be great for oily lids but can also be drying for some.
- Powder Primers: Usually translucent or tinted powders. Good for setting eyeshadow and absorbing oil, but may not provide as much creasing prevention as creamy formulas.
- Stick Primers: Creamy formulas in stick form. Easy to apply but can sometimes be too thick or greasy.
So, why creamy? Here’s why creamy eye primers often reign supreme:
- Hydration: Creamy formulas tend to be more hydrating than other types, which is great for mature skin or those with dry eyelids. 💧
- Smooth Application: They glide on effortlessly, creating a seamless base for eyeshadow.
- Color Payoff Enhancement: Creamy primers often have a slight tackiness that helps eyeshadow grip and appear more vibrant.
- Creasing Prevention: The creamy texture fills in fine lines and wrinkles, creating a smoother surface that helps prevent eyeshadow from settling into creases.
The Creamy Advantage: A Quick Comparison
| Feature | Creamy Primer | Liquid Primer | Powder Primer | Stick Primer |
|---|---|---|---|---|
| Hydration | High | Low to Moderate | Low | Moderate |
| Smoothness | Excellent | Good | Fair | Good |
| Color Payoff | Excellent | Good | Fair | Good |
| Crease Prevention | Excellent | Good | Moderate | Good |
| Best For | All skin types, especially dry/mature | Oily skin | Setting eyeshadow | On-the-go application |
Verdict: While other formulas have their merits, creamy eye primers offer a winning combination of hydration, smoothness, color payoff, and creasing prevention. They’re the versatile all-stars of the eye prep game. 🏆
3. Decoding the "No-Crease Boosting" Claims: What Does It All Mean?!
"No-crease!" It’s the holy grail of eye makeup. But let’s be real, not every product lives up to its claims. So, what does "no-crease boosting" actually mean?
Here’s the breakdown:
- No-Crease: This implies that the primer will prevent eyeshadow from settling into creases, even after hours of wear.
- Boosting: This suggests that the primer will enhance the performance of your eyeshadow, making it more vibrant, long-lasting, and easier to blend.
A truly "no-crease boosting" primer should:
- Absorb Oil: Keep those lids matte and ready for action.
- Smooth Texture: Fill in fine lines and imperfections.
- Grip Eyeshadow: Provide a tacky base for maximum color payoff.
- Extend Wear Time: Keep your eyeshadow looking fresh all day.
- Enhance Blendability: Make blending a breeze (no more harsh lines!).
Important Note: "No-crease" doesn’t mean absolutely zero creasing for everyone. Factors like skin type, eyeshadow formula, and application technique can all play a role. However, a good "no-crease boosting" primer should significantly reduce creasing and improve the overall look and longevity of your eye makeup. Think of it as an insurance policy for your eyeshadow. 💰
4. The Power of Choice: Exploring the "Multiple Options" in the Set
Now, the fun part! A truly great eye primer set doesn’t just offer one solution; it offers multiple options to cater to different needs and preferences. Think of it as a customizable eye prep experience.
What kind of options might you find in a "No-Crease Boosting Creamy Eye Primer Set?"
-
Different Shades:
- Translucent: Works for all skin tones and eyeshadow colors. Great for a natural look.
- Light/Fair: Perfect for fair skin tones and bright eyeshadows. Helps to brighten the eye area.
- Medium/Tan: Ideal for medium to tan skin tones and warm eyeshadows. Creates a more even base.
- Deep/Dark: Designed for deep skin tones and smoky eye looks. Prevents eyeshadow from looking ashy.
-
Different Finishes:
- Matte: Creates a completely matte base for maximum eyeshadow impact.
- Satin: Adds a subtle sheen for a more luminous look.
- Shimmer: Infused with shimmer particles to enhance the sparkle of your eyeshadow. (Use sparingly!)
-
Special Effects:
- Color Correcting: Primers with a hint of color (like peach or lavender) to neutralize discoloration or brighten the eye area.
- Brightening: Formulated with light-reflecting particles to make the eyes look more awake.
The Options Matrix:
| Option | Benefit | Best For |
|---|---|---|
| Translucent Shade | Versatile, works with all skin tones and eyeshadows | Everyday looks, natural makeup |
| Light/Fair Shade | Brightens the eye area, enhances bright eyeshadows | Fair skin, pastel eyeshadows |
| Medium/Tan Shade | Creates an even base for medium to tan skin | Warm eyeshadows, everyday looks for medium skin tones |
| Deep/Dark Shade | Prevents ashy undertones, enhances smoky eyes | Deep skin tones, dark eyeshadows |
| Matte Finish | Maximizes eyeshadow impact, controls oil | Oily lids, bold eyeshadow looks |
| Satin Finish | Adds a subtle sheen, creates a luminous look | Dry lids, everyday looks |
| Shimmer Finish | Enhances sparkle, adds dimension | Special occasions, glitter eyeshadows |
| Color Correcting | Neutralizes discoloration, brightens the eye area | Dark circles, uneven skin tone around the eyes |
| Brightening | Makes the eyes look more awake, adds radiance | Tired eyes, dull complexion |
Having these options allows you to customize your eye prep based on your skin tone, eyeshadow choice, and desired look. It’s like having a personal makeup artist in a pot! 🎨
5. Application Techniques: From Dab-and-Pat to Pro-Level Blending
Okay, you’ve got your primer, you’ve chosen your shade, now what? Applying eye primer isn’t rocket science, but a few key techniques can make a world of difference.
The Basics:
The Basics:
- Cleanse and Moisturize: Start with a clean, moisturized eye area. This ensures that the primer adheres properly and doesn’t cling to dry patches.
- Use a Small Amount: Less is more! Start with a tiny dab of primer on your fingertip. You can always add more if needed.
- Warm It Up: Gently warm the primer between your fingertips. This will help it blend more smoothly.
- Apply Evenly: Pat the primer onto your eyelid, from lash line to crease. Make sure to cover the entire lid area, including the inner corner and under the brow bone.
- Blend, Blend, Blend: Use your fingertip or a small brush to blend the primer seamlessly into your skin. There should be no visible lines or streaks.
- Set (Optional): If you have very oily lids, you can set the primer with a translucent powder.
Pro-Level Tips:
- Use a Brush for Precise Application: A flat, synthetic brush can help you apply the primer more precisely, especially in the inner corner of the eye.
- Apply Primer Under the Eyes: Extend the primer slightly under the eyes to prevent concealer from creasing.
- Wait for It to Set: Allow the primer to set for a minute or two before applying eyeshadow. This will give it time to absorb oil and create a tacky base.
- Don’t Forget the Lower Lash Line: Apply a thin layer of primer along the lower lash line to prevent eyeliner from smudging.
The Application Flowchart:
graph TD
    A[Cleanse and Moisturize Eye Area] --> B(Use Small Amount of Primer);
    B --> C{Warm Primer Between Fingertips?};
    C -- Yes --> D[Pat Primer onto Eyelid (Lash Line to Crease)];
    C -- No --> D;
    D --> E[Blend Seamlessly];
    E --> F{Oily Lids?};
    F -- Yes --> G[Set with Translucent Powder];
    F -- No --> H[Wait for Primer to Set (1-2 Minutes)];
    G --> H;
    H --> I[Apply Eyeshadow!];
Common Mistakes to Avoid:
- Using Too Much Primer: This can lead to a greasy, heavy feeling and can actually cause eyeshadow to crease.
- Not Blending Properly: Streaky primer can make your eyeshadow look patchy and uneven.
- Applying Eyeshadow Too Soon: Giving the primer time to set is crucial for optimal performance.
With a little practice, you’ll be applying eye primer like a pro in no time! 🚀
6. Primer Pairings: Finding the Perfect Match for Your Eyeshadows
Just like wine and cheese, certain eye primers pair better with certain eyeshadows. Understanding these pairings can unlock the full potential of your makeup.
Here’s a general guide:
- Powder Eyeshadows: A creamy, tacky primer is essential for powder eyeshadows. It helps them grip the lid and prevents them from fading or creasing.
- Cream Eyeshadows: A lighter, more emollient primer can help cream eyeshadows blend more smoothly and prevent them from creasing.
- Glitter Eyeshadows: A sticky primer is a must for glitter eyeshadows. It helps the glitter adhere to the lid and prevents fallout.
- Pigmented Eyeshadows: A tinted primer can help to neutralize discoloration and create an even base for pigmented eyeshadows.
The Pairing Power Table:
| Eyeshadow Type | Recommended Primer Type | Why? |
|---|---|---|
| Powder | Creamy, Tacky | Provides grip, prevents fading and creasing. |
| Cream | Light, Emollient | Helps with smooth blending, prevents creasing without being too heavy. |
| Glitter | Sticky, Glitter-Specific (if available) | Maximizes glitter adhesion, prevents fallout and mess. |
| Pigmented | Tinted, Color-Correcting | Neutralizes discoloration, creates an even base for true color payoff. |
| Shimmer | Satin Finish, Lightly Shimmering (optional) | Enhances shimmer, adds dimension without being overwhelming. |
| Matte | Matte Finish | Creates a completely matte base for maximum impact, controls oil. |
Example Scenarios:
- You’re using a highly pigmented purple eyeshadow: Opt for a light or medium tinted primer to neutralize any discoloration on your lids and ensure the purple pops.
- You’re creating a glittery smoky eye: Use a glitter-specific primer or a very sticky creamy primer to keep that glitter in place all night long.
- You’re going for a natural, everyday look with matte eyeshadows: A translucent, matte primer is your best bet.
Experiment and see what works best for you and your favorite eyeshadows! Don’t be afraid to mix and match until you find your perfect pairings. 🥂
7. Troubleshooting Common Primer Problems: The Eye Prep ER
Even with the best primer and the best intentions, sometimes things go wrong. Here’s a guide to troubleshooting common eye primer problems:
- Redness: If your eyelids are red or irritated after applying primer, you may be allergic to one of the ingredients. Discontinue use immediately and try a hypoallergenic primer.
- Dryness: If your eyelids feel dry or tight after applying primer, the formula may be too drying for your skin. Try a more hydrating creamy primer or apply a thin layer of eye cream before priming.
- Greasy Feeling: If your primer feels greasy or heavy, you may be using too much product. Try using a smaller amount and make sure to blend it thoroughly.
- Eyeshadow Creasing: If your eyeshadow is still creasing despite using primer, the formula may not be strong enough for your oily lids. Try a primer specifically designed for oily skin or set your primer with a translucent powder.
- Patchy Application: If your primer is applying patchy or uneven, your eyelids may be dry or flaky. Exfoliate your eyelids gently before applying primer to remove dead skin cells.
The Eye Prep Emergency Room:
| Symptom | Possible Cause(s) | Treatment |
|---|---|---|
| Redness | Allergic reaction | Discontinue use, try hypoallergenic primer. |
| Dryness | Primer too drying, dry skin | Use hydrating primer, apply eye cream before priming. |
| Greasy Feeling | Using too much primer | Use smaller amount, blend thoroughly. |
| Eyeshadow Creasing | Primer not strong enough, oily lids | Use primer for oily skin, set with translucent powder. |
| Patchy Application | Dry, flaky eyelids | Exfoliate gently, use hydrating primer. |
| Primer Peeling | Applying on top of oily skincare, incompatible formulas | Ensure skincare is fully absorbed before applying, avoid mixing oil-based and water-based formulas. |
Remember, finding the right primer and application technique is a process of trial and error. Don’t be afraid to experiment until you find what works best for your individual needs. 👩⚕️
8. Beyond Eyeshadow: Unexpected Uses for Your Creamy Primer
Who says eye primer is just for eyeshadow? This versatile product can be used for a variety of other purposes!
- Concealer Primer: Apply a thin layer of eye primer under your eyes to prevent concealer from creasing.
- Lipstick Primer: Apply a small amount of eye primer to your lips before applying lipstick to help it last longer and prevent feathering.
- Brow Primer: Use a clear or tinted eye primer to prime your brows before filling them in with pencil or powder. This will help the brow products adhere better and last longer.
- Eyeliner Primer: Apply a thin layer of eye primer along your lash line to prevent eyeliner from smudging or fading.
- Spot Treatment for Redness: Use a green-tinted eye primer to neutralize redness around the nose or on blemishes.
The Multi-Tasking Marvel Table:
| Use Case | Benefit | Application Tip |
|---|---|---|
| Concealer Primer | Prevents creasing, extends wear time | Apply thin layer under eyes before concealer. |
| Lipstick Primer | Prevents feathering, extends wear time | Apply thin layer to lips before lipstick. |
| Brow Primer | Helps brow products adhere, extends wear time | Apply before filling in brows with pencil or powder. |
| Eyeliner Primer | Prevents smudging, extends wear time | Apply thin layer along lash line before eyeliner. |
| Redness Spot Treatment | Neutralizes redness | Use green-tinted primer on red areas before foundation. |
Think of your creamy eye primer as a secret weapon in your makeup arsenal. It’s a versatile product that can help you achieve a flawless look from head to toe! 🤩
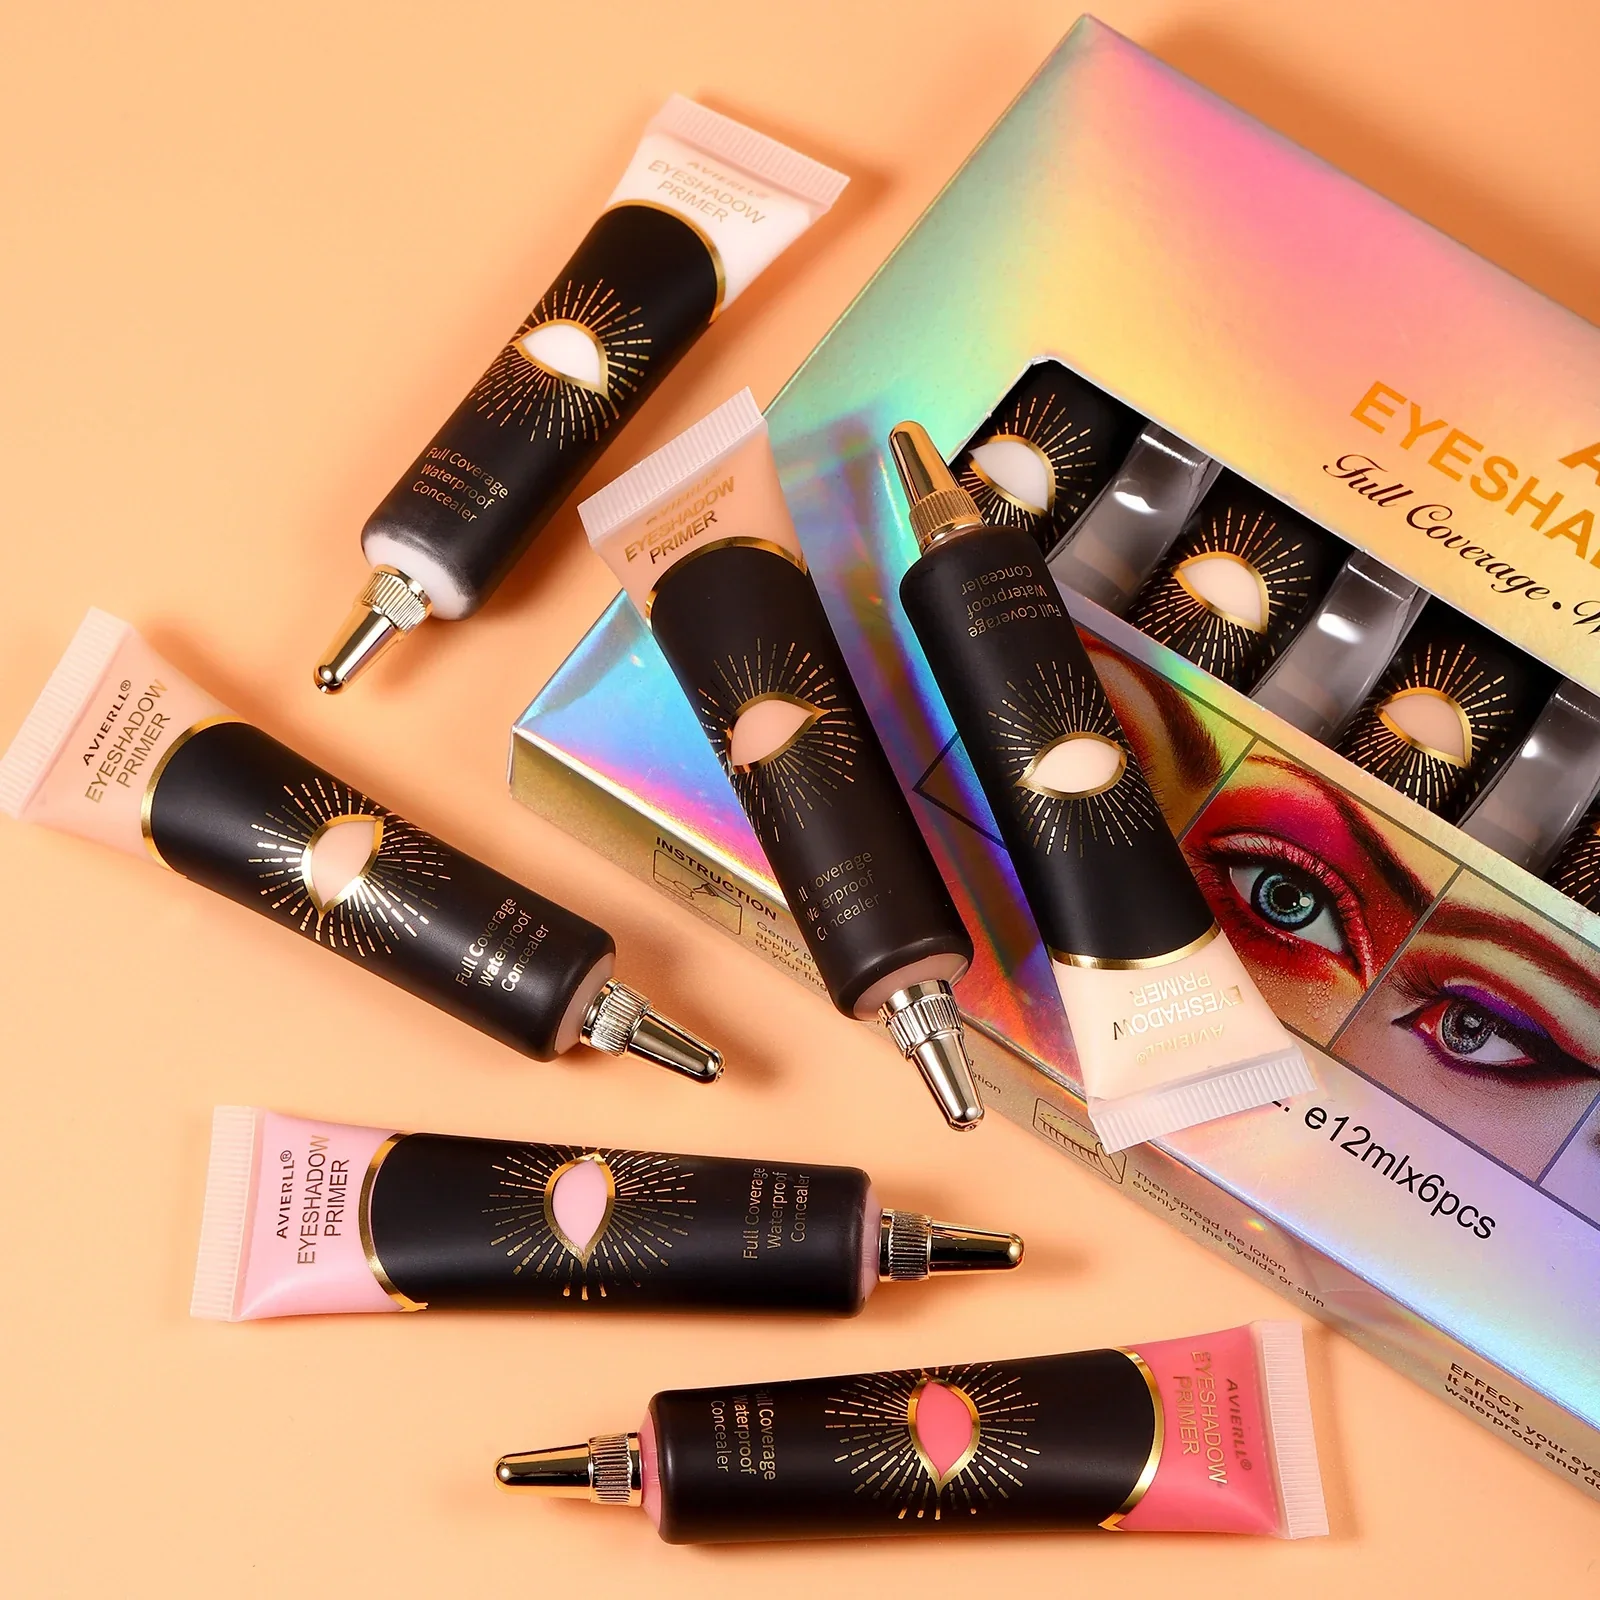
9. The No-Crease Boosting Creamy Eye Primer Set: A Product Spotlight
Alright, let’s get down to brass tacks and talk about what makes a good "No-Crease Boosting Creamy Eye Primer Set" stand out from the crowd.
Key Features to Look For:
- Creamy Texture: Should be smooth, easy to blend, and non-greasy.
- Long-Lasting Formula: Should keep eyeshadow from creasing for at least 8 hours.
- Multiple Shades: Should offer a range of shades to suit different skin tones and eyeshadow colors.
- Versatile Finishes: Matte, satin, and shimmer finishes allow for customizable looks.
- Color Correcting Options: Peach or lavender primers can neutralize discoloration and brighten the eye area.
- Cruelty-Free: Bonus points if the set is cruelty-free and vegan. 🐰
- Affordable Price: A great primer set shouldn’t break the bank.
Example Product (Hypothetical): The "Lid Life" No-Crease Boosting Creamy Eye Primer Set
- Includes: 4 Creamy Primers
- Translucent Matte
- Fair Satin
- Medium Peach
- Deep Shimmer
- Claims: No-Crease for 12+ Hours, Vegan, Cruelty-Free, Enhances Eyeshadow Color Payoff
- Price: $28
Why this set is a winner:
- Offers a variety of shades and finishes to suit different needs.
- Claims long-lasting wear and creasing prevention.
- Vegan and cruelty-free, appealing to ethical consumers.
- Reasonably priced for a set of four primers.
Remember to always read reviews and compare products before making a purchase. Look for primers that are specifically formulated for your skin type and that address your specific concerns.
10. Final Thoughts: Eye Prep Nirvana Achieved!
Congratulations, class! You’ve made it to the end of our deep dive into the world of creamy eye primer. You are now armed with the knowledge and skills to achieve eye prep nirvana! 🧘♀️
Key Takeaways:
- Eye primer is essential for long-lasting, crease-free eyeshadow.
- Creamy formulas offer a winning combination of hydration, smoothness, and creasing prevention.
- Choose a primer set with multiple options to customize your eye prep.
- Proper application technique is crucial for optimal results.
- Pair your primer with your eyeshadows for maximum impact.
- Don’t be afraid to experiment and find what works best for you.
So go forth and conquer those creases! Create eye looks that are as vibrant, long-lasting, and flawless as you are. And remember, a little eye primer goes a long way. 😉
Class dismissed! 🎓
For detailed product specifications and purchases, please go to :https://zenamakeup.com/products/no-crease-boosting-set-6-creamy-eye-primers
Leave a Reply