The Ultimate Guide to Flawless Under-Eye Baking: Translucent Loose Setting Powder Edition 🎂✨
(A Lecture for Aspiring Under-Eye Royalty)
Alright, settle down class! Today, we’re diving deep into the mystical, sometimes terrifying, but ultimately rewarding world of under-eye baking using translucent loose setting powder. Forget the textbooks; we’re talking about achieving that airbrushed, creaseless, and practically immortal under-eye look that will have people wondering if you’re secretly a vampire who discovered the fountain of youth. (Spoiler alert: you’re not, you just know how to bake!)
I’m your professor, Professor Bake-enstein (you can call me Bakey, I’m cool like that 😎), and I’ve seen it all: the cakey catastrophes, the ghostly glows, and the under-eyes that look like they’ve been through a flour bomb explosion. Fear not, my little makeup muffins! By the end of this lecture, you’ll be armed with the knowledge and skills to conquer that under-eye area and bake like a pro.
Course Outline:
- Why Bake? (The Benefits of Under-Eye Setting) 🧐
- The Translucent Loose Setting Powder: Our Magical Ingredient 🧙♀️
- Tools of the Trade: Brushes, Sponges, and the Quest for Perfection 🛠️
- Prep is Key: Laying the Foundation for Flawless Baking 🧱
- The Baking Process: A Step-by-Step Guide to Under-Eye Perfection 🍰
- Troubleshooting: Avoiding Common Baking Blunders 🚨
- Beyond the Under-Eye: Other Uses for Your Translucent Friend 🌍
- Advanced Baking Techniques: Taking Your Skills to the Next Level 🚀
- The Grand Finale: Achieving That Airbrushed, Photo-Ready Finish 📸
- Exam Time! (Just Kidding… Mostly) 😜
1. Why Bake? (The Benefits of Under-Eye Setting) 🧐
Imagine your under-eye area as a delicate pastry. Without proper setting, it’s prone to creasing, melting, and generally looking like it’s having a bad day. Baking, in essence, is the process of "cooking" your concealer and setting it into place, ensuring it stays put all day long. Think of it as giving your concealer a tiny, invisible bodyguard.
Here’s a breakdown of the benefits:
- Crease-Proofing Powerhouse: Baking prevents your concealer from settling into fine lines and wrinkles. It’s like an iron for your face, smoothing everything out. (Disclaimer: it doesn’t actually iron wrinkles, but it certainly appears to!)
- Long-Lasting Wear: This is crucial for those long days when you need your makeup to go the distance. From morning meetings to late-night cocktails, baking keeps your under-eye area looking fresh. Think of it as a makeup marathon runner, enduring the miles with unwavering determination.
- Brightening Effect: Translucent powders often have a slightly brightening effect, making you look more awake and less like you haven’t slept in a week (even if you haven’t!). It’s like a mini-vacation for your face.
- Photo-Ready Finish: Baking creates a smooth, airbrushed finish that looks amazing in photos. Say goodbye to flashback and hello to Instagram glory! 🤳
- Oil Control: If you have oily skin, baking can help absorb excess oil and keep your under-eye area matte. No more greasy panda eyes! 🐼
Table: The Baking Breakdown
| Benefit | Explanation | Analogy |
|---|---|---|
| Crease-Proofing | Prevents concealer from settling into fine lines and wrinkles. | An iron for your face (but without the burns!). |
| Long-Lasting Wear | Ensures your concealer stays in place all day long, even through sweat, tears, and overly enthusiastic dance moves. | A makeup marathon runner – strong and determined! |
| Brightening Effect | Adds a subtle luminosity to the under-eye area, making you look more awake and radiant. | A mini-vacation for your face! |
| Photo-Ready Finish | Creates a smooth, airbrushed finish that minimizes imperfections and looks stunning in photos. | A filter in real life! |
| Oil Control | Absorbs excess oil, preventing your under-eye area from becoming greasy or shiny. | A tiny oil-absorbing sponge army, constantly fighting the shine! |
2. The Translucent Loose Setting Powder: Our Magical Ingredient 🧙♀️
Not all powders are created equal! Translucent loose setting powder is the MVP of this baking game. It’s finely milled, lightweight, and designed to set your makeup without adding color or texture.
Why Translucent?
- No Added Color: It won’t alter the color of your concealer or foundation, ensuring your makeup stays true to its original shade.
- Blends Seamlessly: The lightweight formula blends effortlessly into the skin, creating a smooth and natural finish.
- Minimizes Texture: A good translucent powder will blur imperfections and minimize the appearance of pores.
Key Features to Look For:
- Finely Milled: This is crucial for preventing a cakey or heavy appearance. The finer the powder, the better it will blend.
- Lightweight Formula: You want a powder that feels weightless on the skin, not like you’re wearing a mask.
- Flashback-Free: Make sure the powder doesn’t contain silica, which can cause a white cast in photos taken with flash. (Test it out with your phone flash before committing!)
Examples of Popular Translucent Loose Setting Powders:
- Laura Mercier Translucent Loose Setting Powder (The OG)
- Coty Airspun Loose Face Powder (Budget-Friendly Superstar)
- Fenty Beauty Pro Filt’r Instant Retouch Setting Powder (Rihanna Approved!)
Important Note: While translucent powders are generally colorless, some may have a subtle tint. Choose one that complements your skin tone. If you have very deep skin, consider a tinted setting powder for a more seamless finish.
3. Tools of the Trade: Brushes, Sponges, and the Quest for Perfection 🛠️
Having the right tools is just as important as having the right ingredients. You wouldn’t try to bake a cake with a hammer, would you? (Okay, maybe you would… but I wouldn’t recommend it!)
The Contenders:
- Beauty Sponge (Damp): Ideal for packing on powder and creating a concentrated area of baking. Think of it as your heavy-duty applicator. Make sure it’s damp, not soaking wet!
- Powder Brush (Fluffy): Perfect for dusting away excess powder after baking and for a more diffused application. Think of it as your gentle blender.
- Small Tapered Brush: Great for precise application in hard-to-reach areas, like the inner corner of the eye. Think of it as your detail brush.
Choosing Your Weapon:
- For Maximum Brightening and Coverage: Use a damp beauty sponge to pack on a generous amount of powder.
- For a More Natural and Subtle Finish: Use a fluffy powder brush to lightly dust the powder over your concealer.
- For Precise Application: Use a small tapered brush to apply powder to specific areas.
Cleaning Your Tools:
Dirty brushes and sponges are a breeding ground for bacteria, which can lead to breakouts. Clean your tools regularly with a gentle cleanser or brush cleaner. Think of it as giving your tools a spa day! 🛀
Table: Tool Time!
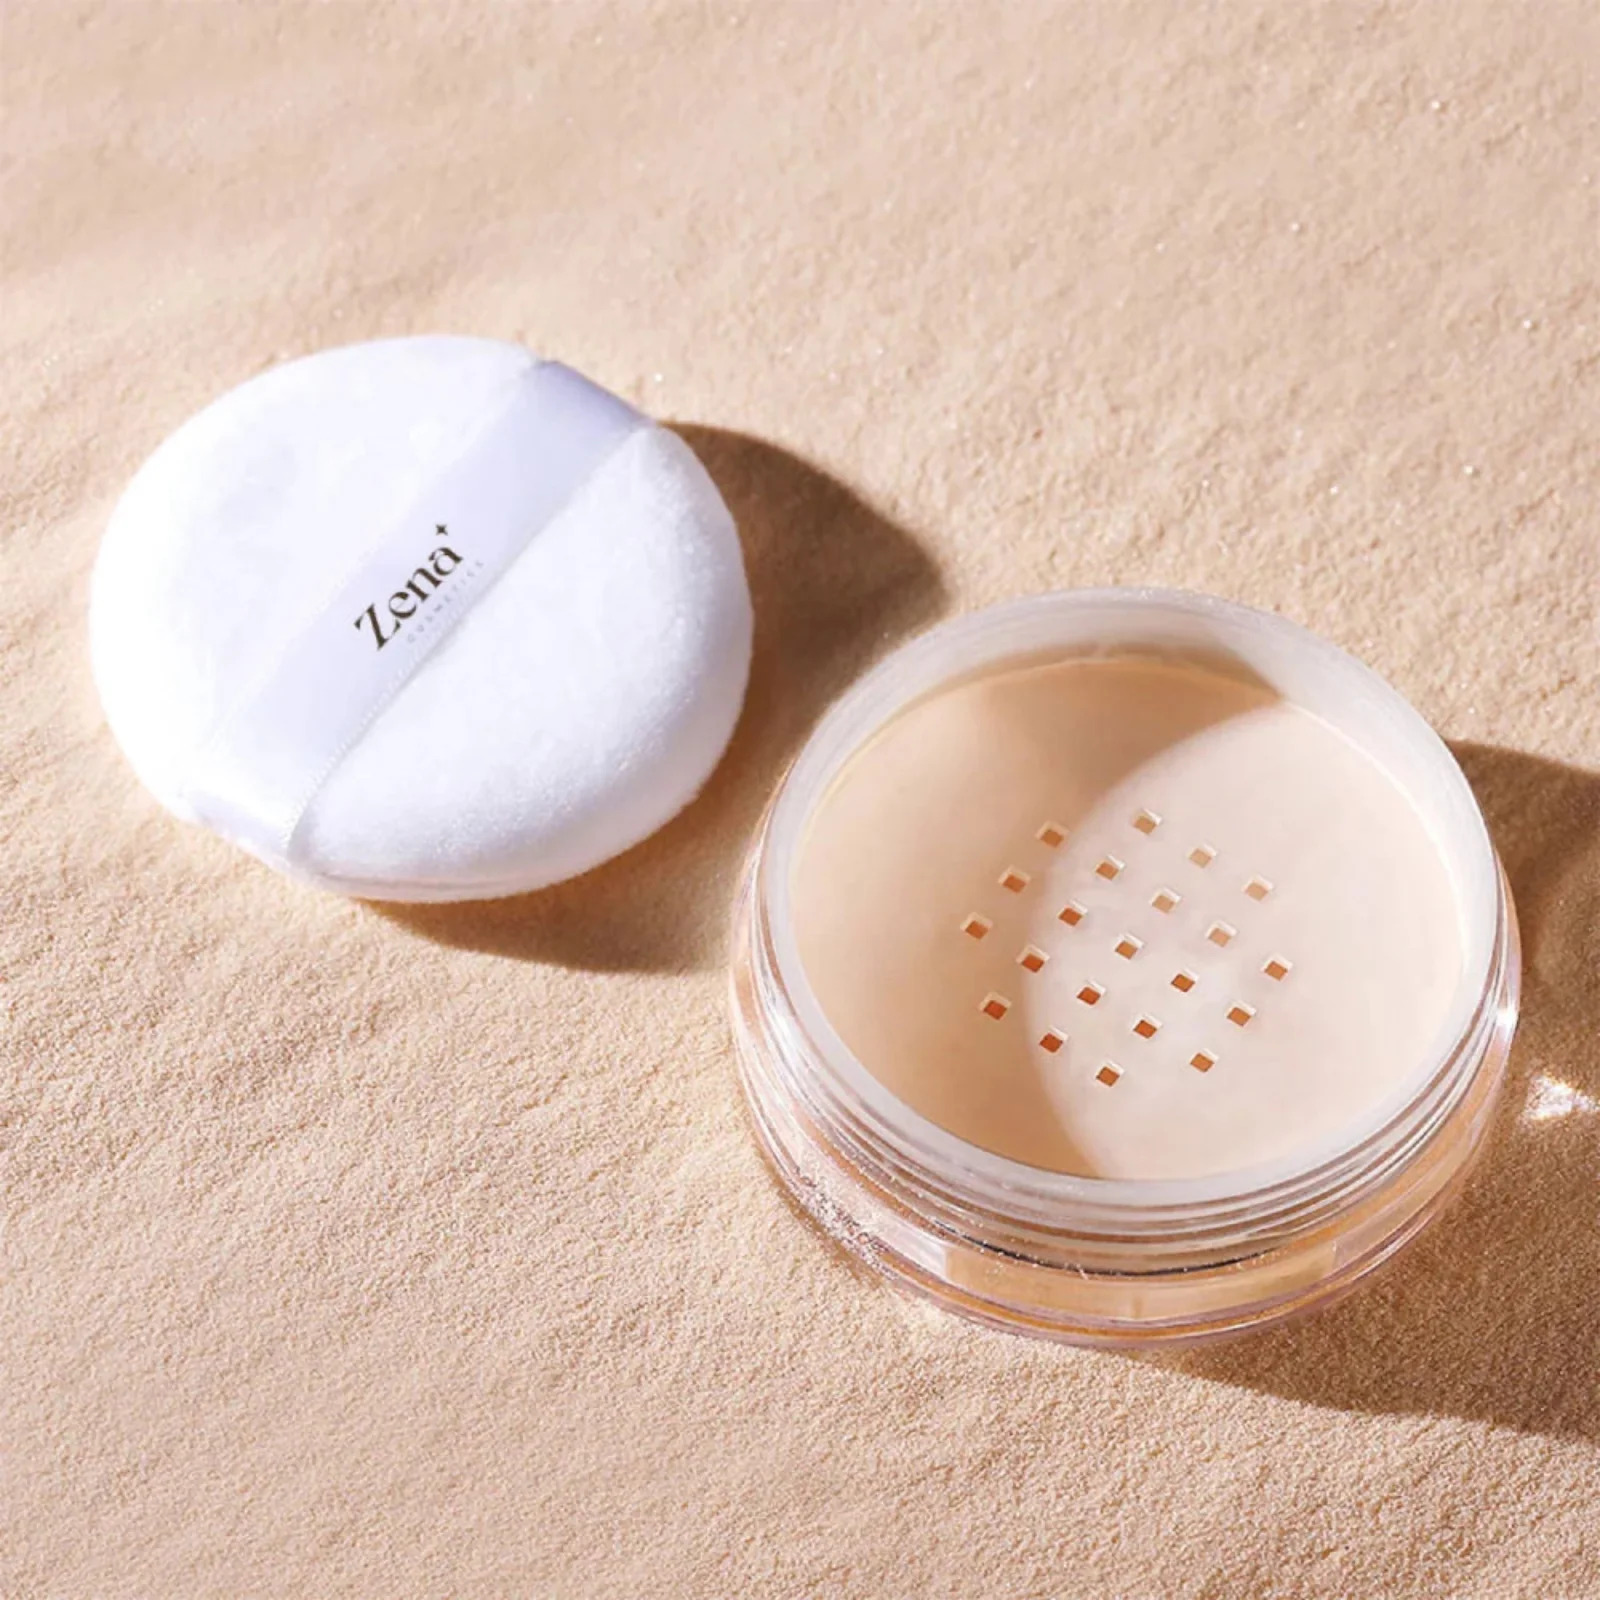
Table: Tool Time!
| Tool | Purpose | Best For |
|---|---|---|
| Beauty Sponge | Packing on powder, creating a concentrated area of baking, blending. | Maximum brightening, full coverage. |
| Powder Brush | Dusting away excess powder, blending, applying a light layer of powder. | Natural finish, subtle setting. |
| Tapered Brush | Precise application in hard-to-reach areas, setting small areas. | Inner corner of the eye, targeted setting. |
4. Prep is Key: Laying the Foundation for Flawless Baking 🧱
Before you even think about reaching for your powder, you need to prep your under-eye area. Think of it as preparing the canvas before you paint a masterpiece. A smooth, hydrated base is essential for preventing cakeiness and ensuring a flawless finish.
The Prep Steps:
- Hydrate: Apply a hydrating eye cream to moisturize the under-eye area. This will prevent the powder from clinging to dry patches. Think of it as giving your skin a drink of water. 💧
- Conceal: Apply your favorite concealer to cover dark circles and imperfections. Choose a concealer that is creamy and hydrating. Less is more! Start with a thin layer and build up coverage as needed. Think of it as your color-correcting superhero.
- Blend, Blend, Blend: Thoroughly blend your concealer with a damp beauty sponge or a concealer brush. Make sure there are no harsh lines or creases. Think of it as erasing any imperfections.
- Set with a Tiny Bit of Powder (Optional): This step is optional, but if you have very oily skin, you can lightly dust a small amount of translucent powder over your concealer before baking. This will help to absorb excess oil and prevent creasing.
Important Note: If you have very dry skin, skip the optional powder setting step. Too much powder can accentuate dryness and make your under-eye area look cakey.
5. The Baking Process: A Step-by-Step Guide to Under-Eye Perfection 🍰
Now for the main event! Let’s get baking!
The Recipe:
- Load Up Your Tool: Using a damp beauty sponge or a fluffy powder brush, pick up a generous amount of translucent loose setting powder. For a beauty sponge, press the sponge into the powder and then tap off any excess. For a powder brush, swirl the brush into the powder and then tap off any excess.
- Apply the Powder: Gently press or dust the powder over your concealed under-eye area, focusing on the areas where you tend to crease. Create a thick layer of powder, almost like you’re frosting a cake. Don’t be shy!
- Bake for 5-10 Minutes: Let the powder sit on your skin for 5-10 minutes. This allows the heat from your skin to "cook" the concealer and set it into place. Think of it as giving your makeup time to marinate. Use this time to do your eyeshadow or contour!
- Dust Away the Excess: After 5-10 minutes, use a fluffy powder brush to gently dust away the excess powder. Use light, sweeping motions to avoid disturbing the concealer underneath. Think of it as removing the excess flour from your perfectly baked cake.
- Blend, Blend, Blend (Again!): Use a clean, fluffy brush to blend the edges of the baked area into the rest of your face. This will create a seamless and natural finish. Think of it as smoothing out the frosting on your cake.
Visual Aid:
(Imagine a series of emojis here showing each step: 💧 -> 💄 -> 🖌️ -> ☁️ -> ⏰ -> 💨 -> 🖌️)
6. Troubleshooting: Avoiding Common Baking Blunders 🚨
Baking isn’t always a piece of cake! (Pun intended!). Here are some common mistakes and how to avoid them:
- Cakey Under-Eyes:
- Cause: Using too much powder, applying powder to dry skin, not blending properly.
- Solution: Use less powder, hydrate your skin thoroughly, blend, blend, blend!
- Ghostly Glow (Flashback):
- Cause: Using a powder that contains silica.
- Solution: Choose a powder that is specifically labeled as flashback-free.
- Creasing:
- Cause: Not setting your concealer properly, using a concealer that is too thick or dry.
- Solution: Make sure you’re applying enough powder and letting it bake for the appropriate amount of time. Choose a creamy and hydrating concealer.
- Patchy Application:
- Cause: Applying powder to uneven skin, not blending properly.
- Solution: Exfoliate your skin regularly to remove dead skin cells. Blend the powder thoroughly.
- Dry Under-Eyes:
- Cause: Using a powder that is too drying, not hydrating your skin properly.
- Solution: Choose a powder that is specifically formulated for dry skin. Hydrate your skin thoroughly. Consider skipping the baking process altogether.
Table: Baking Blunder Busters
| Problem | Cause | Solution |
|---|---|---|
| Cakey | Too much powder, dry skin, poor blending. | Use less powder, hydrate, blend like your life depends on it! |
| Flashback | Powder contains silica. | Use flashback-free powder. |
| Creasing | Insufficient setting, wrong concealer. | Bake longer, use creamy concealer. |
| Patchy | Uneven skin, poor blending. | Exfoliate, blend, blend, blend! |
| Dryness | Drying powder, insufficient hydration. | Use hydrating powder, hydrate! Consider skipping baking. |
7. Beyond the Under-Eye: Other Uses for Your Translucent Friend 🌍
Translucent loose setting powder isn’t just for baking under your eyes! It’s a versatile product that can be used in a variety of ways:
- Setting Your Entire Face: Use a large powder brush to dust the powder over your entire face to set your foundation and keep your makeup in place all day long.
- Baking Your T-Zone: If you have oily skin, you can bake your T-zone (forehead, nose, and chin) to control shine.
- Preventing Lipstick Bleeding: Apply a small amount of powder around your lips before applying lipstick to prevent it from bleeding or feathering.
- Creating a Matte Lip: Dust a small amount of powder over your lipstick to create a matte finish.
- Setting Eyeshadow Primer: Apply a thin layer of powder over your eyeshadow primer to create a smooth base for your eyeshadow.
8. Advanced Baking Techniques: Taking Your Skills to the Next Level 🚀
Once you’ve mastered the basic baking technique, you can experiment with these advanced techniques:
- Color Correcting Before Baking: Use a color corrector to neutralize dark circles or discoloration before applying concealer and baking.
- Using Different Types of Powder: Experiment with different types of powder, such as tinted setting powders or blurring powders, to achieve different effects.
- Baking with a Setting Spray: Spritz your face with a setting spray before baking to help the powder adhere to your skin and create a more long-lasting finish.
- The "Reverse Baking" Technique: Apply your powder BEFORE your foundation/concealer. This can help create an even smoother base.
9. The Grand Finale: Achieving That Airbrushed, Photo-Ready Finish 📸
Congratulations! You’ve made it to the end of the lecture! Now, put your newfound knowledge to the test and achieve that airbrushed, photo-ready finish you’ve always dreamed of.
Key Takeaways:
- Prep is key! Hydrate and prime your skin before applying any makeup.
- Choose the right tools and products for your skin type.
- Use a light hand when applying powder. Less is more!
- Blend, blend, blend! Thorough blending is essential for a seamless finish.
- Experiment with different techniques and find what works best for you.
- Practice makes perfect! The more you bake, the better you’ll get.
Final Thoughts:
Baking is a technique that can take some practice to master, but it’s well worth the effort. With the right tools, products, and techniques, you can achieve a flawless, airbrushed under-eye area that will make you look and feel your best. So go forth and bake, my little makeup muffins! And remember, if you ever feel lost or confused, just refer back to this lecture.
10. Exam Time! (Just Kidding… Mostly) 😜
Okay, okay, no actual exam. But consider this your final assignment: Go forth and practice! Experiment with different powders, brushes, and techniques. Find what works best for your skin type and your desired look. And most importantly, have fun!
And remember, the most important ingredient in any makeup routine is confidence. So rock that baked under-eye with pride! You’ve earned it! 🎉
For detailed product specifications and purchases, please go to :https://zenamakeup.com/products/flawless-finish-translucent-loose-setting-powder
Leave a Reply