Brow Perfection 101: Mastering the Trio Tint, Shape, and Define Set (aka, Your Ticket to Brow Nirvana!)
(Professor Penelope Pompadour, PhD in Browology & Minor in Sass, at your service!)
Alright, darlings, settle down, settle down! Today, we’re diving deep into the holy grail of brow artistry: the Brow Perfection Trio Tint, Shape, and Define Set! Forget those flimsy drugstore pencils and questionable stencils. We’re talking professional-level brows, sculpted and shaded to absolute perfection, right in the comfort of your own boudoir (or bathroom, whatever floats your boat!).
Think of this as your Brow Boot Camp. By the end of this lecture, you’ll be wielding these tools like a seasoned pro, transforming those eyebrow caterpillars into glorious butterflies. 🦋🐛
Course Outline:
- Introduction: Why This Trio Rocks (and Why Your Brows Will Thank You)
- Tool 1: The Tinting Titan – Embracing the Brow Tint
- The Science Behind the Shade: Understanding Tinting
- Prepping for Perfection: Skin Test, Supplies, and Safety First!
- Tinting Techniques: Application is Key (No Clown Brows Allowed!)
- Post-Tinting Pampering: Aftercare for Longevity
- Troubleshooting Tinting Trauma: Common Mistakes and How to Fix Them
- Tool 2: The Shaping Sorcerer – Mastering the Brow Wax/Tweezers
- Mapping Your Magnificent Arches: Finding Your Ideal Brow Shape
- Waxing Wonders: Techniques for a Smooth, Clean Finish (If applicable)
- Tweezing Tactics: Precision is Your Power
- Soothing the Savage Beast: Post-Wax/Tweezing Care
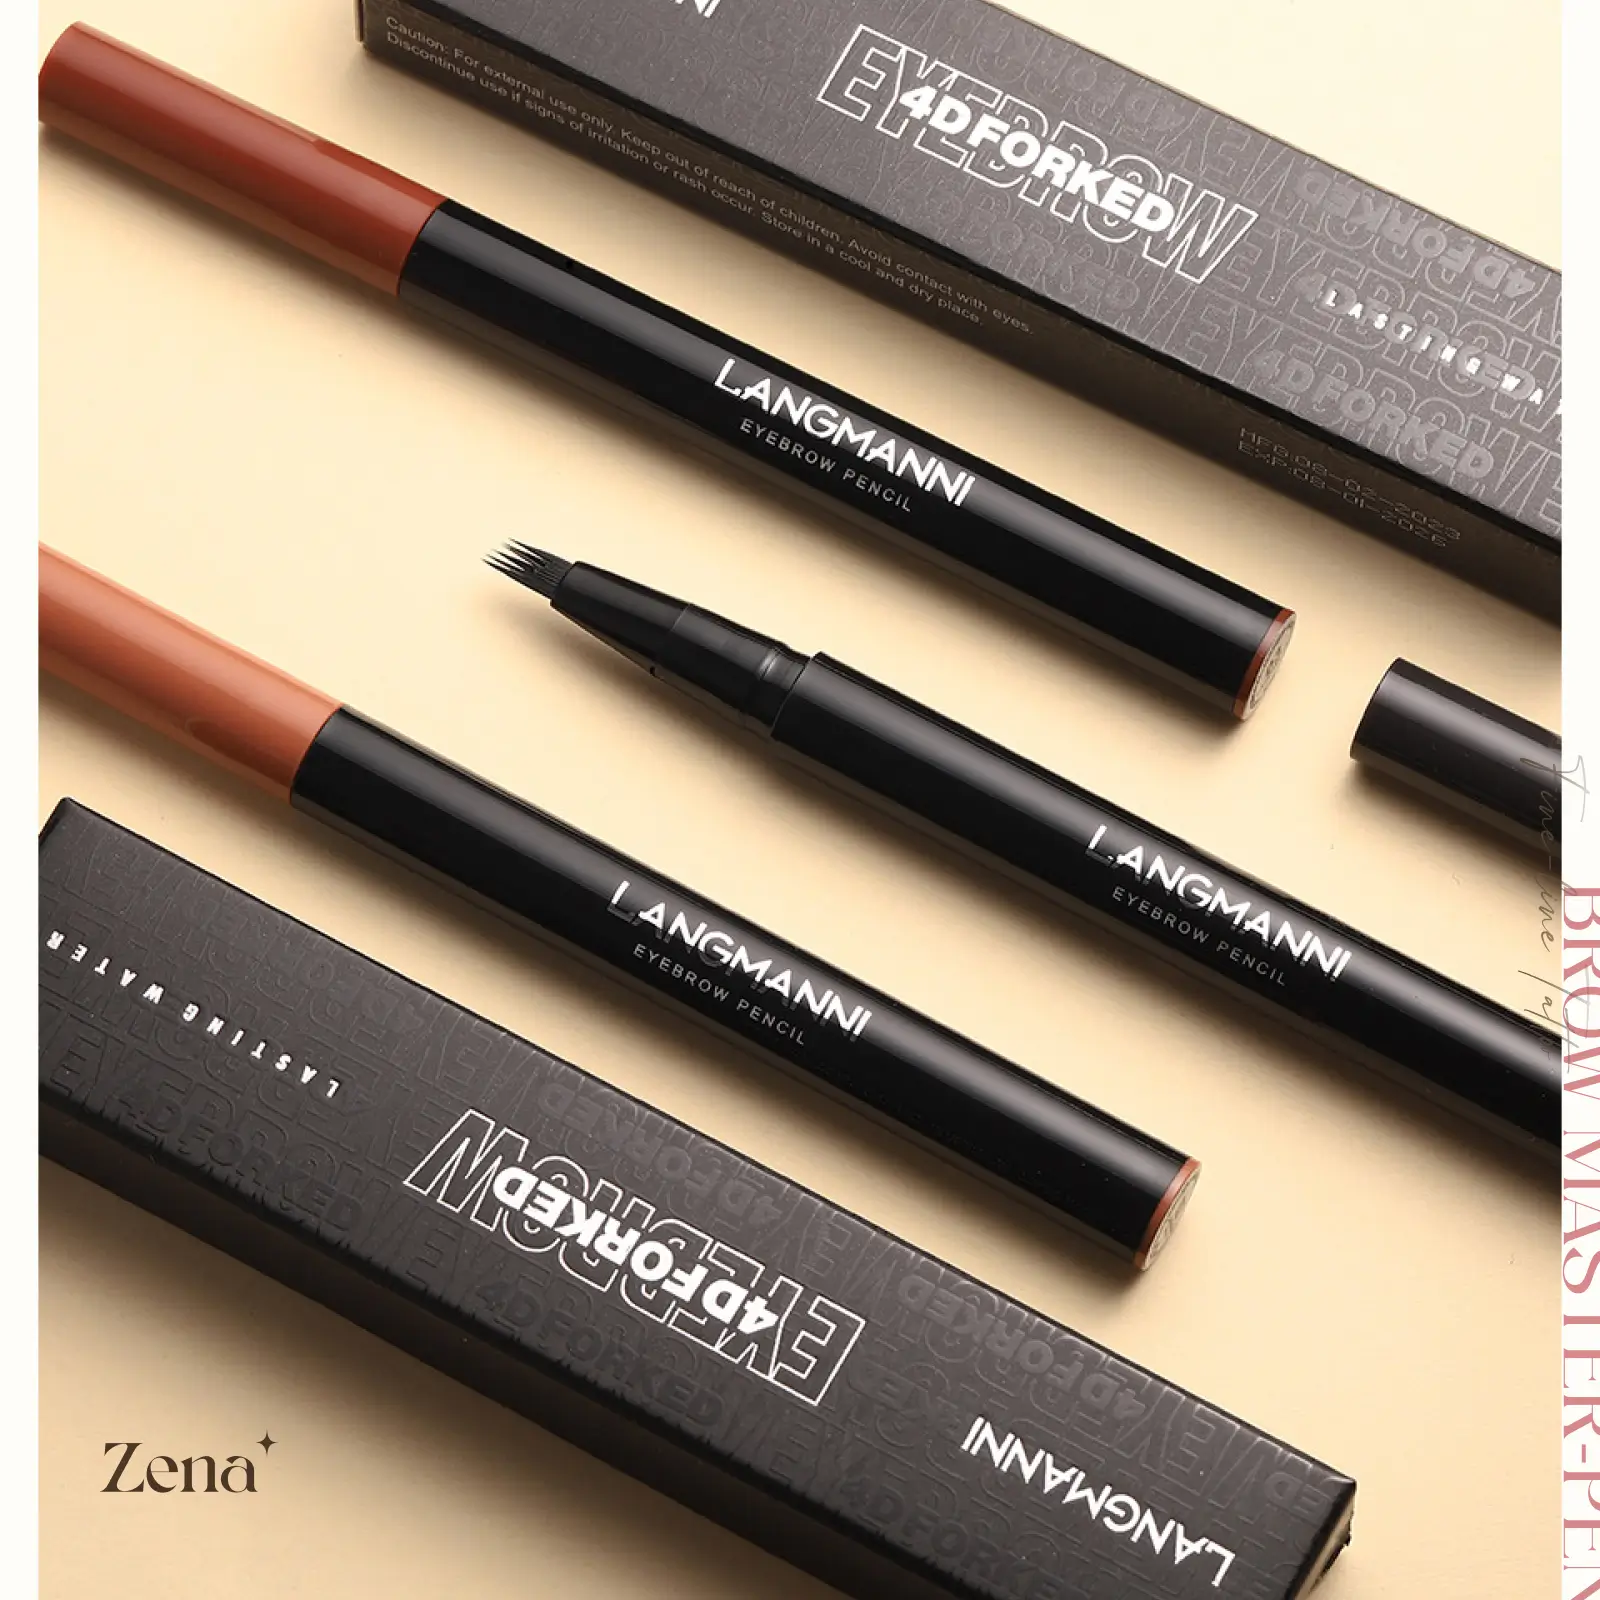
- Tool 3: The Defining Dynamo – Conquering the Brow Pomade/Pencil
- Pomade Power: Building Dimension and Definition
- Pencil Precision: Filling in Sparse Areas with Finesse
- Blending Brilliance: Achieving a Natural, Seamless Look
- The Finishing Flourish: Setting Your Masterpiece
- Advanced Brow-ology: Beyond the Basics
- Color Theory for Brows: Choosing the Right Shade
- Brow Maintenance: Keeping Your Arches in Tip-Top Shape
- Brow Trends: Staying Ahead of the Curve (But Remember, Classics Endure!)
- Conclusion: Unleash Your Inner Brow Artist!
1. Introduction: Why This Trio Rocks (and Why Your Brows Will Thank You)
Listen up, my lovelies! Brows are everything. They frame your face, accentuate your eyes, and can even make you look instantly younger and more awake (no Botox required!). A well-defined brow can elevate your entire look from "meh" to "magnificent!" ✨
This isn’t just another brow kit. This Trio Tint, Shape, and Define Set is a carefully curated collection designed to:
- Tint: Add depth and dimension to even the fairest of brows, creating a fuller, more defined look.
- Shape: Sculpt and refine your brow arches, removing stray hairs and creating a clean, polished silhouette.
- Define: Fill in sparse areas, add definition, and create a beautifully balanced brow shape.
Think of it as your all-in-one brow transformation station! It’s like having a professional brow artist on speed dial… except you are the brow artist! 👩🎨
2. Tool 1: The Tinting Titan – Embracing the Brow Tint
(Cue dramatic music and a spotlight on a tiny vial of brow tint!)
The brow tint! This little powerhouse can make a HUGE difference in the overall look of your brows. It adds depth, color, and dimension, making even the sparsest brows appear fuller and more defined.
2.1 The Science Behind the Shade: Understanding Tinting
Brow tinting is essentially semi-permanent hair dye specifically formulated for use on eyebrows. It works by depositing color onto the hair shaft, darkening the hairs and making them more visible. This is particularly helpful for:
- Light or blonde brows: Creates definition and adds noticeable color.
- Grey or white brows: Blends grey hairs with natural brow color for a more youthful look.
- Sparse brows: Makes fine hairs appear thicker and fuller.
Important Note: Brow tint is NOT designed to dye the skin. While some staining may occur, it’s temporary and will fade within a day or two.
2.2 Prepping for Perfection: Skin Test, Supplies, and Safety First!
Safety first, darling! We don’t want any brow-tinting tragedies.
- Skin Allergy Test: This is NON-NEGOTIABLE. 48 hours before tinting, apply a small amount of the tint mixture to a discrete area, like behind your ear or on your inner arm. If you experience any redness, itching, burning, or swelling, DO NOT use the tint.
- Gather Your Supplies:
- Brow Tint (obviously!)
- Developer (usually included in the kit)
- Small mixing bowl or dish
- Applicator brush (angled brush works best)
- Cotton swabs
- Petroleum jelly (Vaseline)
- Timer
- Mirror (good lighting is essential!)
- Gloves (protect those precious hands!)
- Protect Your Skin: Apply a thin layer of petroleum jelly around your eyebrows, avoiding the actual hairs. This will act as a barrier and prevent the tint from staining your skin.
2.3 Tinting Techniques: Application is Key (No Clown Brows Allowed!)
(Imagine a montage of perfect brow tint application – slow-motion, angelic lighting, the works!)
This is where the magic happens!
- Mix It Up: Follow the instructions on your brow tint kit to mix the tint and developer. Typically, it’s a 1:1 ratio. Use a small mixing bowl and a non-metallic applicator.
- Apply with Precision: Using your applicator brush, carefully apply the tint to your eyebrows. Start at the inner corner of your brow and work outwards, following the natural shape of your brow. Ensure all hairs are coated evenly. ⚠️ Important: Avoid getting tint in your eyes!
- Check for Stray Hairs: Use a cotton swab to clean up any excess tint that may have strayed onto your skin.
- Set the Timer: Follow the recommended processing time on your tint kit. This is crucial! Over-processing can result in brows that are too dark. Under-processing won’t give you enough color.
- Wipe Away the Worry: Once the processing time is up, gently remove the tint with a damp cotton pad. Rinse thoroughly with water.
2.4 Post-Tinting Pampering: Aftercare for Longevity
Treat your freshly tinted brows with love!
- Avoid harsh cleansers and exfoliants: These can strip the color from your brows.
- Skip the sauna or steam room: Excessive heat can fade the tint.
- Moisturize: Keep your brows hydrated with a light moisturizer or brow serum.
2.5 Troubleshooting Tinting Trauma: Common Mistakes and How to Fix Them
Let’s face it, mistakes happen. But fear not, brow besties! Here’s how to handle some common tinting mishaps:
| Problem | Solution |
|---|---|
| Brows too dark | Gently wash your brows with a mild shampoo or cleanser. Repeat if necessary. Time is your friend; it will fade. |
| Uneven color | Re-apply tint to the lighter areas, being careful not to over-process the darker areas. |
| Skin stained | Gently exfoliate the stained area with a mild scrub. Petroleum jelly can also help loosen the stain. |
| Allergic reaction | Immediately discontinue use and consult a doctor if symptoms are severe. |
3. Tool 2: The Shaping Sorcerer – Mastering the Brow Wax/Tweezers
(Imagine a dramatic hand reaching out to grasp a pair of tweezers, bathed in moonlight!)
Now that we’ve tinted those brows, it’s time to sculpt them into works of art! This section covers shaping using either waxing (if applicable in your kit) or tweezing.
3.1 Mapping Your Magnificent Arches: Finding Your Ideal Brow Shape
Before you start plucking or waxing, take a moment to analyze your natural brow shape and determine your ideal arch. Here’s a simple guide:
- Starting Point: Hold a pencil vertically against your nose. The point where the pencil intersects your brow is where your brow should begin.
- Arch Location: Hold the pencil from your nose to the outer edge of your iris. The point where the pencil intersects your brow is where your arch should be.
- Ending Point: Hold the pencil from your nose to the outer corner of your eye. The point where the pencil intersects your brow is where your brow should end.
3.2 Waxing Wonders: Techniques for a Smooth, Clean Finish (If Applicable)
(Disclaimer: If your kit doesn’t include waxing, skip this section and move on to Tweezing Tactics!)
Waxing can be a quick and effective way to remove unwanted brow hairs. However, it’s crucial to proceed with caution.
Waxing can be a quick and effective way to remove unwanted brow hairs. However, it’s crucial to proceed with caution.
- Prep the Area: Ensure your skin is clean and dry. Apply a thin layer of powder to absorb any excess oil.
- Apply the Wax: Follow the instructions on your wax kit. Apply the wax in the direction of hair growth.
- Remove with Confidence: Hold your skin taut and quickly pull the wax strip in the opposite direction of hair growth.
- Clean Up: Remove any wax residue with wax remover or baby oil.
3.3 Tweezing Tactics: Precision is Your Power
(Think of a sharpshooter, carefully aiming their tweezers at a rogue brow hair!)
Tweezing is a more precise method of brow shaping, allowing you to remove individual hairs with accuracy.
- Choose Your Weapon: Invest in a good quality pair of tweezers with a slanted tip.
- Prep the Area: Cleanse your face and open your pores with a warm compress.
- Tweeze in the Direction of Hair Growth: This will prevent breakage and ingrown hairs.
- Focus on Stray Hairs: Concentrate on removing hairs that fall outside your desired brow shape.
- Take Breaks: Step back and assess your progress frequently to avoid over-plucking.
3.4 Soothing the Savage Beast: Post-Wax/Tweezing Care
Your skin may be a little sensitive after waxing or tweezing. Soothe it with:
- Aloe Vera Gel: Provides instant relief and reduces redness.
- Soothing Cream: A gentle, fragrance-free moisturizer.
- Avoid Touching: Resist the urge to touch or pick at your brows.
4. Tool 3: The Defining Dynamo – Conquering the Brow Pomade/Pencil
(Imagine a superhero, wielding a brow pomade brush like a magical weapon!)
Now for the finishing touches! This is where we add definition, fill in sparse areas, and create those perfectly sculpted brows we’ve been dreaming of.
4.1 Pomade Power: Building Dimension and Definition
Brow pomade is a creamy, pigmented product that can be used to create a bold, defined brow look.
- Choose Your Shade: Select a shade that matches your natural brow color or is slightly darker.
- Dip and Swirl: Dip an angled brush into the pomade and swirl it around to coat the bristles evenly.
- Outline the Brow: Start by outlining the bottom edge of your brow, following its natural shape.
- Fill in Sparse Areas: Use light, feathery strokes to fill in any sparse areas.
- Blend, Blend, Blend!: Use a spoolie brush to blend the pomade and create a natural, seamless look.
4.2 Pencil Precision: Filling in Sparse Areas with Finesse
Brow pencils are ideal for filling in sparse areas and creating a more natural-looking brow.
- Choose Your Pencil: Select a pencil with a fine tip for precise application.
- Use Short, Hair-Like Strokes: Mimic the natural direction of your brow hairs.
- Focus on Sparse Areas: Fill in any gaps or sparse areas with light, feathery strokes.
- Avoid Harsh Lines: Blend the pencil with a spoolie brush to soften any harsh lines.
4.3 Blending Brilliance: Achieving a Natural, Seamless Look
Blending is the key to achieving natural-looking brows!
- Spoolie Brush is Your Best Friend: Use a spoolie brush to blend the pomade or pencil and soften any harsh lines.
- Brush in the Direction of Hair Growth: This will help create a more natural look.
- Don’t Be Afraid to Experiment: Practice makes perfect!
4.4 The Finishing Flourish: Setting Your Masterpiece
To ensure your brows stay put all day long, set them with a clear brow gel.
- Apply Brow Gel: Use a clear brow gel to set your brows in place.
- Brush Upwards: Brush the gel upwards, following the natural direction of your brow hairs.
- Enjoy Your Perfect Brows!
5. Advanced Brow-ology: Beyond the Basics
(Professor Pompadour adjusts her glasses and prepares to impart her wisdom!)
Now that you’ve mastered the basics, let’s delve into some advanced brow-ology!
5.1 Color Theory for Brows: Choosing the Right Shade
Choosing the right brow shade is crucial for achieving a natural and flattering look.
- Blondes: Opt for a shade that is one to two shades darker than your hair color.
- Brunettes: Choose a shade that matches your hair color or is slightly lighter.
- Redheads: Go for a warm brown shade with reddish undertones.
- Grey Hair: Choose a soft grey or taupe shade.
5.2 Brow Maintenance: Keeping Your Arches in Tip-Top Shape
Regular maintenance is essential for keeping your brows looking their best.
- Tweeze Stray Hairs Regularly: Prevent stray hairs from ruining your brow shape.
- Trim Long Hairs: Use small scissors to trim any long hairs that stick out of place.
- Exfoliate Regularly: Gently exfoliate your brows to remove dead skin cells and prevent ingrown hairs.
5.3 Brow Trends: Staying Ahead of the Curve (But Remember, Classics Endure!)
Brow trends come and go, but a well-shaped, defined brow is always in style.
- Embrace the Natural Look: Avoid over-plucking or creating an overly dramatic brow.
- Experiment with Different Shapes: Try different brow shapes to find what suits your face best.
- Don’t Be Afraid to Try New Products: Explore different brow products to find what works best for you.
6. Conclusion: Unleash Your Inner Brow Artist!
(Professor Pompadour strikes a dramatic pose!)
Congratulations, my dears! You’ve officially graduated from Brow Perfection 101! You are now equipped with the knowledge and skills to transform your brows from drab to fab using the Trio Tint, Shape, and Define Set.
Remember, practice makes perfect. Don’t be afraid to experiment and find what works best for you. And most importantly, have fun! Brows are an expression of your personality, so embrace your individuality and create brows that make you feel confident and beautiful.
Now go forth and conquer the world, one perfectly sculpted brow at a time! 🎓🎉
For detailed product specifications and purchases, please go to :https://zenamakeup.com/products/brow-perfection-trio-tint-shape-and-define-set
Leave a Reply