Lecture: Mastering the Jelly Essence Blush Stick: A Seam-free Symphony with Your Foundation
(🔔 Class Bell Rings – Everyone scrambles to their seats, clutching their blush sticks and foundation bottles)
Alright, settle down, settle down, future makeup maestros! Today, we’re tackling a challenge that has plagued artists and amateurs alike: How to blend a jelly essence blush stick seamlessly into your foundation, creating a natural, flushed-from-within glow instead of a patchy, clown-esque disaster.
(😅 Audience giggles nervously, picturing past blush mishaps)
Fear not, my friends! This isn’t rocket science (though sometimes it feels like it, right?). With the right techniques and a dash of patience, you can achieve that coveted, effortless blush look. Consider this lecture your definitive guide, your blush-blending bible, if you will. Let’s dive in!
I. Understanding the Players: The Jelly Essence Blush Stick and Your Foundation
Before we even think about blending, we need to understand our key players. Think of this as a pre-game scouting report.
-
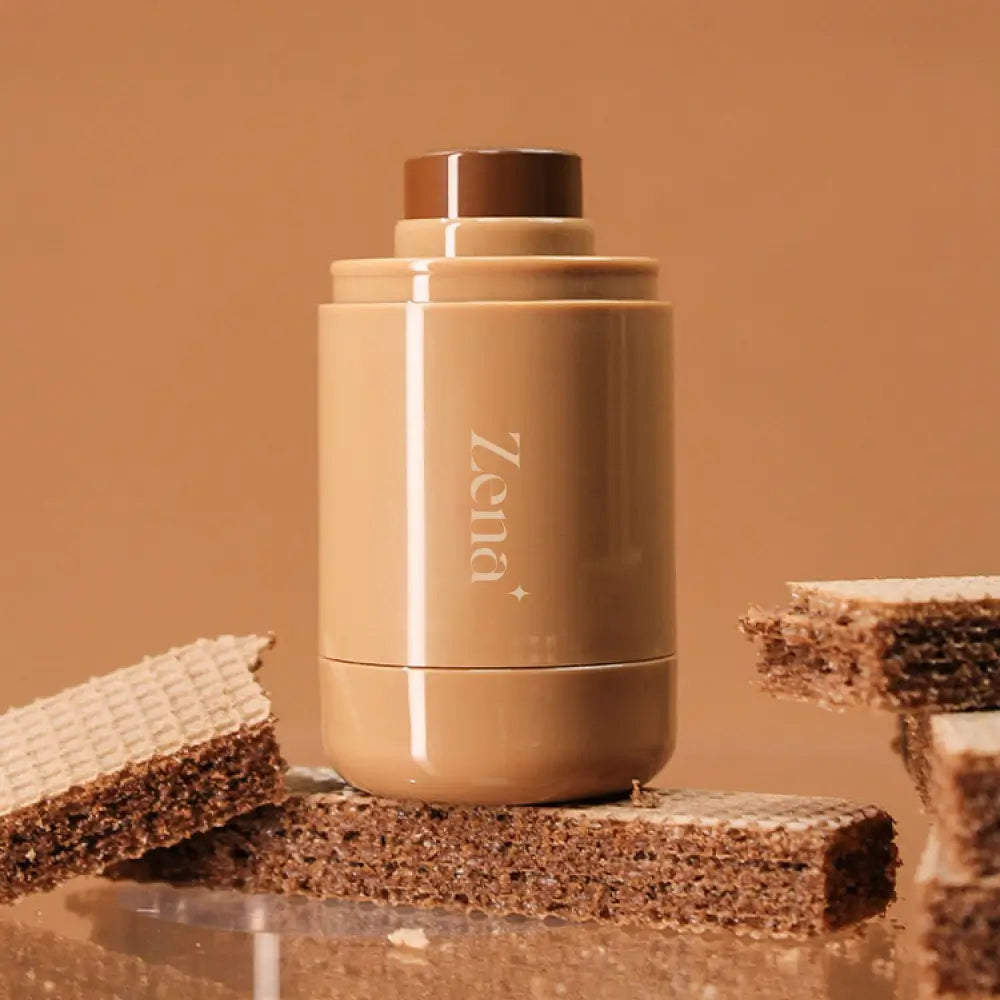
The Jelly Essence Blush Stick: These are the cool kids on the blush block. They’re usually creamy, dewy, and pack a punch of pigment. Their jelly-like texture often makes them feel lightweight and hydrating, but this texture also necessitates specific blending techniques.
- (💡 Key Feature: Pigment Payoff) Often highly pigmented; a little goes a long way. Applying too much initially is a recipe for striped cheeks.
- (💧 Key Feature: Dewy Finish) The dewy finish can either enhance a dewy foundation or clash with a matte one if not handled correctly.
- (⏳ Key Feature: Blendability) While generally blendable, the jelly texture can sometimes cling to certain foundation formulas, making it crucial to use the right tools and techniques.
-
Your Foundation: Ah, the canvas upon which we paint our masterpieces (or occasionally, our abstract art accidents!). Understanding your foundation’s formula is paramount.
- Formula Types:
- Liquid Foundation: The most common, ranging from sheer to full coverage.
- Cream Foundation: Often offers medium to full coverage, with a creamy, hydrating finish.
- Powder Foundation: Best for oily skin, providing matte coverage.
- Stick Foundation: Convenient and usually offers medium to full coverage.
- Finish Types:
- Matte: Controls shine and provides a smooth, non-reflective surface.
- Dewy: Creates a radiant, luminous finish.
- Satin: A balanced finish, offering a subtle glow without excessive shine.
- Formula Types:
Table 1: Understanding Foundation Types and Their Compatibility with Jelly Blush
| Foundation Type | Finish | Compatibility with Jelly Blush | Considerations |
|---|---|---|---|
| Liquid | Matte | Medium | Use a hydrating primer and a light hand. Avoid applying too much blush. |
| Liquid | Dewy | High | A match made in blending heaven! Minimal effort required. |
| Cream | Dewy/Satin | High | Very compatible. Blend with a brush or sponge for a seamless finish. |
| Powder | Matte | Low | Requires extra care. Apply blush before powder foundation for best results. |
| Stick | Medium/Full | Medium | Blend foundation and blush simultaneously for a cohesive look. |
(🤔 Professor strokes their chin thoughtfully)
The key takeaway here is that understanding the properties of both your blush and your foundation is crucial for achieving a flawless blend. Ignoring this is like trying to bake a cake without knowing the difference between flour and sugar. The results? Let’s just say they won’t be pretty.
II. Priming for Perfection: Setting the Stage for Seamless Blending
(🎬 Picture a stage being meticulously set before a grand performance)
Before we even touch the blush stick to our face, we need to prep our canvas. Proper priming ensures that the blush blends smoothly and lasts longer.
-
Hydration is Key: Dry skin is the enemy of seamless blending. Use a good moisturizer appropriate for your skin type.
- (Dry Skin Tip): Opt for a richer, cream-based moisturizer.
- (Oily Skin Tip): Choose a lightweight, oil-free moisturizer.
-
Primer Power: A primer creates a smooth base and helps your foundation adhere evenly.
- (For Matte Foundation): Use a hydrating primer to prevent the blush from clinging to dry patches.
- (For Dewy Foundation): A luminous primer can enhance the overall glow.
- Setting Spray (Optional): If you have oily skin, a light mist of setting spray before foundation can help control shine and create a smoother surface for blending.
(🚫 Warning Sign Emoji) Don’t over-prime! Too much product can cause your makeup to slide around. Less is more.
III. Application Techniques: The Art of the Dot and Dab
(🎨 Imagine a painter carefully applying dabs of color to a canvas)
Now for the fun part: applying the blush! Remember, subtlety is your friend. You can always add more, but it’s much harder to take away.
-
The Dot Method: Apply small dots of blush along your cheekbones, starting from the apples of your cheeks and blending outwards towards your temples.
- (Pro Tip): Use your fingers to gently tap the blush onto your skin before blending. This helps to warm up the product and makes it easier to blend.
-
The Line Method (Use with Caution!): Draw a thin line of blush along your cheekbones. This requires a very light hand and precise blending. Not recommended for beginners!
- (⚠️ Caution): Avoid applying the line too close to your nose, as this can make you look flushed or congested.
-
The "Stamp" Method (For Minimal Coverage): Lightly tap the blush stick onto your cheekbones, creating small, diffused areas of color.
- (Best for): Achieving a very subtle, natural flush.
- Layering is Key: Start with a small amount of product and gradually build up the color until you achieve your desired intensity.
Table 2: Blush Application Techniques – Pros and Cons
| Technique | Description | Pros | Cons |
|---|---|---|---|
| The Dot Method | Applying small dots of blush to the cheeks | Easy to control the amount of product; beginner-friendly | Can be time-consuming if you want a more intense color payoff |
| The Line Method | Drawing a thin line of blush along the cheekbones | Quick application; suitable for experienced users | Can easily apply too much product; requires precise blending skills |
| The Stamp Method | Lightly tapping the blush stick onto the cheeks | Provides a very natural, diffused flush; minimizes harsh lines | May not provide enough color for those who prefer a bolder blush look |
(😂 Professor mimics applying blush with exaggerated motions, causing the audience to laugh)
Remember, folks, we’re aiming for a "just back from a brisk walk" glow, not a "just ran a marathon in a clown suit" look!
IV. Blending Techniques: The Symphony of Seamlessness
(🎶 Imagine an orchestra conductor leading a harmonious blend of instruments)
This is where the magic happens. Blending is the key to transforming a potentially disastrous application into a masterpiece.
This is where the magic happens. Blending is the key to transforming a potentially disastrous application into a masterpiece.
-
Choose Your Weapon (Your Blending Tool):
-
Damp Beauty Sponge: Excellent for blending creams and liquids seamlessly. The dampness prevents the sponge from absorbing too much product.
- (💧 Dampness is Crucial): A dry sponge will soak up your foundation and blush, leaving you with a patchy finish.
-
Synthetic Blending Brush: Ideal for buffing the blush into the skin without disrupting the foundation underneath.
- (Brush Shape Matters): Opt for a fluffy, tapered brush for a diffused blend.
-
Fingers (For the Minimalist): Your fingertips can be surprisingly effective for blending cream products. The warmth of your fingers helps to melt the product into the skin.
- (Hygiene First!): Make sure your hands are clean before touching your face.
-
-
The Stippling Method: Use a stippling brush or a damp beauty sponge to gently tap the blush into your skin. This technique avoids dragging the product and disrupting the foundation underneath.
- (Key is Light Pressure): Use a very light hand to avoid creating streaks.
-
The Buffing Method: Use a circular motion to buff the blush into your skin with a synthetic blending brush. This technique is best for achieving a diffused, airbrushed finish.
- (Circular Motions are Key): Focus on blending the edges of the blush to create a seamless transition.
-
The Tapping Method (Finger Blending): Gently tap the blush with your fingertips, working from the center outwards. This technique is best for achieving a natural, dewy finish.
- (Warmth Aids Blending): The warmth of your fingers helps to melt the product into the skin, creating a seamless blend.
- Blend Upwards and Outwards: Always blend the blush upwards and outwards towards your temples. This helps to lift the face and create a youthful glow.
(✅ Tip Emoji): If you accidentally apply too much blush, use a clean beauty sponge or brush to gently blend it out. You can also apply a small amount of your foundation over the blush to tone it down.
V. Troubleshooting: Rescuing Blending Mishaps
(🚑 Picture an emergency response team arriving on the scene)
Even the most skilled artists encounter blending challenges. Here’s how to troubleshoot common blush mishaps:
-
Patchy Blush:
- (Cause): Dry skin, uneven foundation application, or using the wrong blending tool.
- (Solution): Exfoliate your skin regularly, use a hydrating primer, and blend with a damp beauty sponge.
-
Streaky Blush:
- (Cause): Applying too much product, dragging the blush across the skin, or using a brush that is too stiff.
- (Solution): Use a light hand when applying blush, stipple the product into the skin, and use a fluffy blending brush.
-
Overly Intense Blush:
- (Cause): Applying too much product, using a highly pigmented blush, or not blending properly.
- (Solution): Use a light hand when applying blush, blend with a clean beauty sponge or brush, or apply a small amount of your foundation over the blush to tone it down.
-
Blush Disappearing Throughout the Day:
- (Cause): Not setting the blush, oily skin, or using a blush that is not long-wearing.
- (Solution): Set the blush with a translucent powder, use a mattifying primer, and choose a long-wearing blush formula.
Table 3: Troubleshooting Blush Blending Problems
| Problem | Cause | Solution |
|---|---|---|
| Patchy Blush | Dry skin, uneven foundation, wrong blending tool | Exfoliate, hydrate, use a damp beauty sponge, ensure even foundation application |
| Streaky Blush | Too much product, dragging, stiff brush | Light hand, stipple application, fluffy brush, circular motions |
| Intense Blush | Too much product, high pigmentation, poor blending | Light hand, blend with clean sponge/brush, apply a thin layer of foundation over to tone down |
| Disappearing Blush | Lack of setting, oily skin, short-wearing formula | Set with translucent powder, use mattifying primer, choose long-wearing blush |
(😅 Professor wipes sweat from their brow)
Phew! That was a lot. But remember, practice makes perfect. Don’t be afraid to experiment and find what works best for you.
VI. Final Touches: Securing Your Masterpiece
(🖼️ Imagine a museum curator carefully placing the finishing touches on a prized painting)
Once you’ve achieved your desired blush look, it’s time to set it in place.
-
Setting Powder (Optional): A light dusting of translucent setting powder can help to lock in your blush and prevent it from fading throughout the day.
- (Use Sparingly): Avoid applying too much powder, as this can dull the luminosity of the blush.
-
Setting Spray: A final mist of setting spray will help to meld all of your makeup together and create a seamless finish.
- (Choose Your Finish): Opt for a dewy setting spray for a radiant glow or a matte setting spray to control shine.
(🎉 Confetti falls as the lecture concludes)
And there you have it! Your comprehensive guide to blending jelly essence blush sticks seamlessly into your foundation. Now go forth and create blush masterpieces! Remember, makeup is about expressing yourself and having fun. Don’t be afraid to experiment, make mistakes, and learn from them.
(📚 Class Dismissed! Students rush out, eager to try their newfound knowledge)
For detailed product specifications and purchases, please go to :https://zenamakeup.com/products/jelly-essence-blush-stick
Leave a Reply