Level Up Your Lid Game: A Masterclass in Blending Over No-Crease Eyeshadow Primer
(Professor Palette, your resident eyeshadow guru, enters the stage with dramatic flair, adjusting her oversized glasses and brandishing a well-loved blending brush. A spotlight shines down, and a single, majestic unicorn trots across the stage, dropping glitter in its wake.)
Alright, my beauty aficionados! Welcome, welcome, to the hallowed halls of eyeshadow artistry! Today, we’re tackling a challenge that has plagued makeup enthusiasts for eons: seamlessly blending eyeshadow over that glorious, life-saving, but sometimes tricky, No-Crease Eyeshadow Primer!
(Professor Palette dramatically gestures towards a large screen displaying a close-up of a perfectly primed eyelid.)
Yes, we love our primer! It’s the bodyguard of our eyeshadow, the bouncer at the club of our eyelids, the… well, you get the picture. It prevents creasing, intensifies color, and ensures our meticulously crafted looks last longer than a Kardashian marriage. But, let’s be honest, sometimes blending over it feels like trying to paint a masterpiece on… Velcro. 😫
Fear not, my little Picassos! I, Professor Palette, am here to guide you through the treacherous terrain of primer-laden lids and emerge victorious, armed with the knowledge and techniques to achieve eyeshadow blending so smooth, so flawless, it will make even the most seasoned makeup artist weep with envy. 😭 (Happy tears, of course!)
(The unicorn whinnies approvingly.)
Lecture Outline: Your Roadmap to Blending Bliss
This lecture will cover everything you need to know, from understanding the science behind the primer to mastering the perfect blending techniques. So, grab your notepads (or iPads, we’re modern here!), your favorite brushes, and let’s dive in!
I. The Primer Paradox: Understanding the Enemy (and Why We Love It!)
- What is Eyeshadow Primer, Anyway? (The science behind the magic!)
- Why No-Crease Primers Can Be Tricky. (The stickiness struggle is real!)
- Choosing the Right Primer for Your Skin Type. (One size does not fit all!)
II. Priming for Perfection: The Foundation of Flawless Blending
- Application is Key: Less is More! (Avoid the dreaded “primer puddle.”)
- Setting the Stage: Powdering the Primer (Yes, Really!). (Taming the tackiness!)
- Tools of the Trade: Brushes That Work Wonders. (Choosing the right weapon!)
III. Blending Techniques: The Art of Smooth Transitions
- The Windshield Wiper Technique: A Classic for a Reason. (Mastering the basics!)
- The Circular Motion: Buffing Your Way to Beauty. (For seamless gradients!)
- The Tapping Technique: Packing on Pigment with Precision. (Intensifying color!)
- Layering is Your Friend: Building Up Color Gradually. (Avoid the "one swipe wonder" disaster!)
- Blending with a Clean Brush: The Secret Weapon. (Erasing harsh lines like a pro!)
IV. Troubleshooting: Conquering Common Blending Challenges
- Patchy Eyeshadow: Addressing the Uneven Application Blues. (Even out the playing field!)
- Muddy Colors: Keeping Your Shades Distinct and Vibrant. (Prevent the brown sludge!)
- Harsh Lines: Blending Like a Boss. (Say goodbye to the dreaded cut crease!)
- Creasing Despite Primer: Understanding the Culprits. (Humidity, oily lids, and more!)
V. Pro Tips & Tricks: Elevating Your Eyeshadow Game
- Using Eyeshadow Base/Pencil: Adding Depth and Dimension. (Creating a canvas for creativity!)
- Highlighting the Brow Bone: The Finishing Touch. (For that lifted, wide-eyed look!)
- Creating a Gradient Effect: Mastering the Art of Ombre Eyes. (From subtle to stunning!)
- Experimenting with Different Finishes: Matte, Shimmer, and Beyond! (Unleash your inner artist!)
(Professor Palette takes a sip of water from a glitter-encrusted tumbler.)
Alright, let’s get started!
I. The Primer Paradox: Understanding the Enemy (and Why We Love It!)
(The screen displays a diagram of an eyelid, highlighting the skin’s texture and oil glands.)
What is Eyeshadow Primer, Anyway?
Eyeshadow primer is essentially a base coat for your eyeshadow. Think of it like the foundation for your face – it creates a smooth, even canvas for your makeup to adhere to. Most importantly, it prevents your natural oils from breaking down your eyeshadow, leading to that dreaded creasing and fading.
The key ingredients in most eyeshadow primers are:
- Polymers: These create a smooth, even surface, filling in fine lines and imperfections.
- Pigments: These help to neutralize discoloration and brighten the eyelid, making your eyeshadow colors pop!
- Oils/Waxes: These provide emollience and help the primer adhere to the skin. (The lack of oil is crucial for "no-crease" claims!)
(A table appears on the screen, comparing the benefits of using eyeshadow primer vs. not using it.)
| Feature | Without Primer | With Primer |
|---|---|---|
| Creasing | High chance of creasing within hours. | Significantly reduced creasing, even on oily lids. |
| Color Payoff | Eyeshadow appears less vibrant and true to color. | Eyeshadow colors appear more intense and pigmented. |
| Longevity | Eyeshadow fades quickly. | Eyeshadow lasts much longer, often all day. |
| Blending | Can be difficult to achieve seamless blends. | Potentially easier blending… with the right technique! |
(Professor Palette winks at the audience.)
Why No-Crease Primers Can Be Tricky.
Here’s the rub! "No-Crease" primers achieve their magic through a higher concentration of polymers and ingredients that create a more… tenacious grip on the skin. This is fantastic for preventing creasing, but it also means they can be tackier and less forgiving to blend over. The eyeshadow tends to "grab" onto the primer, making it difficult to move and blend smoothly.
Think of it like trying to spread butter on a piece of sticky tape. Not fun, right? 🙅♀️
Choosing the Right Primer for Your Skin Type.
Just like foundation, eyeshadow primer isn’t a one-size-fits-all situation. Here’s a quick guide:
- Oily Lids: Opt for a mattifying, oil-controlling primer. Look for ingredients like silica or kaolin clay.
- Dry Lids: Choose a hydrating primer with ingredients like hyaluronic acid or glycerin.
- Mature Lids: A smoothing primer with peptides or antioxidants can help minimize the appearance of fine lines and wrinkles.
- Sensitive Lids: Look for a fragrance-free, hypoallergenic primer.
(A series of emojis pop up on the screen, representing different skin types and recommended primer characteristics.)
- Oily 🛢️: Mattifying, Oil-Control 🚫🛢️
- Dry 🏜️: Hydrating, Moisturizing 💧
- Mature 👵: Smoothing, Anti-Aging ✨
- Sensitive 🥺: Fragrance-Free, Hypoallergenic 🌿
II. Priming for Perfection: The Foundation of Flawless Blending
(The screen displays a split-screen: one side with too much primer applied, the other with the correct amount.)
Application is Key: Less is More!
This is crucial! Resist the urge to slather on a thick layer of primer. A pea-sized amount for both eyelids is usually sufficient. Too much primer will create a sticky, uneven surface that will make blending a nightmare. Trust me, you’ll end up looking like you glued glitter to your face. 😱
Setting the Stage: Powdering the Primer (Yes, Really!).
This is where the magic happens! After applying your primer, before applying any eyeshadow, lightly dust your eyelids with a translucent setting powder. This will slightly reduce the tackiness of the primer without sacrificing its crease-preventing power.
Think of it like adding a touch of flour to a sticky dough – it makes it easier to work with! 👩🍳
(Professor Palette grabs a fluffy brush and demonstrates the powdering technique on a volunteer from the audience.)
Use a fluffy brush and a light hand. You’re not trying to bake your eyelids, just gently set the primer.
Tools of the Trade: Brushes That Work Wonders.
Your brushes are your weapons in the war against blending woes! Invest in a good set of blending brushes. Here are a few essentials:
- Fluffy Blending Brush: For all-over blending and softening harsh lines.
- Tapered Blending Brush: For precise blending in the crease and outer corner.
- Small Shader Brush: For packing on color and defining the lash line.
(A table appears on the screen, showcasing different types of blending brushes and their uses.)
| Brush Type | Description | Use |
|---|---|---|
| Fluffy Blending | Large, soft, and rounded. | Blending out harsh lines, creating a diffused look. |
| Tapered Blending | Smaller, more pointed, and slightly firmer. | Precise blending in the crease, outer corner, and smaller areas. |
| Small Shader | Flat, dense, and slightly stiff. | Packing on color, applying eyeshadow to the lower lash line, highlighting. |
Pro Tip: Clean your brushes regularly! Dirty brushes are breeding grounds for bacteria and can hinder blending. Plus, they can muddy your colors. 🧼
III. Blending Techniques: The Art of Smooth Transitions
(The screen displays animated diagrams of different blending techniques.)
Alright, my aspiring artists, let’s get to the heart of the matter: the blending techniques!
The Windshield Wiper Technique: A Classic for a Reason.
This is the foundation of all good eyeshadow blending. Simply move your brush back and forth across your crease, like a windshield wiper. Use light pressure and short, controlled strokes.
(Professor Palette demonstrates the windshield wiper technique on the volunteer.)
The Circular Motion: Buffing Your Way to Beauty.
Once you’ve established the base color, use small, circular motions to buff the eyeshadow into the crease and blend it with the surrounding skin. This will create a seamless gradient.
Think of it like polishing a car – you’re buffing away any imperfections and creating a smooth, shiny finish. 🚗
The Tapping Technique: Packing on Pigment with Precision.
When applying your base shade, don’t swipe! Gently tap the brush onto your lid to pack on the pigment. This will prevent the color from being dispersed too widely and ensure maximum color payoff.
Layering is Your Friend: Building Up Color Gradually.
Rome wasn’t built in a day, and neither is a perfectly blended eyeshadow look! Start with a light layer of color and gradually build up the intensity until you achieve your desired effect. This will prevent you from applying too much color at once and making mistakes.
(Professor Palette shakes her head dramatically.)
Avoid the "one swipe wonder" disaster! Trust me, it never ends well. 🙅♀️
Blending with a Clean Brush: The Secret Weapon.
This is a game-changer! Keep a clean, fluffy blending brush on hand to soften any harsh lines and create a seamless transition between colors. This brush should have no product on it.
Think of it like an eraser for your eyeshadow! ✏️
IV. Troubleshooting: Conquering Common Blending Challenges
(The screen displays images of common eyeshadow blending problems, like patchiness, muddy colors, and harsh lines.)
Okay, even with the best techniques, things can sometimes go wrong. Let’s troubleshoot some common blending challenges:
Patchy Eyeshadow: Addressing the Uneven Application Blues.
- Cause: Uneven primer application, dry skin, or a dirty brush.
- Solution: Exfoliate your eyelids regularly to remove dead skin cells. Ensure your primer is applied evenly and set with powder. Use a clean brush to blend out the patchiness.
Muddy Colors: Keeping Your Shades Distinct and Vibrant.
- Cause: Over-blending, using too many colors, or a dirty brush.
- Solution: Use a light hand when blending. Limit the number of colors you use. Clean your brushes between each shade.
Harsh Lines: Blending Like a Boss.
- Cause: Not blending enough, using too much color, or using the wrong brush.
- Solution: Spend more time blending! Use a clean, fluffy blending brush to soften the edges of your eyeshadow. Apply your crease color gradually.
Creasing Despite Primer: Understanding the Culprits.
- Cause: Oily lids, humid weather, using too much primer, or not setting the primer with powder.
- Solution: Use an oil-controlling primer. Set your primer with powder. Consider using an eyeshadow base in addition to primer. Carry blotting papers to absorb excess oil throughout the day.
V. Pro Tips & Tricks: Elevating Your Eyeshadow Game
(The screen displays images of different eyeshadow looks, from simple to complex.)
Alright, my budding beauty gurus, let’s take your eyeshadow game to the next level!
Using Eyeshadow Base/Pencil: Adding Depth and Dimension.
An eyeshadow base (often a cream shadow or a colored pencil) can add depth and dimension to your eyeshadow look. Apply the base all over your lid and blend it out before applying your powder eyeshadows.
Highlighting the Brow Bone: The Finishing Touch.
A touch of shimmer or matte highlight under your brow bone will lift your eyes and create a more polished look.
Creating a Gradient Effect: Mastering the Art of Ombre Eyes.
A gradient effect involves blending multiple colors together to create a seamless transition from light to dark. Start with the lightest color on the inner corner of your eye and gradually blend in darker shades towards the outer corner.
Experimenting with Different Finishes: Matte, Shimmer, and Beyond!
Don’t be afraid to experiment with different eyeshadow finishes! Matte eyeshadows are great for creating a natural, everyday look, while shimmer eyeshadows can add a touch of glamour and sparkle.
(Professor Palette strikes a pose.)
And there you have it! You are now equipped with the knowledge and skills to conquer the challenges of blending over no-crease eyeshadow primer. Go forth and create eyeshadow masterpieces! Remember, practice makes perfect. Don’t be afraid to experiment, make mistakes, and most importantly, have fun!
(The unicorn prances forward and bestows each audience member with a single glittery eyeshadow. The spotlight fades, and Professor Palette takes a bow, leaving the stage to thunderous applause.)
(The End)
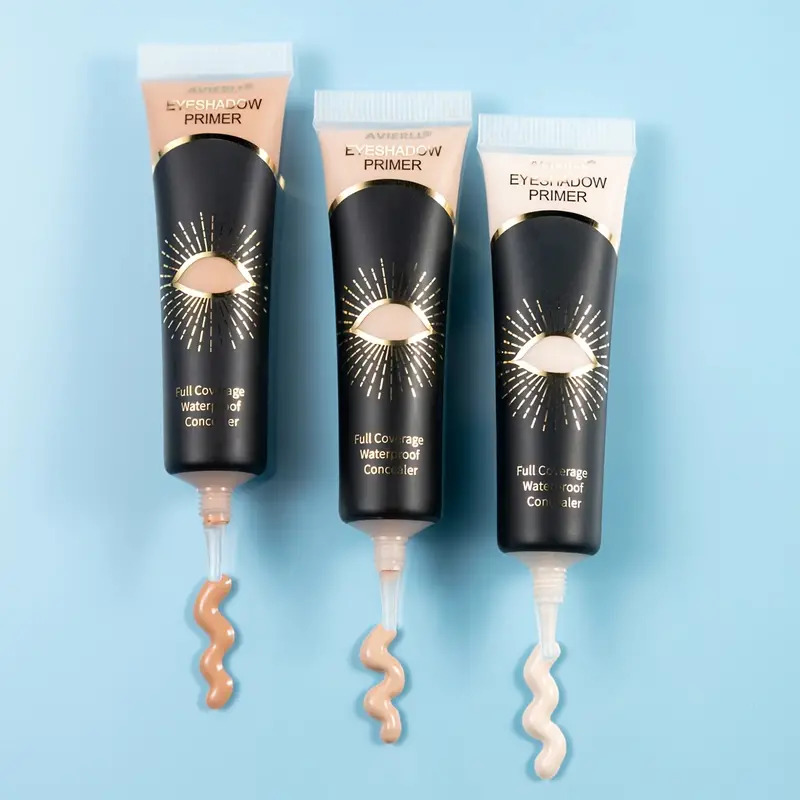
For detailed product specifications and purchases, please go to :https://zenamakeup.com/products/no-crease-eyeshadow-primer-long-wear-liquid-base
Leave a Reply