Unleash Your Inner Glow: Apply Jelly Glow Liquid Blush for a Natural, Healthy-Looking Flush That Lasts
(A Lecture in Blush Alchemy)
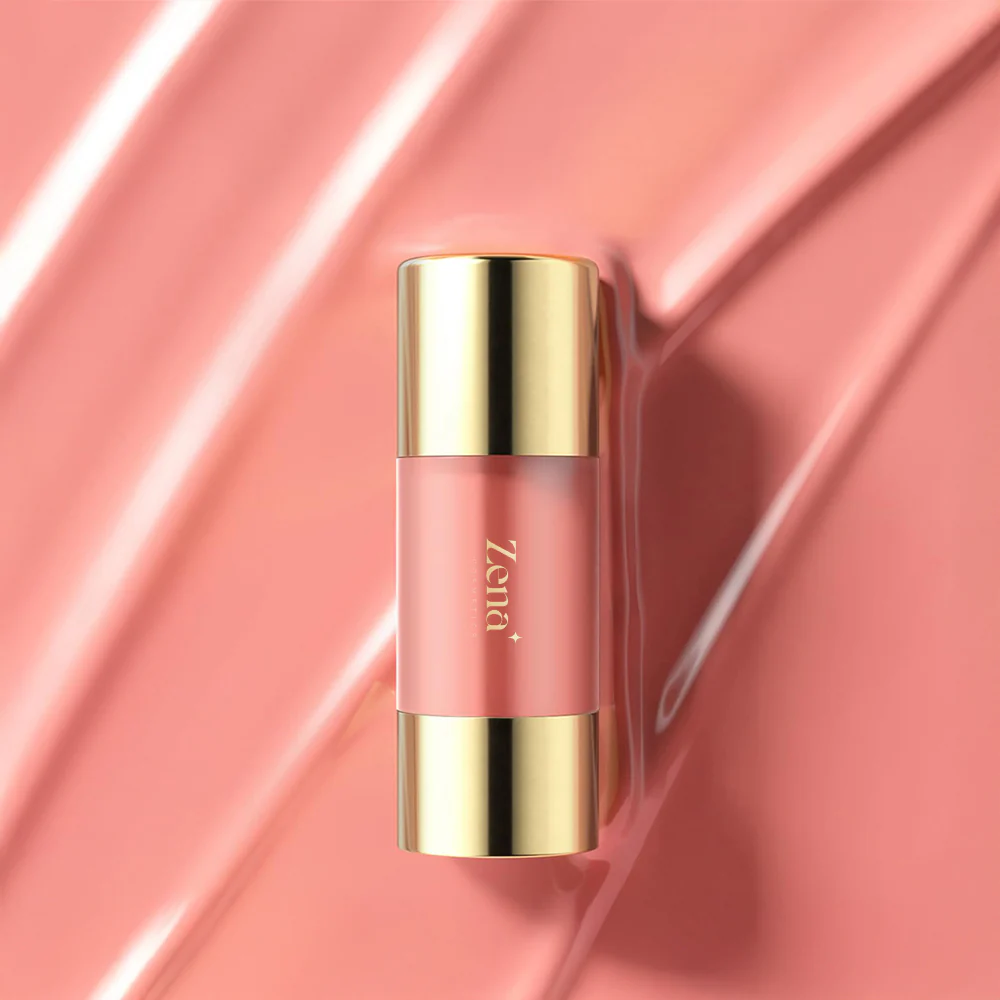
Alright, class, settle down! 📚👩🏫 Today, we’re ditching the drab and embracing the dazzling! Forget that powdered, cakey blush that makes you look like you’ve been wrestling a bag of flour. We’re diving headfirst into the luscious, luminous world of Jelly Glow Liquid Blush! 💖✨
Consider me your Professor of Pigment, your Guru of Glow, your… well, you get the idea. I’m here to guide you on a journey from "meh" to "magnificent" with this revolutionary cheek enhancer.
(Why Jelly Glow? Ditch the Dull, Embrace the Dewy!)
Let’s be honest, sometimes blush can be a real pain. Powder blush can settle into fine lines, look patchy, and generally scream "I TRIED!" And the wrong shade? Disaster! 😱 You end up looking like you’ve just run a marathon… backward… uphill… in the Sahara Desert.
But fear not, my beauty-loving brethren! Jelly Glow Liquid Blush is here to rescue you from the clutches of blush-related despair.
Here’s why it’s a game-changer:
- Natural, Healthy-Looking Flush: This isn’t your grandma’s rouge. Jelly Glow blends seamlessly into the skin, mimicking a natural, healthy flush. Think "just got back from a brisk walk in the Swiss Alps" not "just got back from a fight with a badger." 🦡🚫
- Long-Lasting Power: We’re talking serious staying power here, folks. This isn’t blush that fades faster than your New Year’s resolutions. It’s designed to stick around, keeping you looking radiant all day (and night!) long. 🌙
- Dewy, Luminous Finish: Say goodbye to dull, flat cheeks! Jelly Glow imparts a gorgeous, dewy finish that makes your skin look healthy and hydrated. Think "golden hour glow" bottled. 🌅
- Buildable Coverage: Whether you’re going for a subtle hint of color or a bold pop, Jelly Glow allows you to customize your look. You’re the artist, your cheeks are the canvas! 🎨
- Easy Application: Forget complicated techniques and specialized brushes. Jelly Glow is incredibly easy to apply, even for blush newbies. We’ll get into the specifics later, but trust me, it’s easier than making toast. 🍞
(Jelly Glow 101: Understanding the Formula)
So, what makes this magical concoction tick? Let’s break down the key components:
- Pigments: These are the stars of the show, providing the beautiful color that gives you that coveted flush. High-quality pigments ensure vibrant, true-to-life shades that won’t fade or oxidize.
- Hydrating Agents: Think Hyaluronic Acid, Glycerin, or even plant-based extracts. These ingredients keep your skin hydrated and plump, preventing that dry, cakey look. 💧
- Film-Forming Polymers: These create a thin, flexible layer that adheres to the skin, ensuring long-lasting wear without feeling heavy or greasy. Think of it as a gentle hug for your cheeks. 🤗
- Gelling Agents: These give the blush its unique jelly-like texture, making it easy to blend and distribute evenly. It’s like a party in your hand! 🎉
(The Shade Spectrum: Finding Your Perfect Match)
Choosing the right shade of blush is crucial. It’s the difference between looking like a radiant goddess and looking like a clown who lost his way. 🤡🚫
Here’s a breakdown based on skin tone:
| Skin Tone | Recommended Shades | Shades to Exercise Caution With |
|---|---|---|
| Fair/Light | Light pinks, peaches, soft corals, mauves | Very bright or dark shades, which can easily overwhelm the complexion. |
| Medium | Rosy pinks, berry tones, warm peaches, bronzes | Pale pastels, which can look chalky on medium skin. |
| Olive | Peachy corals, terracotta, bronzes, vibrant berries | Anything too cool-toned or ashy, which can make olive skin look dull. |
| Tan/Deep | Deep berry shades, plums, oranges, reds, bright corals | Light or pale shades, which won’t show up well on darker skin. |
| Deep/Dark | Rich berry shades, vibrant reds, deep plums, bronzes with shimmer | Anything too muted or pastel, which can look ashy or disappear entirely. |
Pro Tip: When in doubt, swatch the blush on your wrist and see how it looks in natural light. Also, consider your undertones. If you have warm undertones, go for warm shades. If you have cool undertones, go for cool shades. It’s all about harmony, baby! 🎶
(The Application Process: From Dab to Dazzle!)
Okay, class, time for the fun part! Grab your Jelly Glow Liquid Blush and let’s get started.
Tools You’ll Need:
Tools You’ll Need:
- Jelly Glow Liquid Blush (duh!)
- Your Fingers: Yes, you read that right! Your fingers are often the best tools for applying liquid blush, especially for a natural, diffused look.
- A Damp Beauty Sponge: For seamless blending and a more airbrushed finish.
- A Stippling Brush: For precise application and buildable coverage.
Step-by-Step Guide:
- Prep Your Skin: Start with a clean, moisturized face. Apply your foundation and concealer as usual.
- Dispense a Tiny Amount: Seriously, a little goes a long way! Start with a tiny dot (about the size of a grain of rice) on the back of your hand. You can always add more, but it’s much harder to take away. Less is more, my friends! 🤏
-
Choose Your Application Method:
- Fingers: Dab a small amount of blush onto your fingertips and gently pat it onto the apples of your cheeks. Blend outwards towards your temples, using light, circular motions.
- Beauty Sponge: Dab the sponge onto the back of your hand to pick up some blush, then gently stipple it onto your cheeks. Blend until seamless.
- Stippling Brush: Dip the brush into the blush and stipple it onto your cheeks in a circular motion. Blend outwards for a natural finish.
- Placement is Key: Smile! The apples of your cheeks are the fullest part when you smile. That’s where you want to start applying the blush. Then, blend outwards and upwards towards your temples. Avoid getting too close to your nose, as this can make you look flushed or congested.
- Build Coverage Gradually: If you want a more intense color, add another tiny dot of blush and repeat the application process. Remember, it’s always easier to add more than to take away!
- Blend, Blend, Blend!: The key to a natural-looking blush is seamless blending. Make sure there are no harsh lines or edges.
- Set with Powder (Optional): If you have oily skin, you can set your blush with a light dusting of translucent powder. This will help it last even longer and prevent it from sliding around.
- Admire Your Glow! Step back and admire your radiant, healthy-looking complexion. You’ve officially mastered the art of Jelly Glow Liquid Blush! ✨
Placement Perfection: Cheekbone Contouring with Jelly Glow
Beyond the basic application, Jelly Glow Liquid Blush can also be used to subtly contour and enhance your cheekbones. This technique is all about creating the illusion of higher, more defined cheekbones.
- Identify Your Cheekbones: Feel for the bony structure beneath your skin. This is your cheekbone.
- Choose a Slightly Deeper Shade: Select a Jelly Glow Liquid Blush shade that’s one or two shades darker than your natural blush color.
- Apply Under the Cheekbone: Instead of applying blush directly to the apples of your cheeks, apply a small amount of the deeper shade just beneath your cheekbone, starting near your ear and blending inwards towards the center of your face.
- Blend Upwards: Blend the blush upwards towards your cheekbone, creating a subtle shadow that defines and contours.
- Add a Touch of Highlighter: Apply a touch of highlighter to the tops of your cheekbones to accentuate the effect.
This technique is a fantastic way to sculpt and define your face without resorting to harsh contouring powders. It’s all about creating a natural, healthy-looking dimension.
(Troubleshooting Tips: Avoiding Blush Blunders)
Even with the easiest products, things can sometimes go awry. Here are some common problems and how to fix them:
- Too Much Blush: Oops! Don’t panic. Use a damp beauty sponge to gently blot away the excess blush. You can also apply a thin layer of foundation or concealer over the blush to tone it down.
- Uneven Application: If one cheek has more blush than the other, use your fingers or a beauty sponge to even it out.
- Patchy Blush: This usually happens when your skin is dry or textured. Make sure to moisturize your skin well before applying blush. You can also try exfoliating your skin regularly to remove dead skin cells.
- Blush Fading Too Quickly: Set your blush with a light dusting of translucent powder. You can also use a setting spray to help it last longer.
(Advanced Techniques: Level Up Your Blush Game!)
Once you’ve mastered the basics, you can start experimenting with more advanced techniques:
- Blush Draping: This technique involves applying blush along your cheekbones and temples to create a sculpted, lifted effect.
- Monochromatic Makeup: Use the same shade of Jelly Glow Liquid Blush on your cheeks, lips, and even your eyes for a cohesive, monochromatic look.
- Mix and Match: Combine different shades of Jelly Glow Liquid Blush to create your own custom color.
(The Final Verdict: Jelly Glow is Your New Best Friend!)
Jelly Glow Liquid Blush is a must-have for anyone who wants a natural, healthy-looking flush that lasts. It’s easy to apply, buildable, and incredibly versatile. So, ditch the dull and embrace the dewy! Your cheeks will thank you. 😉
(Homework Assignment:)
Go forth and experiment! Try different shades, application techniques, and placements. Find what works best for you and unleash your inner glow! Don’t forget to share your creations with me! (Tag me on Instagram: @ProfessorOfPigment).
Class dismissed! 🔔
For detailed product specifications and purchases, please go to :https://zenamakeup.com/products/jelly-liquid-blush-stick
Leave a Reply