Unlock Your Inner Allure: Sexy Stained Lip Marker Tint for a Natural Flush That Lasts All Day 💋
(Lecture Begins: Cue dramatic music… then quickly fades to playful jazz)
Alright, class! Settle down, settle down! Today, we’re not talking about mitochondria, Shakespeare, or the intricacies of quantum physics. Nope. Today, we’re delving into something far more crucial to the human experience: The Art of the Alluring Lip.
Specifically, we’re dissecting the magical world of Stained Lip Marker Tints! 💄✨
Think of this not as a makeup tutorial, but as a Lip-losophy lesson. We’ll uncover the secrets to achieving that perpetually-kissed, just-bitten, "I-woke-up-like-this-but-actually-spent-30-minutes-perfecting-it" lip look.
(Professor cracks a playful smile, adjusts imaginary glasses)
Now, before you start picturing yourselves looking like a vampire fresh from a grape juice binge, let me assure you: We’re aiming for natural allure, not theatrical gore. Think more "French girl chic" and less "Twilight saga extra."
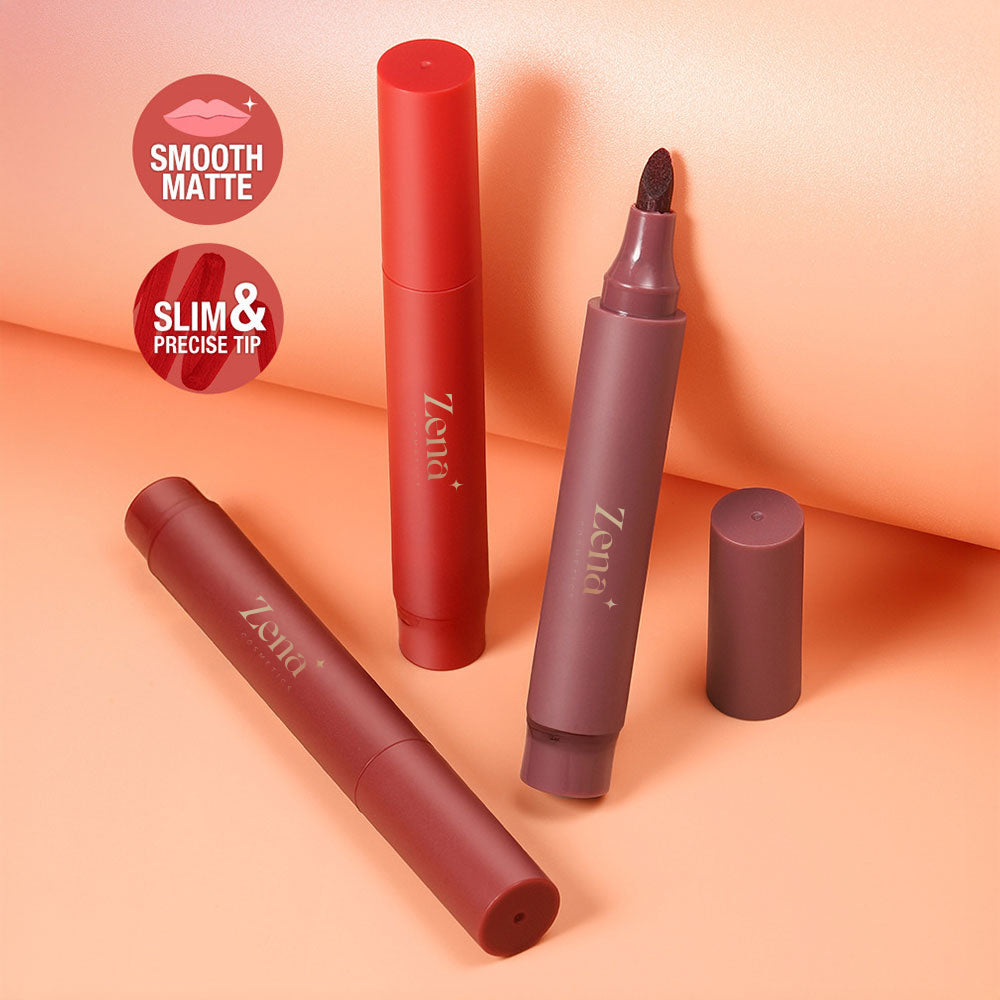
Why Lip Stains? Ditching the Lipstick Dinosaur 🦕 for the Lip Stain Unicorn 🦄
Let’s face it, traditional lipsticks have their drawbacks. They’re like that clingy ex who refuses to leave your life (and your teeth!). Here’s the breakdown:
| Feature | Lipstick | Lip Stain Marker Tint |
|---|---|---|
| Longevity | Requires constant reapplication. Think hourly. | Lasts for hours! Hello, coffee and kisses! |
| Transfer | Everywhere! Cups, cheeks, unsuspecting victims. | Minimal to no transfer! High-five! 🙌 |
| Texture | Can feel heavy, cakey, and drying. | Lightweight, feels like you’re wearing nothing. |
| Precision | Tricky to apply without a lip liner. | Marker tip allows for precise application. |
| Natural Look | Can sometimes look overly dramatic. | Creates a natural, "stained" effect. |
| The Clingy Factor | High. It’s everywhere you DON’T want it. | Low. Finally, some personal space! |
As you can see, the lip stain marker tint is the clear winner! It’s the low-maintenance, high-impact solution for the modern individual. It’s the Beyoncé of lip products. Flawless and effortlessly chic.
Decoding the Magic: How Lip Stain Marker Tints Work
So, what’s the secret sauce? Lip stain marker tints work by… well, staining! The formula is typically a water-based or gel-based liquid with pigments that penetrate the upper layers of your lips.
Think of it like dyeing your hair, but on a much smaller (and less permanent!) scale. The color binds to your lip cells, creating a natural-looking tint that lasts even after the initial gloss or moisture evaporates.
(Professor pulls out a diagram of a magnified lip cell. It looks vaguely like a tiny, adorable brick wall.)
See? The pigment molecules are like tiny, enthusiastic workers, embedding themselves into the cracks and crevices of your lip cells. They’re there for the long haul!
Choosing Your Weapon: Navigating the Lip Stain Landscape 🗺️
Not all lip stain marker tints are created equal. You need to choose the right weapon for your personal lip conquest. Here’s a breakdown of factors to consider:
- Color Payoff: Do you want a subtle hint of color or a bold statement? Some stains offer a sheer wash of color, while others are more pigmented.
- Finish: Some have a glossy finish, while others are matte. Consider your personal preference and the occasion.
- Longevity: Read reviews! Some stains last longer than others. Look for keywords like "long-lasting," "transfer-proof," and "all-day wear."
- Ingredients: Check the ingredients list, especially if you have sensitive skin or allergies. Look for hydrating ingredients like hyaluronic acid or vitamin E.
- Applicator: The marker tip should be precise and easy to use. A flexible tip can help you contour your lips more effectively.
- Price: From drugstore steals to high-end splurges, there’s a lip stain marker tint for every budget.
Here’s a handy-dandy table to help you navigate:
| Type of Stain | Color Payoff | Finish | Longevity | Best For |
|---|---|---|---|---|
| Sheer Stain | Subtle | Glossy/Satin | Medium | Natural, everyday look. |
| Medium Coverage Stain | Moderate | Semi-Matte | Long | Building color, adding definition. |
| High Pigment Stain | Bold | Matte | Very Long | Statement lips, special occasions. |
| Water-Based Stain | Varies | Natural | Medium | Lightweight feel, layering. |
| Gel-Based Stain | Varies | Glossy/Satin | Long | Hydrating formula, comfortable wear. |
(Professor strikes a pose, pointing dramatically at the table.)
Remember, students! Knowledge is power! Choose wisely!
Mastering the Application: From Novice to Lip Stain Ninja 🥷
Alright, you’ve chosen your weapon. Now, it’s time to learn how to wield it! Here’s your step-by-step guide to lip stain marker tint mastery:
- Prep Your Canvas: Exfoliate your lips! Dry, flaky lips are the enemy of a flawless stain. Use a gentle lip scrub or a soft toothbrush to buff away dead skin.
- Hydrate, Hydrate, Hydrate: Apply a thin layer of lip balm. This will create a smooth base for the stain and prevent your lips from drying out. Let it absorb for a few minutes before applying the stain.
- Outline with Precision: Use the marker tip to carefully outline your lips. This will help prevent the stain from bleeding and create a defined shape.
- Fill ‘Er Up!: Fill in the rest of your lips with the stain. You can apply multiple layers to build up the color intensity.
- Blot and Blend (Optional): If you want a more natural look, blot your lips with a tissue to remove any excess product. You can also use your finger to gently blend the edges of the stain.
- Seal the Deal (Optional): For added shine, apply a clear lip gloss or balm on top of the stain.
(Professor demonstrates the application with exaggerated movements, accidentally getting a bit of stain on their cheek. The class erupts in laughter.)
Oops! See? Even the pros have their moments. That’s why we practice!
Oops! See? Even the pros have their moments. That’s why we practice!
Pro-Tips from a Lip Stain Legend (Me!):
- Start Light: It’s easier to add more color than to remove it. Start with a thin layer and build up the intensity as needed.
- Don’t Be Afraid to Experiment: Mix and match different shades to create your own custom color.
- Clean Up Crew: Keep a cotton swab dipped in makeup remover handy for any mistakes.
- Embrace the Fade: Lip stains fade gradually, leaving a natural-looking tint. Don’t be afraid to let the stain evolve throughout the day.
- Smile! The best accessory is a confident smile.
Color Theory 101: Choosing the Right Shade for Your Skin Tone 🎨
Choosing the right shade is crucial for maximizing your lip stain allure. Here’s a quick guide to help you navigate the color wheel:
- Fair Skin: Opt for soft pinks, peaches, and light corals. Avoid shades that are too dark or vampy, as they can wash you out.
- Light to Medium Skin: You have more flexibility! Experiment with pinks, roses, berries, and nudes with warm undertones.
- Olive Skin: Embrace warm shades like corals, oranges, and reds with golden undertones.
- Tan to Deep Skin: Go bold! Deep reds, berries, plums, and browns will look stunning on your complexion.
(Professor unveils a ridiculously oversized color wheel with lipstick swatches. The class "oohs" and "aahs.")
Remember, these are just guidelines. The best way to find your perfect shade is to experiment and see what looks best on you!
Troubleshooting: Common Lip Stain Challenges and Solutions 🛠️
Even the most seasoned lip stain aficionado can encounter challenges. Here’s a guide to troubleshooting common problems:
- Uneven Application: Exfoliate your lips and apply a lip balm before applying the stain. Use a precise applicator and take your time.
- Dry Lips: Choose a stain with hydrating ingredients and apply a lip balm throughout the day.
- Stain Bleeding: Use a lip liner or a clear lip primer to prevent the stain from feathering.
- Color Too Intense: Blot your lips with a tissue to remove excess product. You can also apply a lip balm on top to soften the color.
- Stain Not Lasting Long Enough: Choose a long-lasting formula and avoid eating oily foods, which can break down the stain.
(Professor pulls out a toolbox filled with lip stain essentials. The class chuckles.)
Always be prepared!
The Ethical Angle: Cruelty-Free and Vegan Options 🐰🌱
In today’s world, it’s important to consider the ethical implications of our beauty choices. Fortunately, there are plenty of cruelty-free and vegan lip stain marker tints available.
Look for brands that are certified by organizations like Leaping Bunny or PETA. Check the ingredients list to ensure that the product doesn’t contain any animal-derived ingredients like beeswax or carmine.
(Professor holds up a sign that says "Beauty Without Cruelty." The class applauds.)
Let’s be beautiful inside and out!
Beyond the Basics: Creative Lip Stain Looks ✨
Once you’ve mastered the basics, you can start experimenting with more creative lip stain looks:
- Ombré Lips: Apply a darker shade of stain to the outer corners of your lips and a lighter shade to the center. Blend the colors together for a gradient effect.
- Two-Toned Lips: Apply one color to the top lip and another color to the bottom lip.
- Stained Lip with Gloss: Apply a lip stain and then top it with a clear or tinted lip gloss for a high-shine look.
- Blurred Lips: Apply a lip stain to the center of your lips and then use your finger to blend it outwards for a soft, diffused look.
(Professor showcases a slideshow of stunning lip stain looks. The class gasps in admiration.)
The possibilities are endless! Let your creativity run wild!
The Final Verdict: Lip Stain Marker Tints – Your Secret Weapon for Effortless Allure
So, there you have it! A comprehensive guide to the wonderful world of lip stain marker tints. They are:
- Long-lasting
- Natural-looking
- Easy to apply
- Versatile
- Empowering!
(Professor strikes a final pose, winks at the class.)
Now go forth and conquer the world, one perfectly stained lip at a time! Class dismissed!
(Lecture ends: Playful jazz music swells, then fades out.)
For detailed product specifications and purchases, please go to :https://zenamakeup.com/products/sexy-stained-lip-marker-tint
Leave a Reply