Lecture Hall: Achieving the Perfect Natural Flush with Cooling Jelly Stain & Glow Lip Tint 💋
(Welcome screen illuminates with a playful graphic of a woman with perfectly flushed lips sipping a frosty beverage. Upbeat, quirky music plays.)
Good morning, everyone! Settle in, grab your metaphorical notebooks (or actual notebooks, if you’re old school like me 👵🏼), because today, we’re diving headfirst into the luscious, hydrating, and oh-so-natural world of Cooling Jelly Stain & Glow Lip Tints!
Forget the heavy lipsticks that feel like you’re wearing cement, and ditch the overly matte formulas that suck the life out of your pout. We’re on a quest for the perfect "I just ate a popsicle and maybe snuck a kiss" kind of flush. And trust me, these jelly tints are your secret weapon.
(Slide 1: Title – "Cooling Jelly Stain & Glow Lip Tints: Your Secret Weapon for a Natural Flush")
So, why jelly? Why stain? Why glow? And why are we cooling down our lips anyway? Let’s break it down.
Lecture Outline: Pout Perfection 101
- What Exactly Is a Cooling Jelly Stain & Glow Lip Tint? (Demystifying the hype)
- The Science of the Stain: How Does It Work? (Don’t worry, no actual lab coats required… unless you want to wear one. 🧪)
- The Cooling Sensation: More Than Just a Gimmick? (Spoiler alert: it’s pretty darn cool… literally.)
- The "Glow Up": Achieving That Lit-From-Within Look (Sparkle responsibly, friends!)
- Application Techniques: From Subtle to Statement (Mastering the art of the jelly tint application.)
- Choosing the Right Shade: A Color Theory Crash Course (Finding your perfect match.)
- DIY Delight: Can You Make Your Own Jelly Tint? (Proceed with caution… and maybe a Pinterest board.)
- Product Recommendations: My Holy Grail Jellies (Confessions of a lip tint addict.)
- Troubleshooting: Common Jelly Tint Mishaps & How to Fix Them (We’ve all been there.)
- The Future of Lip Tints: Jelly’s Reign Continues! (Predicting the trends.)
(Slide 2: A vibrant collage showcasing various Cooling Jelly Stain & Glow Lip Tints in different shades and packaging.)
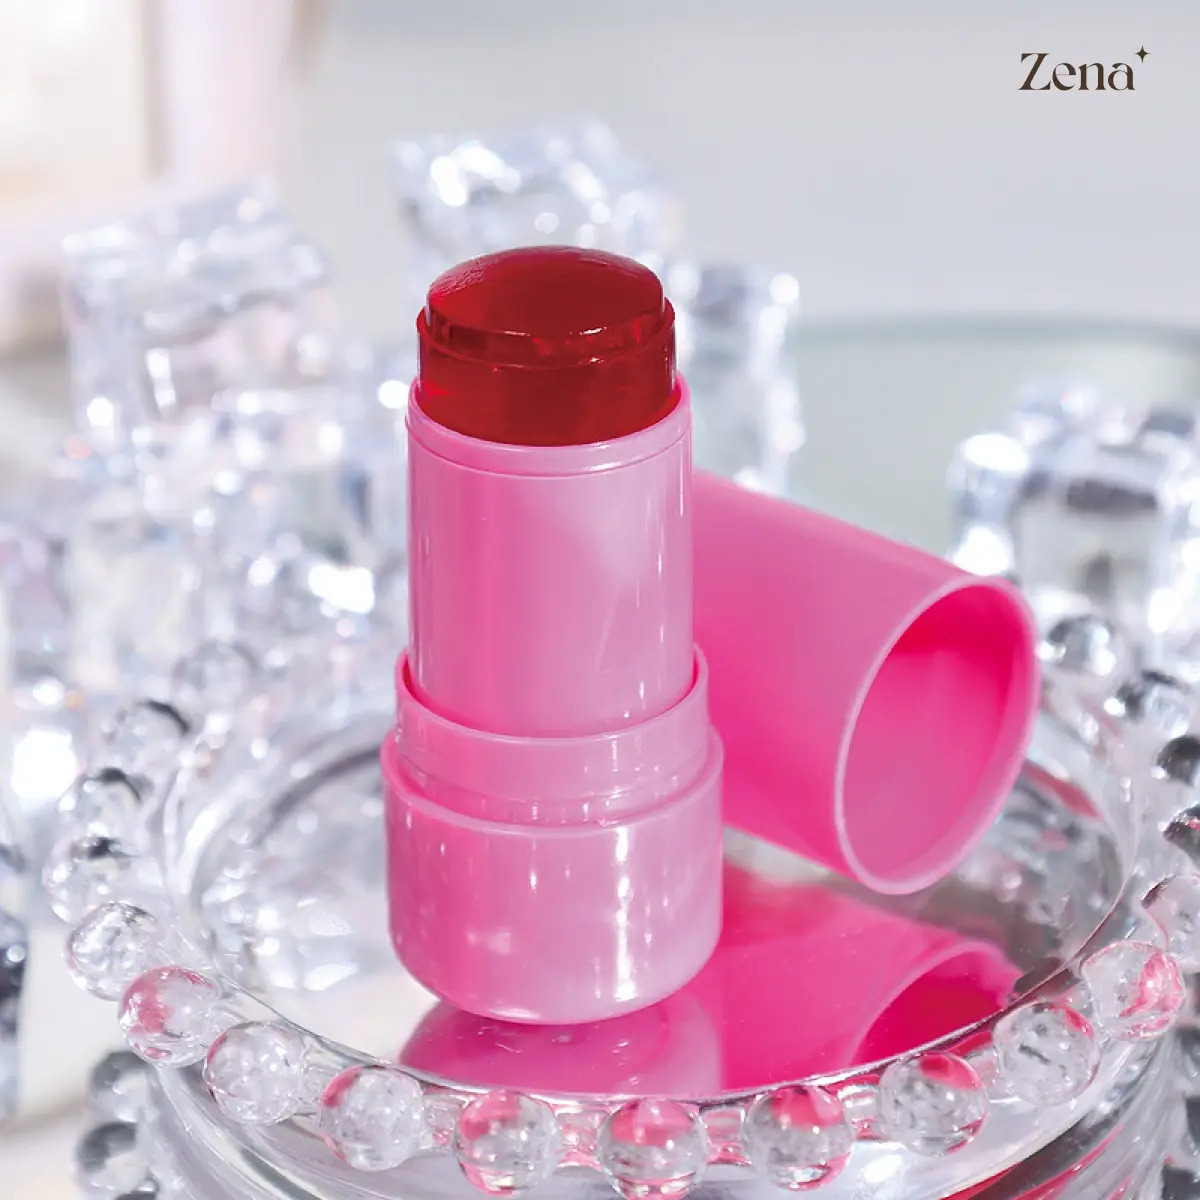
1. What Exactly Is a Cooling Jelly Stain & Glow Lip Tint?
Imagine the love child of a lip stain, a lip balm, and a refreshing ice cube. That’s a Cooling Jelly Stain & Glow Lip Tint in a nutshell. It’s a lightweight, often water-based formula that:
- Stains: Deposits a subtle, long-lasting color on your lips, mimicking the natural flush you get after, say, devouring a juicy watermelon 🍉.
- Hydrates: Packed with moisturizing ingredients like hyaluronic acid, glycerin, and botanical extracts, it keeps your lips plump and happy. Think of it as a spa day for your pout!
- Glows: Provides a healthy sheen, adding dimension and making your lips look naturally radiant. No disco ball effect here, just a subtle, lit-from-within luminosity.
- Cools: Offers a refreshing, cooling sensation upon application, thanks to ingredients like menthol or mint extracts. It’s like a mini cryo-facial for your lips!
Basically, it’s the lazy girl’s (or guy’s!) dream product for achieving a naturally beautiful, low-maintenance lip look.
2. The Science of the Stain: How Does It Work?
(Slide 3: A simplified diagram illustrating how lip stains work, showing pigment molecules penetrating the upper layers of the lips.)
Okay, time for a very simplified science lesson. Don’t worry, I promise no pop quizzes.
Lip stains work by using dyes or pigments that penetrate the upper layers of the skin on your lips. Unlike lipsticks, which sit on top of the skin, stains actually dye the surface. This is why they last longer and don’t transfer as easily.
Think of it like this:
| Feature | Lipstick | Lip Stain |
|---|---|---|
| Placement | Sits on top of the lips. | Penetrates the upper layers of the lips. |
| Longevity | Shorter. Needs reapplication. | Longer. Stays put through eating and drinking. |
| Transfer | High. Leaves marks on cups and faces. 💋 | Low. Minimal to no transfer. |
| Texture | Can be creamy, matte, glossy, etc. | Lightweight, often watery or gel-like. |
| Feeling | Can feel heavy or drying. | Comfortable, hydrating. |
| Pigmentation | High. Intense color payoff. | Subtle, natural-looking color. |
The key is the size and type of pigment used. Jelly tints typically use smaller, more subtle pigments that create a natural, diffused effect. They’re not trying to shout "I’m wearing lipstick!" They’re whispering, "I woke up like this…flawless."
3. The Cooling Sensation: More Than Just a Gimmick?
(Slide 4: An image of a woman applying a lip tint with a relaxed and refreshed expression.)
Let’s be real, who doesn’t love a product that tingles? But the cooling sensation in these jelly tints isn’t just a fun gimmick. It actually offers several benefits:
- Increased Circulation: The cooling effect can stimulate blood flow to the lips, making them appear plumper and more vibrant. Hello, natural lip filler! 💉 (Just kidding…mostly.)
- Soothing and Refreshing: Perfect for dry, chapped lips. The cooling sensation can provide instant relief and make your lips feel refreshed and revitalized.
- Sensory Experience: Let’s face it, applying makeup should be a pleasurable experience. The cooling sensation adds a little extra oomph to your routine, making it feel more luxurious and spa-like.
Common cooling ingredients include:
- Menthol: A classic cooling agent derived from peppermint.
- Mint Extracts: Peppermint, spearmint, and other mint varieties.
- Camphor: A natural compound with a cooling and analgesic effect.
- Eucalyptus Oil: Known for its refreshing and invigorating properties.
Important Note: If you have sensitive skin, be sure to test a small amount of the product on your arm or hand before applying it to your lips. Excessive cooling can sometimes cause irritation.
4. The "Glow Up": Achieving That Lit-From-Within Look
(Slide 5: Before and after photos showcasing the subtle glow effect of a jelly lip tint.)
The "glow" in Cooling Jelly Stain & Glow Lip Tints isn’t about glitter bombs or blinding shimmer. It’s about achieving a healthy, radiant, and naturally plump-looking pout.
This glow is typically achieved through:
- Hydration: Well-hydrated lips naturally reflect light better, creating a subtle sheen.
- Light-Reflecting Ingredients: Some formulas contain finely milled light-reflecting particles that enhance the natural luminosity of your lips.
- The "Glass Skin" Effect: The jelly texture often creates a smooth, even surface that reflects light beautifully, mimicking the coveted "glass skin" look.
Think of it as the opposite of a matte lipstick. Matte lipsticks absorb light, making your lips appear flatter. Jelly tints reflect light, adding dimension and making your lips look fuller and more alive.
5. Application Techniques: From Subtle to Statement
(Slide 6: A series of images demonstrating different application techniques, from a single swipe for a subtle flush to layering for a bolder look.)
Alright, let’s get practical! Here’s how to master the art of jelly tint application:
- The "Just Bitten" Look: For a subtle flush, apply a single swipe of the tint to the center of your bottom lip and gently press your lips together to distribute the color. This creates a natural, diffused effect.
- The Gradient Lip: Apply the tint to the inner portion of your lips and blend outwards using your finger or a cotton swab. This creates a soft, gradient effect that’s super popular in Korean beauty.
- The "Full Glam" Jelly Lip: For a bolder look, apply several layers of the tint, allowing each layer to dry slightly before applying the next. You can also line your lips with a nude lip liner to define the shape and prevent the tint from bleeding.
- The "Tinted Balm" Hack: Mix a small amount of the tint with your favorite lip balm for a sheer, hydrating wash of color. This is perfect for everyday wear.
Tools of the Trade:
- Applicator: Most jelly tints come with a doe-foot applicator, which is perfect for precise application.
- Fingers: For a natural, diffused effect, use your fingertips to blend the tint into your lips.
- Cotton Swabs: Great for creating a gradient lip or cleaning up any smudges.
- Lip Brush: For precise application and layering.
Pro Tip: Exfoliate your lips before applying the tint to ensure a smooth, even application. Nobody wants patchy lips! 😬
6. Choosing the Right Shade: A Color Theory Crash Course
(Slide 7: A color wheel with explanations of warm, cool, and neutral undertones, and recommendations for lip tint shades that complement each undertone.)
Finding the perfect shade of jelly tint can be tricky, but fear not! Here’s a quick color theory crash course to help you navigate the world of lip tint hues:
- Identify Your Undertones: Are you warm (golden/yellow), cool (pink/blue), or neutral? You can usually tell by looking at the veins on your wrist. Greenish veins suggest warm undertones, bluish veins suggest cool undertones, and a mix of both suggests neutral undertones.
- Complementary Colors:
- Warm Undertones: Look for warm shades like corals, peaches, oranges, and warm reds.
- Cool Undertones: Look for cool shades like pinks, berries, plums, and cool reds.
- Neutral Undertones: You’re lucky! You can pull off almost any shade.
- Consider Your Skin Tone:
- Fair Skin: Opt for light pinks, peaches, and nudes.
- Medium Skin: Experiment with corals, berries, and rosy shades.
- Olive Skin: Try warm reds, oranges, and bronzes.
- Dark Skin: Go for bold berries, plums, and deep reds.
Here’s a handy table to guide you:
| Skin Tone | Undertone | Recommended Jelly Tint Shades |
|---|---|---|
| Fair | Cool | Light pinks, cool nudes, sheer berries |
| Fair | Warm | Peaches, corals, warm nudes |
| Medium | Cool | Rosy pinks, cool berries, mauves |
| Medium | Warm | Corals, peaches, warm reds |
| Olive | Neutral | Warm reds, oranges, bronzes, berries |
| Dark | Cool | Deep berries, plums, cool reds |
| Dark | Warm | Rich reds, oranges, bronzes |
Pro Tip: When in doubt, swatch the tint on your wrist or the back of your hand to see how it looks against your skin tone.
7. DIY Delight: Can You Make Your Own Jelly Tint?
(Slide 8: A humorous image of a person in a kitchen covered in spilled food coloring and lip balm.)
The internet is full of DIY beauty recipes, but should you really try making your own jelly tint?
The short answer: Proceed with caution! ⚠️
While it’s technically possible, it can be tricky to achieve the right texture, color payoff, and longevity. Plus, you need to be careful about using safe and non-irritating ingredients.
Here’s a simplified (and potentially disastrous) recipe:
- Ingredients:
- Clear lip balm (petroleum-free is best)
- Powdered food coloring (use sparingly!)
- Glycerin (for added hydration)
- Essential oil (for scent, optional)
- Instructions:
- Melt the lip balm in a double boiler or microwave.
- Gradually add the powdered food coloring, stirring until you achieve your desired color.
- Add a few drops of glycerin and essential oil (if using).
- Pour the mixture into a small container and let it cool completely.
Potential Pitfalls:
- Uneven Color: Getting the color distribution right can be challenging.
- Irritation: Food coloring can be irritating to sensitive skin.
- Poor Longevity: Homemade tints may not last as long as store-bought versions.
- Messy Process: Prepare for potential spills and stains!
My Recommendation: Unless you’re a seasoned DIY beauty guru, I’d recommend sticking to store-bought jelly tints. They’re formulated with safe and effective ingredients and offer a much more predictable result.
8. Product Recommendations: My Holy Grail Jellies
(Slide 9: Images and brief descriptions of several recommended Cooling Jelly Stain & Glow Lip Tints from various brands.)
Alright, time for the good stuff! Here are a few of my personal favorite Cooling Jelly Stain & Glow Lip Tints:
- [Brand A] Jelly Lip Stain: This one is a classic! It has a beautiful, buildable color, a refreshing cooling sensation, and a long-lasting stain.
- [Brand B] Cooling Lip Tint: Infused with hyaluronic acid, this tint is super hydrating and gives your lips a gorgeous, glossy finish.
- [Brand C] Glow Lip Jelly: This tint has a subtle shimmer that adds a touch of radiance to your lips. It’s perfect for a more glamorous look.
- [Brand D] Water Gel Tint: A lightweight, water-based tint that feels like nothing on your lips. It’s perfect for everyday wear.
- [Brand E] Cooling Plumping Lip Tint: This tint contains ingredients that help to plump up your lips, giving you a fuller, more defined pout.
(Include a table summarizing the recommendations):
| Brand | Product Name | Key Features | Price Range |
|---|---|---|---|
| Brand A | Jelly Lip Stain | Buildable color, cooling, long-lasting | $15-20 |
| Brand B | Cooling Lip Tint | Hydrating, glossy finish | $18-25 |
| Brand C | Glow Lip Jelly | Subtle shimmer, radiant finish | $20-28 |
| Brand D | Water Gel Tint | Lightweight, water-based | $12-18 |
| Brand E | Cooling Plumping Tint | Plumping, fuller lips | $22-30 |
Disclaimer: These are just my personal recommendations! Everyone’s preferences are different, so I encourage you to experiment and find the jelly tint that works best for you.
9. Troubleshooting: Common Jelly Tint Mishaps & How to Fix Them
(Slide 10: A series of images illustrating common jelly tint problems, such as patchy application, bleeding, and dryness, along with solutions.)
Even the best jelly tint can sometimes go rogue. Here are a few common mishaps and how to fix them:
- Patchy Application: Exfoliate your lips before applying the tint to remove any dead skin cells. You can also try applying a lip primer to create a smooth, even base.
- Bleeding: Line your lips with a nude lip liner before applying the tint to prevent it from feathering or bleeding. You can also blot your lips with a tissue to remove any excess product.
- Dryness: Jelly tints can sometimes be drying, especially if they contain alcohol. Use a hydrating lip balm before and after applying the tint to keep your lips moisturized.
- Color Too Intense: Apply a single swipe of the tint and blend it out with your finger or a cotton swab. You can also mix the tint with a clear lip balm to sheer out the color.
- Color Not Showing Up: Apply several layers of the tint, allowing each layer to dry slightly before applying the next. You can also try applying the tint over a lip primer or a nude lipstick.
Remember: Practice makes perfect! Don’t be afraid to experiment with different application techniques and shades until you find what works best for you.
10. The Future of Lip Tints: Jelly’s Reign Continues!
(Slide 11: A futuristic graphic depicting innovative lip tint formulations and application methods.)
The world of lip tints is constantly evolving, and jelly tints are definitely here to stay! I predict we’ll see even more innovative formulations and application methods in the future, such as:
- Customizable Jelly Tints: Imagine a lip tint that adjusts its color based on your skin’s pH level!
- Sustainable Packaging: Eco-friendly lip tint packaging is becoming increasingly important.
- Hybrid Formulas: Lip tints that combine the benefits of multiple products, such as a stain, balm, and plumper all in one.
- Smart Applicators: Applicators that dispense the perfect amount of product and blend it seamlessly into your lips.
The possibilities are endless! So, stay tuned and get ready to embrace the future of lip color.
(Final Slide: Thank you! and a Call to Action: "Go forth and conquer the world, one perfectly flushed lip at a time!")
And that concludes our lecture on Cooling Jelly Stain & Glow Lip Tints! I hope you found it informative, entertaining, and maybe even a little bit inspiring. Now go forth and experiment! Find your perfect shade, master your application technique, and rock that natural flush with confidence. Remember, beauty is all about having fun and feeling good about yourself.
Class dismissed! 💋✨
For detailed product specifications and purchases, please go to :https://zenamakeup.com/products/everglow-sculpting-cooling-jelly-tint-sheer-lip-face-stain
Leave a Reply