✨ Lecture: Mastering the Dual-Ended EasyGlow Eyeshadow Stick – Unleash Your Inner Eye Artist! ✨
Alright, class, settle down, settle down! Today, we’re diving headfirst into the shimmering, sparkling, and oh-so-convenient world of the Dual-Ended EasyGlow Eyeshadow Stick! Forget those dusty palettes that look like they survived a glitter bomb explosion. We’re talking streamlined sophistication, portable power, and eyeshadow application so easy, even your grandma could rock a smoky eye (no offense, Grandma!).
Think of this lecture as your personal glow-up guide. We’ll dissect this magical makeup marvel, exploring its versatility, mastering application techniques, and uncovering the secrets to creating a multitude of eye-catching looks. Prepare to be amazed by how much you can achieve with just one little stick!
Professor’s Note: Before we begin, let’s establish one crucial rule: There are no rules! Makeup is about expression, experimentation, and having fun. Consider this a framework, not a prison. Now, let’s get glowing!
I. What IS This Shiny Object, Anyway? (Anatomy of an EasyGlow)
Let’s break down the anatomy of our star player, the Dual-Ended EasyGlow Eyeshadow Stick. Understanding its components will help you wield it like a true eyeshadow wizard.
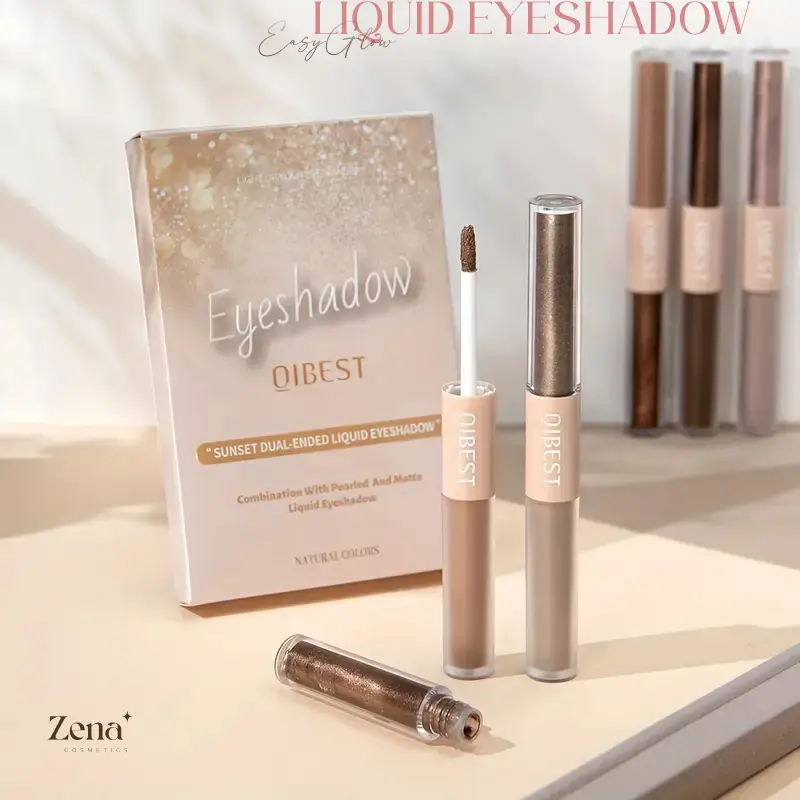
- The Dual Ends (Duh!): The core concept! Two different shades/finishes, typically designed to complement each other. This allows for quick and easy color coordination, eliminating the guesswork (and the frustration of staring blankly at your overflowing makeup collection).
- The Formula: Usually a creamy, blendable texture that glides onto the eyelid with ease. Think of it as eyeshadow in a stick form – less mess, more finesse. Look for formulas that are:
- Long-lasting: No one wants their eyeshadow to vanish halfway through a date!
- Crease-resistant: Prevent that dreaded "eyeshadow settling into the crease" situation.
- Buildable: Allows for both subtle and dramatic looks.
- Easy to blend: Crucial for a seamless, professional finish.
- The Packaging: Typically a twist-up or retractable mechanism. This keeps the product fresh and protected, and also helps prevent accidental smudging in your makeup bag (we’ve all been there!).
Table 1: Common Shade/Finish Combinations
| Combination Type | End 1 (Lighter) | End 2 (Darker) | Purpose |
|---|---|---|---|
| Classic Contour | Matte Cream/Beige | Matte Brown/Taupe | Defining the crease, adding depth, and creating a natural, sculpted look. |
| Shimmer & Shine | Champagne Shimmer | Bronze Shimmer | Creating a luminous, glowy eye look. Perfect for evenings or special occasions. |
| Day-to-Night | Matte Taupe | Deep Brown Shimmer | Subtle definition for daytime, buildable shimmer for evening glamour. |
| Color Pop | Light Gold Shimmer | Vibrant Teal/Purple | Adding a touch of unexpected color and fun! |
| Smoky Eye Starter Pack | Grey/Silver Shimmer | Charcoal Black Matte | Building a classic smoky eye with minimal effort. |
II. Why Choose the EasyGlow Life? (Benefits Galore!)
Why bother with an eyeshadow stick when you have a whole armada of palettes at your disposal? Let’s explore the compelling reasons to embrace the EasyGlow life:
- Simplicity & Speed: Perfect for makeup minimalists or anyone who’s perpetually running late. Just swipe, blend, and go!
- Portability: Fits easily into your purse or travel bag. Ideal for touch-ups on the go or creating a full look while traveling. No more lugging around bulky palettes!
- Beginner-Friendly: The creamy formula and stick applicator make it incredibly easy to apply, even for makeup newbies. Less room for error, more room for experimentation!
- Versatility: Don’t let the "easy" in EasyGlow fool you. This little stick can create a surprising range of looks, from subtle washes of color to dramatic smoky eyes.
- Less Waste: You’re more likely to use up the entire stick than a full palette, reducing product waste and saving you money in the long run. 💰
- Mess-Free: Say goodbye to eyeshadow fallout and messy brushes! The stick applicator keeps everything contained and clean.
III. Master the Swipe & Blend: Application Techniques
Now for the fun part! Let’s learn how to wield the EasyGlow like a pro.
A. The Basic Swipe:
- Step 1: Prime Your Lids: This is crucial for long-lasting color and preventing creasing. Use an eyeshadow primer or a concealer set with powder.
- Step 2: Choose Your Shade: Decide which shade you want to use as your base. Typically, the lighter shade goes on the lid.
- Step 3: Swipe It On! Apply the stick directly to your eyelid, starting at the inner corner and working your way outwards. Don’t be shy!
- Step 4: Blend, Blend, Blend! Use your finger, a blending brush, or a sponge to blend the edges of the eyeshadow. The goal is a seamless transition with no harsh lines.
B. The Contouring Technique:
- Step 1: Base Shade: Apply the lighter shade all over your lid, from lash line to brow bone.
- Step 2: Crease Definition: Use the darker shade to define your crease. Apply the stick along the crease, starting at the outer corner and working inwards.
- Step 3: Blend It Out! Use a blending brush to soften the edges of the darker shade and create a smooth transition between the two colors.
- Step 4: Highlight (Optional): Add a touch of shimmer to your inner corner and brow bone for extra brightness.
C. The Smoky Eye Simplified:
- Step 1: Dark Shade Application: Apply the darker shade all over your lid, concentrating the color closest to your lash line.
- Step 2: Blend Upwards: Use a blending brush to blend the darker shade upwards, gradually diffusing the color towards your crease.
- Step 3: Lighter Shade for Transition: Apply the lighter shade to your crease and blend it with the darker shade to create a seamless transition.
- Step 4: Smudge the Lower Lash Line: Use the darker shade to smudge along your lower lash line for a smoky effect.
- Step 5: Add Liner & Mascara: Finish with eyeliner and mascara to complete the look.
D. The Color Pop Technique:
- Step 1: Neutral Base: Apply a neutral eyeshadow (either from the EasyGlow or another palette) to your lid as a base.
- Step 2: Pop of Color: Apply the vibrant shade from your EasyGlow to the center of your lid.
- Step 3: Blend & Diffuse: Use your finger or a blending brush to blend the edges of the color, creating a soft and diffused effect.
- Step 4: Complementary Liner (Optional): Use an eyeliner in a similar shade to enhance the color pop.
Pro Tips for Flawless Application:
- Work Quickly: The creamy formula tends to set quickly, so blend as you go.
- Layer for Intensity: For a more dramatic look, layer the eyeshadow. Let each layer dry slightly before applying the next.
- Use a Light Hand: Start with a small amount of product and build up the color gradually. It’s easier to add more than to take away!
- Clean Your Brush Regularly: A clean blending brush is essential for a seamless finish.
- Don’t Forget the Lower Lash Line: Applying a touch of eyeshadow to your lower lash line can balance the look and make your eyes appear larger.
Table 2: Blending Tool Guide
| Tool | Best For | Pros | Cons |
|---|---|---|---|
| Fingers | Quick blending, applying shimmer, diffusing color. | Warmth of finger helps melt the product, easy to control, free! | Can be messy, may transfer oils, not ideal for precise blending. |
| Blending Brush | Softening edges, creating a seamless transition, applying color to the crease. | Provides even blending, allows for precise placement, good for building color. | Requires cleaning, can be overwhelming for beginners if the brush is too large. |
| Sponge/Beauty Blender (Mini) | Dabbing color, blending harsh lines, softening overall look. | Provides a soft, diffused finish, great for blending in hard-to-reach areas. | Can absorb product, requires regular cleaning, can be less precise than a brush. |
IV. Beyond the Basics: Advanced Techniques & Tips
Ready to take your EasyGlow skills to the next level? Let’s explore some advanced techniques and tips for creating truly stunning eye looks.
- Using Multiple Sticks: Don’t be afraid to combine different EasyGlow sticks to create custom color combinations. Experiment with layering different shades and finishes.
- Pairing with Powder Shadows: Use the EasyGlow as a base for powder shadows. The creamy formula will help the powder adhere to your lid and intensify the color.
- Creating a Cut Crease: Use the darker shade to define your crease and the lighter shade to highlight your lid. Blend carefully for a dramatic, defined look.
- Using as Eyeliner: Apply the darker shade along your lash line with a small, angled brush for a soft, smoky eyeliner effect.
- Highlighting Other Areas: Use the lighter, shimmer shade as a highlighter on your brow bone, inner corner, or even your cheekbones! (Multitasking at its finest!)
- Ombre Eyes: Apply the lighter shade to the inner corner of your eye and the darker shade to the outer corner. Blend the two shades together in the middle to create a seamless ombre effect.
- Reverse Smoky Eye: Apply the darker shade to your lower lash line and the lighter shade to your upper lid. This creates a unique and edgy twist on the classic smoky eye.
- Waterline Magic: Some EasyGlow formulas (especially matte ones) can be used on the waterline for added definition. Be sure to check the product description and ingredients before applying to your waterline.
Professor’s Secret Weapon: Use a small, flat brush dipped in setting spray to intensify shimmer shades. This will create a foiled effect that is absolutely dazzling! ✨
V. Troubleshooting Common Issues
Even with the EasyGlow’s ease of use, you might encounter a few hiccups along the way. Let’s address some common issues and how to fix them.
- Creasing:
- Cause: Oily eyelids, not using primer, using too much product.
- Solution: Use an eyeshadow primer, apply a thin layer of product, set with a translucent powder.
- Uneven Application:
- Cause: Not blending properly, applying too much pressure.
- Solution: Use a light hand, blend thoroughly with a clean blending brush, build up the color gradually.
- Shade Doesn’t Show Up:
- Cause: Applying to bare eyelids, not using a base.
- Solution: Use an eyeshadow primer or a concealer as a base, layer the eyeshadow for more intensity.
- Color Fades Too Quickly:
- Cause: Not using a primer, oily eyelids.
- Solution: Use an eyeshadow primer, set with a setting spray.
- Product Breaks Easily:
- Cause: Extending the stick too far, applying too much pressure.
- Solution: Only extend the stick a small amount, apply with a light hand, store in a cool, dry place.
VI. Choosing the Right EasyGlow: A Buyer’s Guide
With so many EasyGlow options on the market, how do you choose the right one for you? Consider these factors:
- Skin Tone: Different shades will complement different skin tones.
- Fair Skin: Opt for lighter shades like champagne, taupe, and light pink.
- Medium Skin: You can rock a wider range of shades, including bronze, gold, and berry tones.
- Dark Skin: Rich, vibrant shades like copper, gold, and jewel tones will look stunning.
- Eye Color: Certain shades can enhance your eye color.
- Blue Eyes: Warm shades like bronze, gold, and copper will make your blue eyes pop.
- Green Eyes: Purple, mauve, and brown shades will accentuate your green eyes.
- Brown Eyes: You can wear almost any shade! Experiment and have fun!
- Desired Finish: Choose between matte, shimmer, and metallic finishes depending on the look you want to create.
- Formula: Look for a creamy, blendable, and long-lasting formula. Read reviews to see what other users have to say.
- Price: EasyGlow sticks range in price from drugstore to high-end. Set a budget and find an option that fits your needs.
Table 3: Top EasyGlow Brands (Professor’s Picks!)
| Brand | Price Range | Formula Highlights | Shade Range Highlights |
|---|---|---|---|
| Maybelline | Drugstore | Creamy, blendable, long-lasting, affordable. | Classic neutrals, shimmer shades, good for everyday wear. |
| Laura Mercier | High-End | Exceptionally creamy, highly pigmented, crease-resistant, luxurious feel. | Sophisticated neutrals, subtle shimmer, ideal for creating elegant looks. |
| Bobbi Brown | Mid-Range | Long-wearing, buildable, easy to apply, wide range of colors and finishes. | Versatile shades, matte and shimmer options, suitable for both day and night. |
| Nudestix | Mid-Range | Multi-purpose, creamy, blendable, can be used on eyes, lips, and cheeks. | Natural shades, subtle shimmer, perfect for a "no-makeup makeup" look. |
| Charlotte Tilbury | High-End | Blendable, crease-proof, long-lasting, infused with moisturizing ingredients. | Gorgeous shimmer shades, universally flattering colors, creates a radiant, youthful look. |
VII. Conclusion: Embrace the EasyGlow Revolution!
Congratulations, graduates! You’ve officially completed EasyGlow 101! You’re now armed with the knowledge and skills to conquer the world, one perfectly blended eyeshadow look at a time.
Remember, the Dual-Ended EasyGlow Eyeshadow Stick is more than just a makeup product – it’s a tool for self-expression, a shortcut to confidence, and a testament to the fact that beauty doesn’t have to be complicated. So go forth, experiment, have fun, and embrace the EasyGlow revolution! 🚀
(Class dismissed! Go forth and GLOW!) 💖
For detailed product specifications and purchases, please go to :https://zenamakeup.com/products/liquid-dual-end-easyglow-eyeshadow-set-double-your-eye-sparkles-day-night
Leave a Reply