Jelly Glow Liquid Blush: From Subtle Flush to Vibrant Pop – A Liquid Luminosity Lecture 🎓💖
Alright, settle in, beauty enthusiasts! Grab your brushes, your favorite beverage (mine’s a green smoothie today, because I’m totally adulting), and prepare to dive deep into the mesmerizing world of Jelly Glow Liquid Blush. We’re not just talking about adding a little color to your cheeks; we’re talking about mastering the art of luminosity, sculpting with pigment, and transforming your complexion from "meh" to "magnificent" with the magic of liquid blush.
Forget the chalky powders of yesteryear! We’re embracing the dewy, the blendable, the buildable, the Jelly Glow – because let’s be honest, who wants to look like they’ve been dusted with powdered donuts? 🍩 (Unless that’s your vibe, then you do you, honey!)
This lecture will cover everything you need to know, from understanding the formula to mastering application techniques, so you can confidently rock a subtle everyday flush or a head-turning pop of color. Consider this your official Jelly Glow Liquid Blush certification program. Are you ready? Let’s glow! ✨
Lecture Outline:
- What IS Jelly Glow Liquid Blush, Anyway? (The Anatomy of a Radiant Revolution)
- Why Liquid Blush? (The Advantages Over Powder – Prepare for a Showdown!)
- Choosing Your Perfect Shade: (Navigating the Color Galaxy 🌌)
- Tools of the Trade: (Brush vs. Sponge vs. Finger – Fight!)
- Application Techniques: The Art of the Flush: (From Subtle to Bold, We’ve Got You Covered!)
- The "Barely There" Blush: Natural Radiance
- The Sculpted Cheek: Adding Dimension & Definition
- The "Pop of Color" Power Play: Bold & Beautiful
- Blush Placement for Different Face Shapes: The Geometry of Gorgeous
- Troubleshooting: Blush Blunders & How to Fix Them: (Because We’ve All Been There!)
- Layering & Combinations: (Mixing, Matching, and Mastering the Multi-Blush Look)
- Longevity Secrets: Making Your Blush Last All Day (and Night!)
- Jelly Glow vs. The Competition: (A Friendly, But Informative, Comparison)
- Final Thoughts & Pro Tips: (Words of Wisdom from Your New Blush Guru)
1. What IS Jelly Glow Liquid Blush, Anyway? (The Anatomy of a Radiant Revolution)
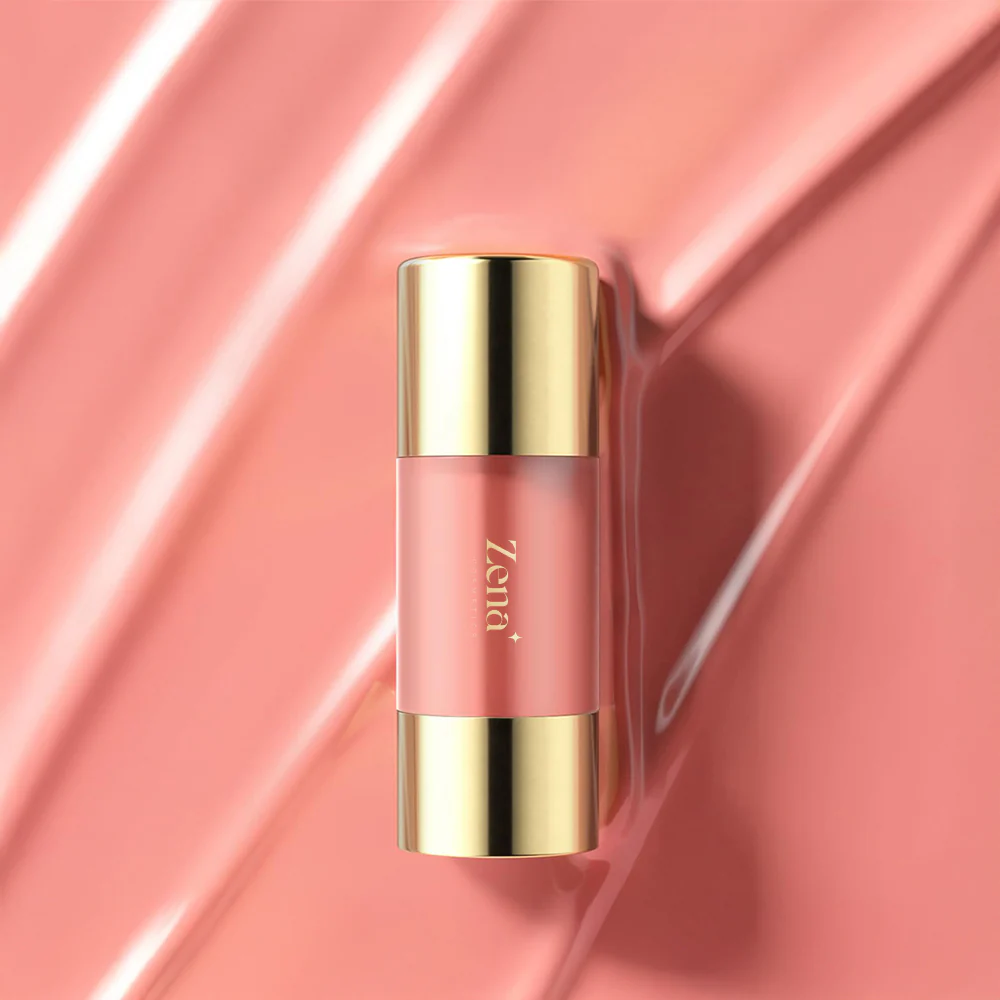
Jelly Glow Liquid Blush isn’t just another blush; it’s a carefully crafted concoction designed to deliver a natural, healthy-looking flush with a dewy, luminous finish. Think of it as the love child of a skincare serum and a pigment powerhouse.
- The "Jelly" Factor: The unique gel-like consistency allows for seamless blending and a lightweight feel. It’s not sticky or greasy, just a delightful, bouncy texture that melts into the skin.
- The "Glow" Factor: Light-reflecting pigments are often incorporated to create a subtle radiance, mimicking the natural glow of healthy skin. Say goodbye to dullness! 👋
- Key Ingredients (Often Included):
- Hyaluronic Acid: Hydration, hydration, hydration! Keeps your skin plump and dewy.
- Glycerin: Another humectant that draws moisture to the skin.
- Antioxidants (Vitamin E, Green Tea Extract): Protection against environmental stressors.
- Emollients (Jojoba Oil, Squalane): Softens and smooths the skin.
- Pigment Power: Highly pigmented, meaning a little goes a long way. This is a good thing! (Unless you want to look like a clown, in which case, go wild.) 🤡
2. Why Liquid Blush? (The Advantages Over Powder – Prepare for a Showdown!)
Alright, powder blush, it’s been real. But liquid blush is here to steal your spotlight (in a friendly, non-competitive way, of course… mostly).
| Feature | Powder Blush | Jelly Glow Liquid Blush |
|---|---|---|
| Finish | Matte, Satin, Shimmer | Dewy, Luminous, Natural |
| Blendability | Can be difficult to blend, especially on dry skin | Blends seamlessly, even on dry skin |
| Longevity | Can fade throughout the day | Often longer-lasting due to formula |
| Texture | Can be chalky or powdery | Lightweight, hydrating, and comfortable |
| Skin Type | Best for oily skin | Suitable for all skin types, especially dry |
| Application | Can emphasize texture and pores | Minimizes texture and pores |
| Overall Look | Can look more "makeup-y" | Looks more natural and skin-like |
In short: Liquid blush is the cool, effortless cousin of powder blush. It’s all about that "I woke up like this" (but actually, I spent 10 minutes blending blush) vibe. 😎
3. Choosing Your Perfect Shade: (Navigating the Color Galaxy 🌌)
Choosing the right shade is crucial. You want to complement your skin tone, not clash with it.
- Fair Skin: Opt for soft pinks, peaches, and light corals. Avoid overly bright or dark shades that can look harsh. Think delicate watercolor washes of color. 🎨
- Light-Medium Skin: Rosy pinks, peachy corals, and mauves will look stunning. You can experiment with slightly more vibrant shades.
- Medium Skin: Berry tones, warm roses, and vibrant corals are your best friends. These shades will add a healthy flush without looking overpowering.
- Olive Skin: Terracotta, bronze, and warm peach shades will bring out your natural warmth.
- Deep Skin: Rich berry tones, deep reds, and vibrant oranges will look gorgeous. Don’t be afraid to go bold!
Pro Tip: Consider your undertone!
- Cool Undertones: Pinks, berries, and plums.
- Warm Undertones: Peaches, corals, and oranges.
- Neutral Undertones: You’re lucky! You can rock almost any shade.
Don’t be afraid to experiment! Buy a few shades and see what you like. Makeup is supposed to be fun! 🥳
4. Tools of the Trade: (Brush vs. Sponge vs. Finger – Fight!)
The right tool can make all the difference. Here’s the breakdown:
- Fingers: The most natural-looking application. Use your fingertips to gently dab and blend the blush into your skin. The warmth of your fingers helps to melt the product in for a seamless finish. Best for a very subtle flush. 🤌
- Beauty Sponge: Creates a diffused, airbrushed effect. Dampen the sponge and bounce it over the blush to blend it seamlessly. Perfect for layering and building color. 🧽
- Blush Brush: Offers more control and precision. Use a soft, fluffy brush to apply and blend the blush. Ideal for sculpting and defining the cheekbones. 🖌️
- Dense Synthetic Brush: Packs a lot of pigment and gives a more intense color payoff. Use with caution and a very light hand.
The Verdict: There’s no right or wrong answer! It’s all about personal preference. Experiment and see what works best for you. I personally love using my fingers for a quick, natural flush, and a damp sponge for a more polished look.
5. Application Techniques: The Art of the Flush (From Subtle to Bold, We’ve Got You Covered!)
Now for the fun part! Let’s get blushing!
-
The "Barely There" Blush: Natural Radiance:
- Goal: A subtle, healthy-looking flush that mimics a natural blush.
- Technique:
- Apply a tiny dot of blush to the apples of your cheeks.
- Use your fingertips or a damp sponge to gently blend the blush outwards towards your temples.
- Ensure the edges are completely blended for a seamless finish.
- Less is more! You can always add more if needed.
- Perfect For: Everyday wear, no-makeup makeup looks.
-
The Sculpted Cheek: Adding Dimension & Definition:
- Goal: To define your cheekbones and create a more sculpted appearance.
- Technique:
- Locate your cheekbones.
- Apply a small amount of blush slightly above your cheekbones, blending upwards towards your temples.
- Use a brush or sponge to create a soft, diffused line.
- You can also apply a touch of blush to the temples for added dimension.
- Consider using a slightly deeper shade for contouring.
- Perfect For: Special occasions, adding definition to your face.
-
The "Pop of Color" Power Play: Bold & Beautiful:
- Goal: A vibrant, eye-catching flush that makes a statement.
- Technique:
- Apply a slightly larger amount of blush to the apples of your cheeks.
- Use a dense synthetic brush or your fingertips to blend the blush in a circular motion.
- Build up the color until you achieve your desired intensity.
- Make sure the edges are still blended to avoid harsh lines.
- Own it! Confidence is key!
- Perfect For: Night out, adding a playful touch to your look.
-
Blush Placement for Different Face Shapes: The Geometry of Gorgeous:
- Round Face: Apply blush along the cheekbones, angled upwards towards the temples, to create definition and slim the face.
- Oval Face: You can wear blush in almost any placement! Try applying it to the apples of your cheeks for a youthful flush.
- Square Face: Apply blush to the apples of your cheeks, blending in a circular motion, to soften the angles of your face.
- Heart-Shaped Face: Apply blush to the outer corners of your eyes and blend towards the temples to balance the wider forehead.
- Long Face: Apply blush horizontally across the apples of your cheeks to create the illusion of width.
6. Troubleshooting: Blush Blunders & How to Fix Them (Because We’ve All Been There!)
- Too Much Blush: Don’t panic! Use a clean beauty sponge or brush to gently blend the excess blush. You can also apply a light layer of foundation or concealer over the blush to tone it down.
- Uneven Application: Blend, blend, blend! Use a damp sponge or brush to even out the application.
- Patchy Blush: Exfoliate your skin regularly to remove dead skin cells and create a smooth canvas for application. Use a hydrating moisturizer before applying blush.
- Blush Fading: Set your blush with a translucent powder or a setting spray to increase its longevity.
7. Layering & Combinations: (Mixing, Matching, and Mastering the Multi-Blush Look)
Get creative!
- Powder Blush on Top: Apply a liquid blush for a dewy base, then set it with a powder blush for added color and longevity.
- Highlight Under Blush: Apply a cream or liquid highlighter to the cheekbones before applying blush for a luminous, radiant glow.
- Multiple Shades: Use a lighter shade on the apples of your cheeks and a deeper shade along your cheekbones for a sculpted, dimensional look.
8. Longevity Secrets: Making Your Blush Last All Day (and Night!)
- Prep Your Skin: Start with a clean, hydrated face.
- Use a Primer: A primer will create a smooth canvas for your blush and help it last longer.
- Set with Powder: Lightly dust a translucent powder over your blush to set it in place.
- Setting Spray: Finish with a setting spray to lock in your makeup and keep your blush looking fresh all day.
9. Jelly Glow vs. The Competition: (A Friendly, But Informative, Comparison)
While I won’t name specific brands (because that would be rude!), let’s talk about what makes a good liquid blush good.
- Pigmentation: Look for a blush that’s highly pigmented, but buildable. You want to be able to control the intensity of the color.
- Blendability: A good liquid blush should blend seamlessly into the skin without leaving harsh lines.
- Longevity: It should last for several hours without fading or creasing.
- Texture: It should feel lightweight and comfortable on the skin.
- Ingredients: Look for hydrating and skin-loving ingredients.
10. Final Thoughts & Pro Tips: (Words of Wisdom from Your New Blush Guru)
- Experiment! Don’t be afraid to try different shades, techniques, and tools.
- Less is more! Start with a small amount of blush and build up the color as needed.
- Blend, blend, blend! This is the key to a natural-looking flush.
- Have fun! Makeup is supposed to be enjoyable!
And that, my friends, concludes our lecture on the wonderful world of Jelly Glow Liquid Blush! Go forth and glow! Remember, the best blush is the one that makes you feel confident and beautiful. Now go rock that radiant complexion! 💖🌟
For detailed product specifications and purchases, please go to :https://zenamakeup.com/products/jelly-liquid-blush-stick
Leave a Reply