The Brow Perfection Trio: Achieving Defined, Shaped, and Tinted Brows that Frame the Face Beautifully! (A Lecture) 🎓
Alright, class! Settle down, settle down! 📚 Today, we’re diving deep into the fascinating, sometimes terrifying, and always crucial world of eyebrows. Yes, eyebrows. Those fuzzy caterpillars that can either make you look like a glamorous movie star or a confused, slightly angry Muppet. 🐛😠
But fear not, aspiring brow artists! We’re not just admiring hairy arches today. We’re going to master them, conquer them, and use them to unlock your face’s full potential! We’ll be focusing on the Brow Perfection Trio, a magical combination of products designed to give you those coveted defined, shaped, and tinted brows that will make everyone you meet think, "Wow, she really has her life together…or at least her eyebrows do!" ✨
So, grab your notepads (or your tablets, we’re in the 21st century!), and let’s get started!
Lecture Outline:
- Why Eyebrows Matter: The Frame Around the Masterpiece (Your Face!) 🖼️
- Introducing the Brow Perfection Trio: The Holy Trinity of Brow Transformation 🙏
- The First Step: Shaping – Taming the Wild Jungle! 🌿
- Different Brow Shapes: Finding Your Perfect Arch! 🏹
- Tools of the Trade: Tweezers, Spoolies, and Scissors, Oh My! ✂️
- Shaping Techniques: A Step-by-Step Guide (with cautionary tales!) ⚠️
- The Second Step: Defining – Filling the Gaps and Adding Dimension! 🎨
- Choosing the Right Brow Product: Pencils, Powders, Pomades, and Gels! 🤔
- Color Matching: Avoiding the "Sharpie Brow" Fiasco! 🖊️🚫
- Application Techniques: Creating Natural-Looking Definition! ✏️
- The Third Step: Tinting – Adding Depth and Drama! 🎭
- Why Tint Your Brows? The Benefits of Brow Dye! 🌟
- Choosing the Right Tint: Finding Your Perfect Shade! 🌈
- Tinting at Home: A Safe and Simple Guide (with safety precautions!) 🧤
- Putting it All Together: Achieving Brow Perfection! 💯
- Troubleshooting Common Brow Issues: From Over-Plucking to Asymmetry! 🚑
- Brow Maintenance: Keeping Your Brows Looking Fabulous! 💅
- Final Exam (Just kidding… mostly!) 😉
1. Why Eyebrows Matter: The Frame Around the Masterpiece (Your Face!) 🖼️
Let’s be honest, eyebrows are the unsung heroes of the face. They’re not as flashy as a bold red lip 💋 or as attention-grabbing as a smoky eye 👀, but they play a crucial role in your overall appearance. Think of them as the frame around a beautiful painting (that’s you!). A crooked or mismatched frame can completely ruin the artwork, right? The same goes for your brows!
- Expression: Eyebrows are vital for conveying emotions. Raised brows signal surprise or curiosity, furrowed brows indicate anger or concentration. Without well-defined brows, your expressions might be misinterpreted. Imagine trying to flirt with someone with angry-looking brows! 😬
- Facial Symmetry: Properly shaped brows can create the illusion of symmetry, even if your face isn’t perfectly symmetrical (and whose is?). They can balance your features and draw attention to your eyes.
- Youthfulness: As we age, our brows tend to thin out and droop. Filling them in and lifting the arch can instantly make you look younger and more refreshed. Think of it as a mini-facelift… without the surgery! 👵➡️👩
- Overall Polish: Well-groomed brows simply make you look more put-together. They show that you pay attention to detail and take pride in your appearance. It’s the difference between looking like you rolled out of bed and looking like you’re ready to conquer the world! 🌍
2. Introducing the Brow Perfection Trio: The Holy Trinity of Brow Transformation 🙏
Now that we understand the importance of eyebrows, let’s introduce our star players: the Brow Perfection Trio! This powerful combination will take you from brow disaster to brow goddess in just three simple steps.
The Trio typically consists of:
- Shaping Tool (Tweezers, Wax Strips, or Threading): This is your weapon of choice for removing unwanted hairs and creating the desired brow shape. Think of it as the sculptor’s chisel. 🔨
- Defining Product (Brow Pencil, Brow Powder, Brow Pomade, or Brow Gel): This is your color and dimension enhancer. It fills in sparse areas, adds definition, and creates a fuller, more polished look. Think of it as the painter’s brush. 🖌️
- Tinting Product (Brow Tint): This is your depth and drama amplifier. It darkens the brow hairs, making them appear thicker and more defined, and can also cover grey hairs. Think of it as the lighting director’s spotlight. 💡
Table: The Brow Perfection Trio Breakdown
| Product | Purpose | Benefits | Potential Drawbacks |
|---|---|---|---|
| Shaping Tool | Removes unwanted hairs and creates brow shape | Defined shape, cleaner look, balanced features | Can be painful, over-plucking can lead to sparse brows |
| Defining Product | Fills in sparse areas and adds definition | Fuller-looking brows, enhanced color, more polished appearance | Can look unnatural if applied incorrectly, requires practice |
| Tinting Product | Darkens brow hairs and adds depth | Thicker-looking brows, defined color, covers grey hairs, long-lasting | Potential for allergic reactions, can be messy if not careful |
3. The First Step: Shaping – Taming the Wild Jungle! 🌿
Okay, so your brows are looking a little… untamed. Don’t worry, we’ve all been there. It’s time to grab our shaping tools and get to work! Shaping is the foundation of brow perfection. It’s about creating a flattering shape that complements your face and enhances your features.
a) Different Brow Shapes: Finding Your Perfect Arch! 🏹
The "one size fits all" approach doesn’t work when it comes to brows. The best brow shape for you depends on your face shape and personal preferences. Here are a few popular brow shapes:
- Arched Brows: These brows have a high, defined arch that opens up the eyes and creates a more youthful appearance. They’re a great choice for round or square faces. Think Megan Fox! 🔥
- Straight Brows: These brows have a minimal arch and run straight across the face. They can make a long face appear shorter and are often seen as more modern and edgy. Think Audrey Hepburn! 😎
- Rounded Brows: These brows have a soft, rounded shape that softens the features and gives a more gentle appearance. They’re a good choice for angular faces. Think Jennifer Aniston! 🤗
- S-Shaped Brows: These brows have a slight curve at the beginning and then a more pronounced arch towards the end. They add a touch of drama and sophistication.
Finding Your Ideal Brow Shape:
A simple trick is to use a brow pencil to map out your ideal brow shape based on your natural brow bone.
- Start: Hold the pencil vertically against the side of your nose. This marks where your brow should begin.
- Arch: Angle the pencil from the side of your nose through the center of your pupil. This marks where your arch should be.
- End: Angle the pencil from the side of your nose to the outer corner of your eye. This marks where your brow should end.
b) Tools of the Trade: Tweezers, Spoolies, and Scissors, Oh My! ✂️
Before you start plucking like a madwoman, let’s familiarize ourselves with the tools you’ll need:
- Tweezers: These are your primary weapon for removing unwanted hairs. Invest in a good quality pair with slanted tips for precise plucking. 🪡
- Spoolie Brush: This is a mascara wand-like brush that you’ll use to comb your brows into place and blend product. 🧹
- Brow Scissors: These small, sharp scissors are used to trim long or unruly brow hairs. Be careful! Less is more when it comes to trimming. ✂️
- Magnifying Mirror: A magnifying mirror can be helpful for seeing those tiny hairs, but be warned! It can also lead to over-plucking. Use with caution! 🔍
- Brow Pencil or Powder (for mapping): To map out your desired shape before you start plucking.
c) Shaping Techniques: A Step-by-Step Guide (with cautionary tales!) ⚠️
Okay, let’s get down to business! Here’s a step-by-step guide to shaping your brows:
- Cleanse: Start with clean, dry brows.
- Map: Use a brow pencil to map out your desired brow shape, following the guidelines we discussed earlier.
- Comb: Use a spoolie brush to comb your brow hairs upwards and outwards.
- Trim (if necessary): If any hairs extend beyond your desired shape, carefully trim them with brow scissors. Trim only the tips of the hairs, and be sure to hold the scissors at an angle to avoid creating blunt, unnatural-looking edges.
- Pluck: Using your tweezers, pluck any hairs that fall outside your mapped-out shape. Pluck in the direction of hair growth to avoid breakage and ingrown hairs. Focus on removing hairs below the brow and between the brows. Be careful not to over-pluck!
- Refine: Step back and assess your progress. Make any necessary adjustments to refine the shape.
- Soothe: Apply a soothing lotion or aloe vera gel to reduce redness and irritation.
Cautionary Tales:
- The Over-Plucking Nightmare: We’ve all been there. One minute you’re just trying to clean up a few stray hairs, and the next you’re staring at two sad, thin lines where your brows used to be. Resist the urge to over-pluck! Remember, it’s easier to add hair than to grow it back. 😬
- The Unibrow of Doom: Don’t let your brows meet in the middle! Remove any hairs between your brows to create separation and definition. 🚷
- The Spock Brow: Avoid creating a sharp, downward-sloping brow that makes you look perpetually surprised (or like Mr. Spock). 🖖
4. The Second Step: Defining – Filling the Gaps and Adding Dimension! 🎨
Now that you’ve shaped your brows, it’s time to add some definition and fill in any sparse areas. This is where your defining product comes in.
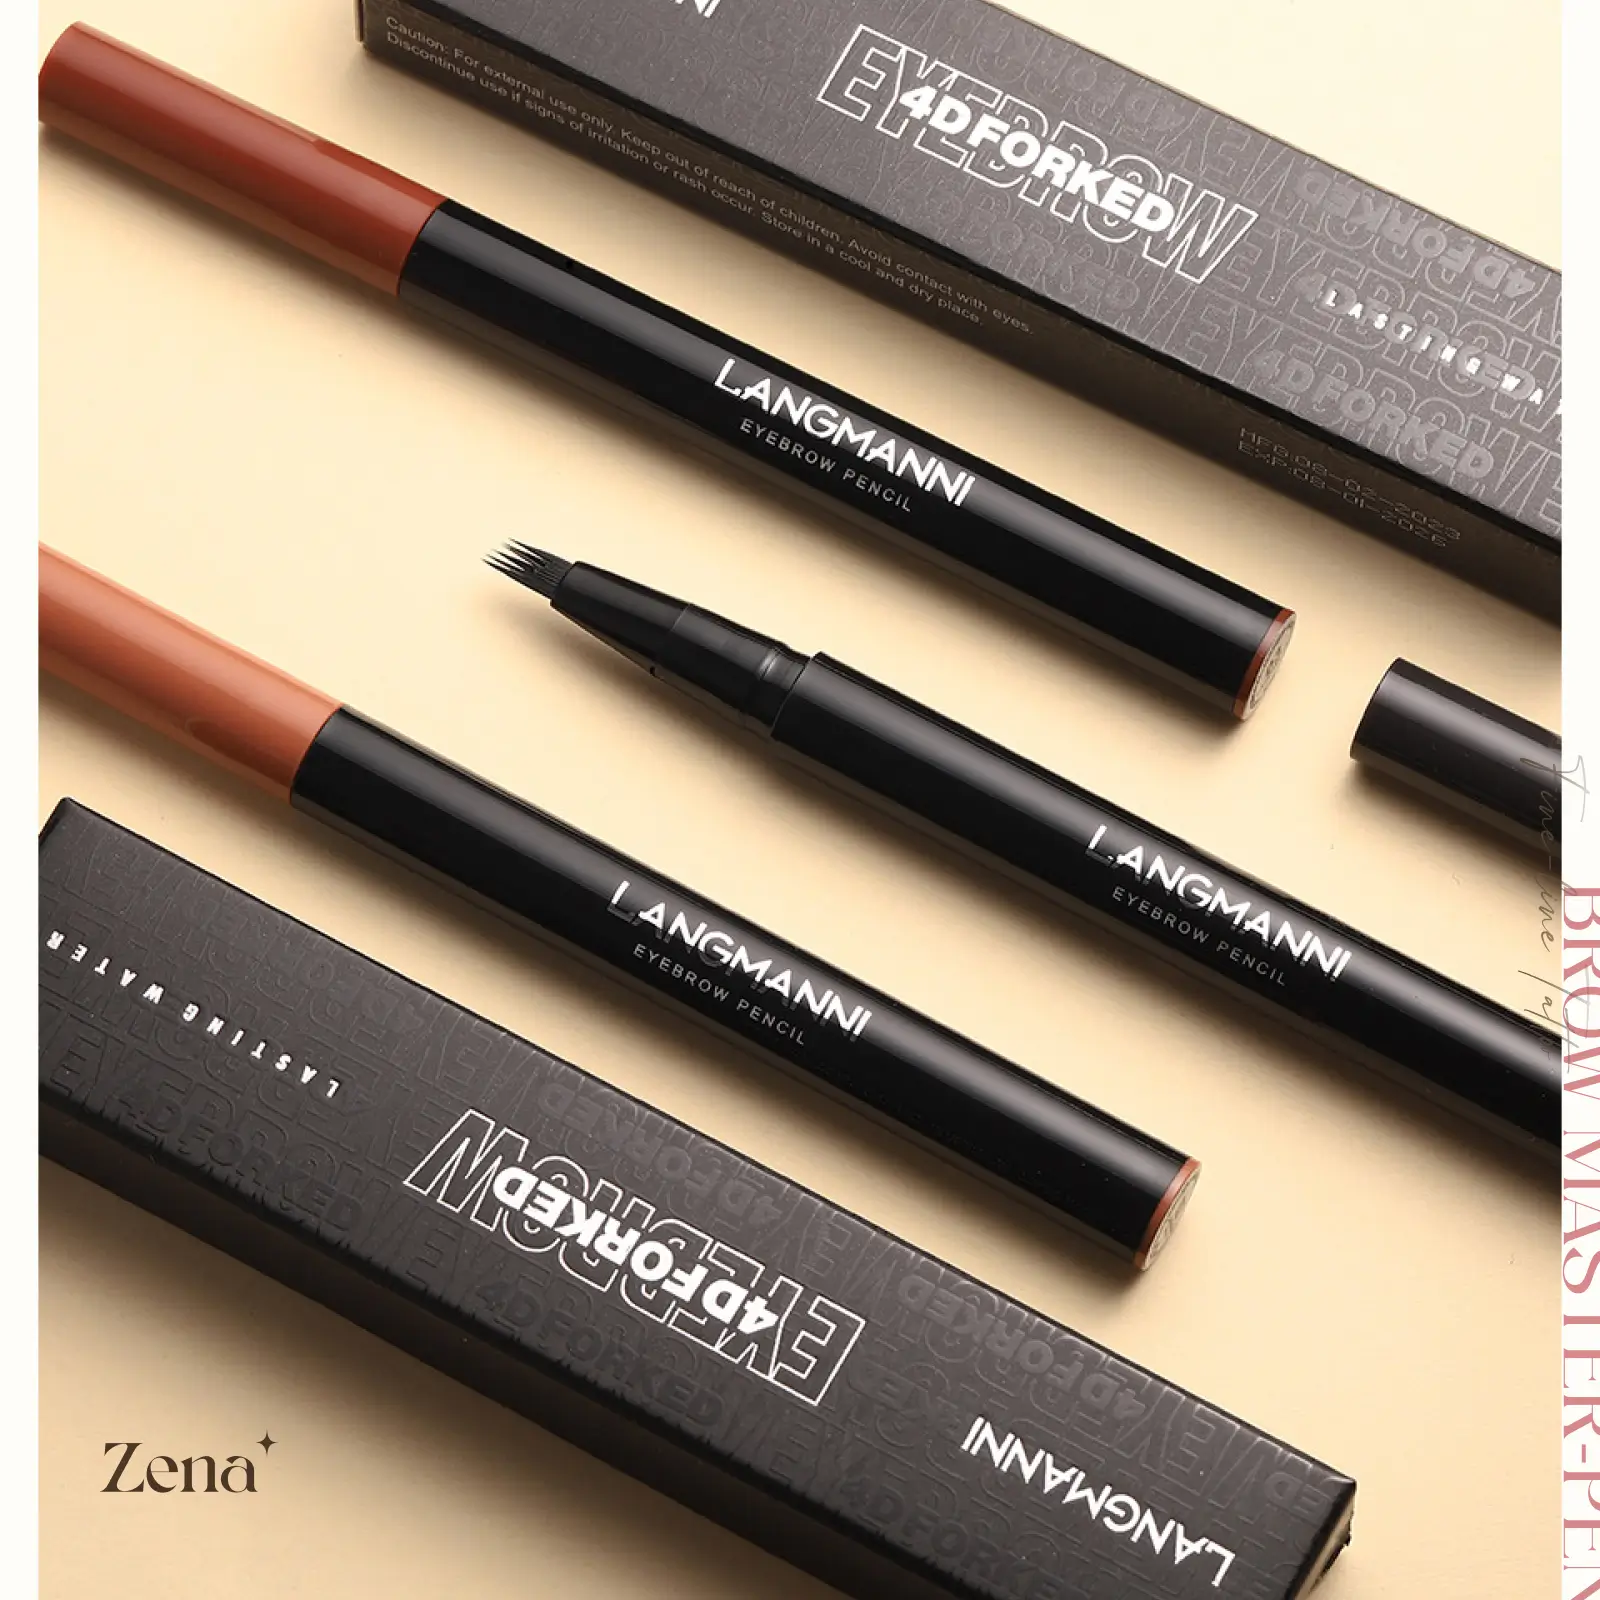
a) Choosing the Right Brow Product: Pencils, Powders, Pomades, and Gels! 🤔
There are several different types of brow products available, each with its own unique benefits and drawbacks:
- Brow Pencil: A classic choice, brow pencils are great for creating precise lines and filling in small gaps. They’re easy to use and control, making them a good option for beginners.
- Brow Powder: Brow powders are ideal for creating a soft, natural-looking finish. They’re best applied with an angled brush and are perfect for filling in sparse areas without looking too harsh.
- Brow Pomade: Brow pomades are highly pigmented and long-lasting. They’re great for creating bold, defined brows that will stay in place all day. However, they can be tricky to apply and require a steady hand.
- Tinted Brow Gel: Tinted brow gels are used to set brow hairs in place and add a subtle tint of color. They’re a good option for those who have naturally full brows but want to add a bit more definition.
Table: Brow Product Comparison
| Product | Finish | Best For | Application Difficulty | Longevity |
|---|---|---|---|---|
| Brow Pencil | Precise, Defined | Filling in small gaps, Beginners | Easy | Moderate |
| Brow Powder | Soft, Natural | Filling in sparse areas, Natural look | Moderate | Moderate |
| Brow Pomade | Bold, Defined | Creating bold brows, Long-lasting wear | Difficult | Long-Lasting |
| Tinted Brow Gel | Subtle, Natural | Setting brows, Adding subtle color | Easy | Moderate |
b) Color Matching: Avoiding the "Sharpie Brow" Fiasco! 🖊️🚫
Choosing the right color for your brow product is crucial. You want to enhance your natural brow color, not create a completely different look.
- Rule of Thumb: Choose a brow product that is one or two shades lighter than your hair color if you have dark hair, and one or two shades darker than your hair color if you have light hair.
- Cool vs. Warm: Consider your skin tone and hair color when choosing a shade. If you have cool-toned skin and hair, opt for a cool-toned brow product. If you have warm-toned skin and hair, opt for a warm-toned brow product.
- Test it Out: Always test the color on your skin before applying it to your brows.
The "Sharpie Brow" Fiasco: This is when your brows are so dark and heavily filled in that they look like they were drawn on with a Sharpie marker. Avoid this look at all costs! It’s harsh, unnatural, and ages you instantly.
c) Application Techniques: Creating Natural-Looking Definition! ✏️
The key to natural-looking brows is to use a light hand and build up the color gradually.
- Start with Clean Brows: Ensure your brows are clean and dry.
- Comb: Comb your brow hairs into place with a spoolie brush.
- Outline (Optional): Use a brow pencil to lightly outline your desired brow shape. This is helpful for those who are new to filling in their brows.
- Fill: Use your chosen brow product to fill in any sparse areas, focusing on the arch and tail of the brow. Use short, light strokes to mimic the look of natural hairs.
- Blend: Use a spoolie brush to blend the product and soften any harsh lines.
- Highlight (Optional): Apply a highlighter to your brow bone to lift the brow and create a more defined arch.
5. The Third Step: Tinting – Adding Depth and Drama! 🎭
The final step in our brow perfection journey is tinting. Brow tinting is a process that darkens the brow hairs, making them appear thicker, fuller, and more defined. It’s a great option for those who have light or sparse brows, or who want to cover grey hairs.
a) Why Tint Your Brows? The Benefits of Brow Dye! 🌟
- Thicker-Looking Brows: Tinting makes even fine, sparse brows appear thicker and more substantial.
- Defined Color: Tinting enhances your natural brow color, creating a more polished and put-together look.
- Covers Grey Hairs: Tinting is a quick and easy way to cover grey hairs in your brows, making you look younger and more refreshed.
- Long-Lasting Results: Brow tinting typically lasts for 3-6 weeks, so you don’t have to fill in your brows every day.
b) Choosing the Right Tint: Finding Your Perfect Shade! 🌈
Choosing the right tint shade is just as important as choosing the right brow product color.
- Match Your Hair Color: As a general rule, choose a tint that is one or two shades darker than your natural brow color.
- Consider Your Skin Tone: If you have cool-toned skin, opt for a cool-toned tint. If you have warm-toned skin, opt for a warm-toned tint.
- Start Light: It’s always better to start with a lighter shade and gradually go darker if needed.
c) Tinting at Home: A Safe and Simple Guide (with safety precautions!) 🧤
While it’s always best to have your brows tinted professionally, you can also tint them at home with a DIY brow tint kit.
Important Safety Precautions:
- Perform a Patch Test: Before applying the tint to your brows, perform a patch test on a small area of skin (such as behind your ear) to check for allergic reactions.
- Read the Instructions Carefully: Follow the instructions on your tint kit carefully.
- Wear Gloves: Always wear gloves to protect your hands from staining.
- Protect Your Skin: Apply a barrier cream (such as petroleum jelly) around your brows to prevent the tint from staining your skin.
- Don’t Leave the Tint on Too Long: Leaving the tint on for too long can result in overly dark brows. Start with the minimum recommended time and gradually increase it if needed.
- Rinse Thoroughly: Rinse your brows thoroughly with water after tinting.
Step-by-Step Guide to Tinting Your Brows at Home:
- Gather Your Supplies: You’ll need a brow tint kit, gloves, a barrier cream, cotton swabs, and a timer.
- Clean Your Brows: Clean your brows with a gentle cleanser to remove any makeup or oils.
- Apply Barrier Cream: Apply a barrier cream around your brows to protect your skin from staining.
- Mix the Tint: Mix the tint according to the instructions on your tint kit.
- Apply the Tint: Use a cotton swab to apply the tint to your brows, following your natural brow shape.
- Set the Timer: Set the timer for the recommended time.
- Remove the Tint: After the timer goes off, remove the tint with a damp cotton pad.
- Rinse Thoroughly: Rinse your brows thoroughly with water.
6. Putting it All Together: Achieving Brow Perfection! 💯
Congratulations! You’ve made it through the brow bootcamp! Now, you should have beautifully shaped, defined, and tinted brows that frame your face perfectly. Remember practice makes perfect! Don’t be discouraged if you don’t get it right the first time. Keep experimenting and refining your technique until you achieve your desired look.
7. Troubleshooting Common Brow Issues: From Over-Plucking to Asymmetry! 🚑
Even the most skilled brow artists encounter problems sometimes. Here are some common brow issues and how to fix them:
- Over-Plucking: If you’ve over-plucked your brows, stop plucking immediately and let them grow back. You can use a brow growth serum to help stimulate hair growth. In the meantime, use a brow pencil or powder to fill in the sparse areas.
- Asymmetry: If your brows are asymmetrical, try to even them out by shaping and filling them in carefully. Focus on making the brows look similar, rather than identical.
- Sparse Brows: If you have naturally sparse brows, use a brow pencil or powder to fill in the gaps and create a fuller look. Consider using a brow growth serum to stimulate hair growth.
- Grey Hairs: Tint your brows to cover grey hairs.
8. Brow Maintenance: Keeping Your Brows Looking Fabulous! 💅
Maintaining your brows is just as important as shaping and defining them.
- Regularly Pluck Stray Hairs: Pluck any stray hairs that grow outside your desired brow shape.
- Comb Your Brows Daily: Comb your brows with a spoolie brush daily to keep them in place.
- Use a Brow Gel: Use a brow gel to set your brows and keep them looking polished all day.
- Exfoliate Your Brows: Gently exfoliate your brows once a week to remove dead skin cells and promote hair growth.
9. Final Exam (Just kidding… mostly!) 😉
Alright, class, that’s all for today! I hope you’ve learned a lot about achieving brow perfection. Remember, practice makes perfect, and don’t be afraid to experiment until you find what works best for you.
Now go forth and conquer the world, one perfectly shaped brow at a time! And please, for the love of all that is holy, avoid the "Sharpie Brow" at all costs!
Class dismissed! 🔔
For detailed product specifications and purchases, please go to :https://zenamakeup.com/products/brow-perfection-trio-tint-shape-and-define-set
Leave a Reply