Glitterati Academy: Mastering Multi-Dimensional Looks with Glitter Cream Eyeshadow Sticks
(Welcome, fellow sparkle enthusiasts! Grab your coffee (or maybe something a little stronger – glitter application can be stressful!), because class is in session! Today, we’re diving headfirst into the dazzling world of glitter cream eyeshadow sticks. Forget those dusty palettes and fussy brushes; we’re talking effortless glam, baby! Think of these sticks as your portable party in a tube, ready to transform you from "blah" to "BAM!" in seconds. 💥)
Course Overview:
This lecture is your ultimate guide to unlocking the full potential of your Glitter Cream Eyeshadow Stick Set. We’ll cover:
- The Glitter Cream Eyeshadow Stick: Your New Best Friend (And Why!) – We’ll discuss what makes these sticks so amazing.
- Understanding Your Color Palette: Analyzing the color wheel and how your specific shades play together.
- Techniques for Multi-Dimensional Magic: Learn application strategies for creating depth, dimension, and drama.
- Blending Like a Boss: Mastering the art of seamless blending for a flawless finish.
- Building Your Look: Step-by-Step Tutorials: We’ll walk through several looks, from subtle shimmer to full-on glitter goddess.
- Troubleshooting Glitter Gripes: Addressing common issues and how to fix them.
- Glitter-Proofing Your Look: Tips for making your sparkle last all day (and night!).
- Glitter Care 101: How to keep your glitter sticks in tip-top shape.
- The Glitterati Pledge: A solemn promise to embrace the sparkle, always! ✨
Section 1: The Glitter Cream Eyeshadow Stick: Your New Best Friend (And Why!)
(Forget diamonds, glitter is a girl’s true best friend! Especially when it comes in stick form. Why? Let’s break it down.)
| Feature | Benefit | Why You’ll Love It |
|---|---|---|
| Creamy Formula | Smooth application, prevents fallout. | No more glitter explosions all over your face! 🙌 |
| Pigmented Color | Rich, vibrant hues that pop. | Less product needed for maximum impact! |
| Blendable Texture | Easy to create gradients and multi-dimensional effects. | Even a beginner can achieve professional-looking results! |
| Portable Design | Perfect for on-the-go touch-ups. | Stash it in your purse for instant glam wherever you are. 👜 |
| Versatility | Can be used as eyeshadow, eyeliner, or even a highlighter! | Get more bang for your buck! 💰 |
| Ease of Use | No brushes required (though you can use them if you’re fancy!). | Perfect for those mornings when you’re running late (which, let’s be honest, is every morning). 🏃♀️ |
| Minimal Fallout | Say goodbye to glitter migrating down your cheeks. | Keeps your look clean and polished, not like a disco ball gone wrong. |
| Long-Wearing | Stays put throughout the day and night (with proper priming, of course!). | Dance the night away without worrying about your sparkle fading. 💃 |
(In short, these sticks are the lazy girl’s (or busy bee’s) secret weapon to instant glam. They’re like a magic wand… but with glitter.) ✨
Section 2: Understanding Your Color Palette
(Alright, art class time! But don’t worry, we’re not painting still lifes of fruit bowls (unless you really want to). We’re diving into the color wheel and how to make your glitter shades sing in harmony.)
(First, a quick refresher on color theory:
- Primary Colors: Red, Yellow, Blue. These are the building blocks of all other colors.
- Secondary Colors: Orange, Green, Violet. Created by mixing two primary colors.
- Tertiary Colors: Red-Orange, Yellow-Orange, Yellow-Green, Blue-Green, Blue-Violet, Red-Violet. Created by mixing a primary and a secondary color.
(Now, let’s talk about color relationships:
- Complementary Colors: Colors opposite each other on the color wheel (e.g., Red and Green, Blue and Orange, Yellow and Violet). These create high contrast and make each other pop. Think Christmas vibes! 🎄
- Analogous Colors: Colors next to each other on the color wheel (e.g., Blue, Blue-Green, Green). These create a harmonious and soft look. Think mermaid magic! 🧜♀️
- Monochromatic Colors: Different shades of the same color. These create a sophisticated and subtle look. Think elegant and chic! 💃
(Applying this to your Glitter Cream Eyeshadow Sticks:
Grab your set and analyze the colors. Are they mostly warm (reds, oranges, yellows) or cool (blues, greens, violets)? Do you have a mix?
Example Palette Analysis:
Let’s say your set includes:
- Rose Gold: Warm, leaning towards pink.
- Bronze: Warm, neutral.
- Emerald Green: Cool, vibrant.
- Sapphire Blue: Cool, deep.
- Amethyst Purple: Cool, leaning towards red.
(Potential Combinations:
- Warm & Cozy: Rose Gold + Bronze (Analogous, creates a warm, shimmery look)
- Cool & Confident: Emerald Green + Sapphire Blue (Analogous, creates a bold, cool-toned look)
- Contrast & Pop: Rose Gold + Emerald Green (Complementary-ish, creates a striking contrast)
- Mystic Sunset: Bronze + Amethyst Purple (Creates a unique, slightly contrasting look)
(The key is to experiment! Don’t be afraid to break the rules. It’s glitter, after all! It’s meant to be fun!) 🎉
Section 3: Techniques for Multi-Dimensional Magic
(Okay, time to get our hands dirty (well, glittery!). Let’s explore some techniques for creating depth and dimension with your glitter sticks.)
-
The Halo Eye: This technique focuses on brightening the center of the lid with a lighter shade, surrounded by darker shades on the inner and outer corners.
- Apply a medium-toned glitter stick (e.g., Rose Gold or Bronze) all over the lid as a base.
- Apply a lighter, brighter glitter stick (e.g., a champagne or silver) to the center of the lid, focusing on the area directly above the pupil.
- Apply a darker glitter stick (e.g., Emerald Green or Sapphire Blue) to the outer and inner corners of the eye, blending it slightly into the crease.
- Blend, blend, blend! (We’ll cover blending techniques in the next section.)
(Think of it as creating a spotlight on your eyes! ✨)
-
The Gradient Eye: This technique involves blending two or more colors together to create a seamless transition.
- Apply a lighter glitter stick to the inner corner of the eye, blending it towards the center of the lid.
- Apply a darker glitter stick to the outer corner of the eye, blending it towards the center of the lid.
- Use a blending brush (or your finger!) to blend the two colors together in the center of the lid, creating a smooth gradient.
- Add a touch of a third, contrasting glitter stick to the very outer corner for extra depth (optional).
(Like a beautiful sunset… but on your eyelids! 🌅)
-
The Cut Crease (Simplified!): This technique traditionally involves carving out the crease with concealer, but we’re going to simplify it with glitter sticks.
- Apply a neutral eyeshadow (matte or shimmer) to the crease as a base.
- Apply a darker glitter stick to the outer corner of the eye, extending it slightly into the crease.
- Use a clean brush to define the crease, creating a sharp line between the darker glitter and the neutral base.
- Apply a lighter glitter stick to the lid, leaving a defined line at the crease.
(This creates a dramatic, defined look… without the hassle of concealer! 😉)
-
The Glitter Liner: Use your glitter sticks as eyeliner for a pop of sparkle.
- Apply a thin line of a vibrant glitter stick (e.g., Emerald Green or Sapphire Blue) along the upper lash line.
- You can also use a darker glitter stick (e.g., Bronze or Amethyst Purple) to create a smoky winged liner.
(Simple, chic, and instantly glamorous! 💁♀️)
-
The Under-Eye Sparkle: Add a touch of glitter to the lower lash line for a subtle, ethereal effect.
- Apply a small amount of a lighter glitter stick (e.g., Rose Gold or a champagne shade) to the inner corner of the lower lash line.
- You can also use a darker glitter stick to create a smoky effect along the entire lower lash line.
(Like fairy dust under your eyes! ✨🧚♀️)
Section 4: Blending Like a Boss
Section 4: Blending Like a Boss
(Blending is the key to a flawless glitter look. No harsh lines allowed! Let’s master the art of seamless blending.)
Tools of the Trade:
- Your Fingers: Don’t underestimate the power of your fingertips! They’re great for softening edges and blending cream formulas.
- Blending Brushes: Fluffy, tapered blending brushes are your best friends for creating smooth transitions.
- Small, Dense Brushes: These are useful for applying glitter to specific areas and for defining the crease.
Blending Techniques:
- Soft Circles: Use a blending brush to gently buff the edges of the glitter sticks in small, circular motions.
- Windshield Wiper Motion: Use a blending brush to sweep the glitter sticks back and forth along the crease, mimicking the motion of windshield wipers.
- Tapping: Use your finger or a brush to gently tap the edges of the glitter sticks, softening them and blending them into the surrounding skin.
Tips for Seamless Blending:
- Work Quickly: Glitter cream eyeshadow sticks tend to set quickly, so blend them as soon as you apply them.
- Use a Light Hand: Apply light pressure when blending to avoid disturbing the glitter.
- Build Up the Color: Start with a small amount of product and gradually build up the color until you achieve the desired intensity.
- Don’t Be Afraid to Layer: Layering different glitter sticks can create a more complex and multi-dimensional look.
- Clean Your Brushes Regularly: Clean brushes will ensure that your glitter colors don’t get muddied.
(Remember, practice makes perfect! Don’t get discouraged if your blending isn’t perfect at first. Keep experimenting and you’ll be blending like a pro in no time!) 💪
Section 5: Building Your Look: Step-by-Step Tutorials
(Alright, let’s put our knowledge into practice! Here are a few step-by-step tutorials to get you started.)
Look 1: Everyday Shimmer
- Step 1: Apply a thin layer of eyeshadow primer to your eyelids.
- Step 2: Apply a neutral eyeshadow (e.g., a matte brown or beige) to the crease as a base.
- Step 3: Apply Rose Gold glitter stick all over the lid.
- Step 4: Blend the edges of the Rose Gold glitter stick with a blending brush.
- Step 5: Apply a thin line of black or brown eyeliner along the upper lash line (optional).
- Step 6: Apply mascara to your lashes.
(This look is perfect for adding a touch of sparkle to your everyday makeup routine. ✨)
Look 2: Emerald Siren
- Step 1: Apply a thin layer of eyeshadow primer to your eyelids.
- Step 2: Apply a dark green eyeshadow to the outer corner of the eye and blend it into the crease.
- Step 3: Apply Emerald Green glitter stick to the lid, leaving a defined line at the crease.
- Step 4: Blend the edges of the Emerald Green glitter stick with a blending brush.
- Step 5: Apply Sapphire Blue glitter stick to the lower lash line.
- Step 6: Apply black eyeliner to the upper lash line and wing it out slightly.
- Step 7: Apply mascara to your lashes.
(This look is bold, dramatic, and perfect for a night out. 💃)
Look 3: Amethyst Dream
- Step 1: Apply a thin layer of eyeshadow primer to your eyelids.
- Step 2: Apply a light purple eyeshadow to the crease as a base.
- Step 3: Apply Amethyst Purple glitter stick to the lid.
- Step 4: Apply a small amount of Rose Gold glitter stick to the inner corner of the eye.
- Step 5: Blend the edges of the Amethyst Purple and Rose Gold glitter sticks with a blending brush.
- Step 6: Apply a thin line of purple eyeliner along the upper lash line.
- Step 7: Apply mascara to your lashes.
(This look is whimsical, romantic, and perfect for a special occasion. 💖)
Section 6: Troubleshooting Glitter Gripes
(Okay, let’s be real. Glitter isn’t always sunshine and rainbows. Here are some common issues and how to fix them.)
| Problem | Solution |
|---|---|
| Glitter Fallout | Use an eyeshadow primer. Apply glitter with your finger or a damp brush. Set with a setting spray. |
| Creasing | Use an eyeshadow primer. Apply a thin layer of powder eyeshadow over the glitter stick. |
| Fading Color | Use an eyeshadow primer. Build up the color gradually. Set with a setting spray. |
| Uneven Application | Use your finger or a damp brush to apply the glitter. Blend the edges thoroughly. |
| Difficulty Blending | Work quickly. Use a light hand. Use a fluffy blending brush. |
| Glitter Overload | Less is more! Start with a small amount of product and gradually build up the color. |
| Glitter Sticks Drying Out | Store them properly (capped tightly). Use a pencil sharpener designed for cream formulas to refresh the tip. |
(Don’t let these issues discourage you! With a little practice and these tips, you’ll be a glitter-slaying master in no time!) ⚔️
Section 7: Glitter-Proofing Your Look
(You’ve created your masterpiece, now you need to make it last! Here are some tips for keeping your glitter look flawless all day (and night!).
- Eyeshadow Primer: This is the foundation of any good eyeshadow look. It helps to grip the glitter and prevent creasing and fading.
- Setting Spray: A good setting spray will lock in your look and prevent it from smudging or transferring.
- Avoid Touching Your Eyes: This is a general rule of thumb for any makeup look, but it’s especially important with glitter.
- Carry Touch-Up Supplies: Keep your glitter stick and a small blending brush in your purse for touch-ups throughout the day.
(With these tips, your sparkle will shine bright all day long! ✨)
Section 8: Glitter Care 101
(Just like any precious makeup tool, your glitter sticks need a little TLC. Here’s how to keep them in tip-top shape.)
- Store Them Properly: Keep your glitter sticks capped tightly to prevent them from drying out. Store them in a cool, dry place away from direct sunlight.
- Sharpen Them Regularly: Use a pencil sharpener designed for cream formulas to keep the tip of your glitter stick sharp and precise.
- Clean Them Occasionally: Wipe the tip of your glitter stick with a makeup wipe after each use to remove any buildup.
(Taking care of your glitter sticks will ensure that they last longer and perform better. Think of it as a spa day for your sparkle!) 🧖♀️
Section 9: The Glitterati Pledge
(Before you go forth and conquer the world with your newfound glitter skills, let’s take the Glitterati Pledge:
I solemnly swear to:
- Embrace the sparkle, always.
- Never be afraid to experiment with new glitter looks.
- Share my glitter knowledge with others.
- Always clean my brushes.
- Never leave home without a touch of sparkle.
(Congratulations, you are now officially a Glitterati! Go forth and spread the sparkle! ✨)
(Class dismissed! Now go out there and make the world a little bit brighter… one glittery eyelid at a time!) 💖✨
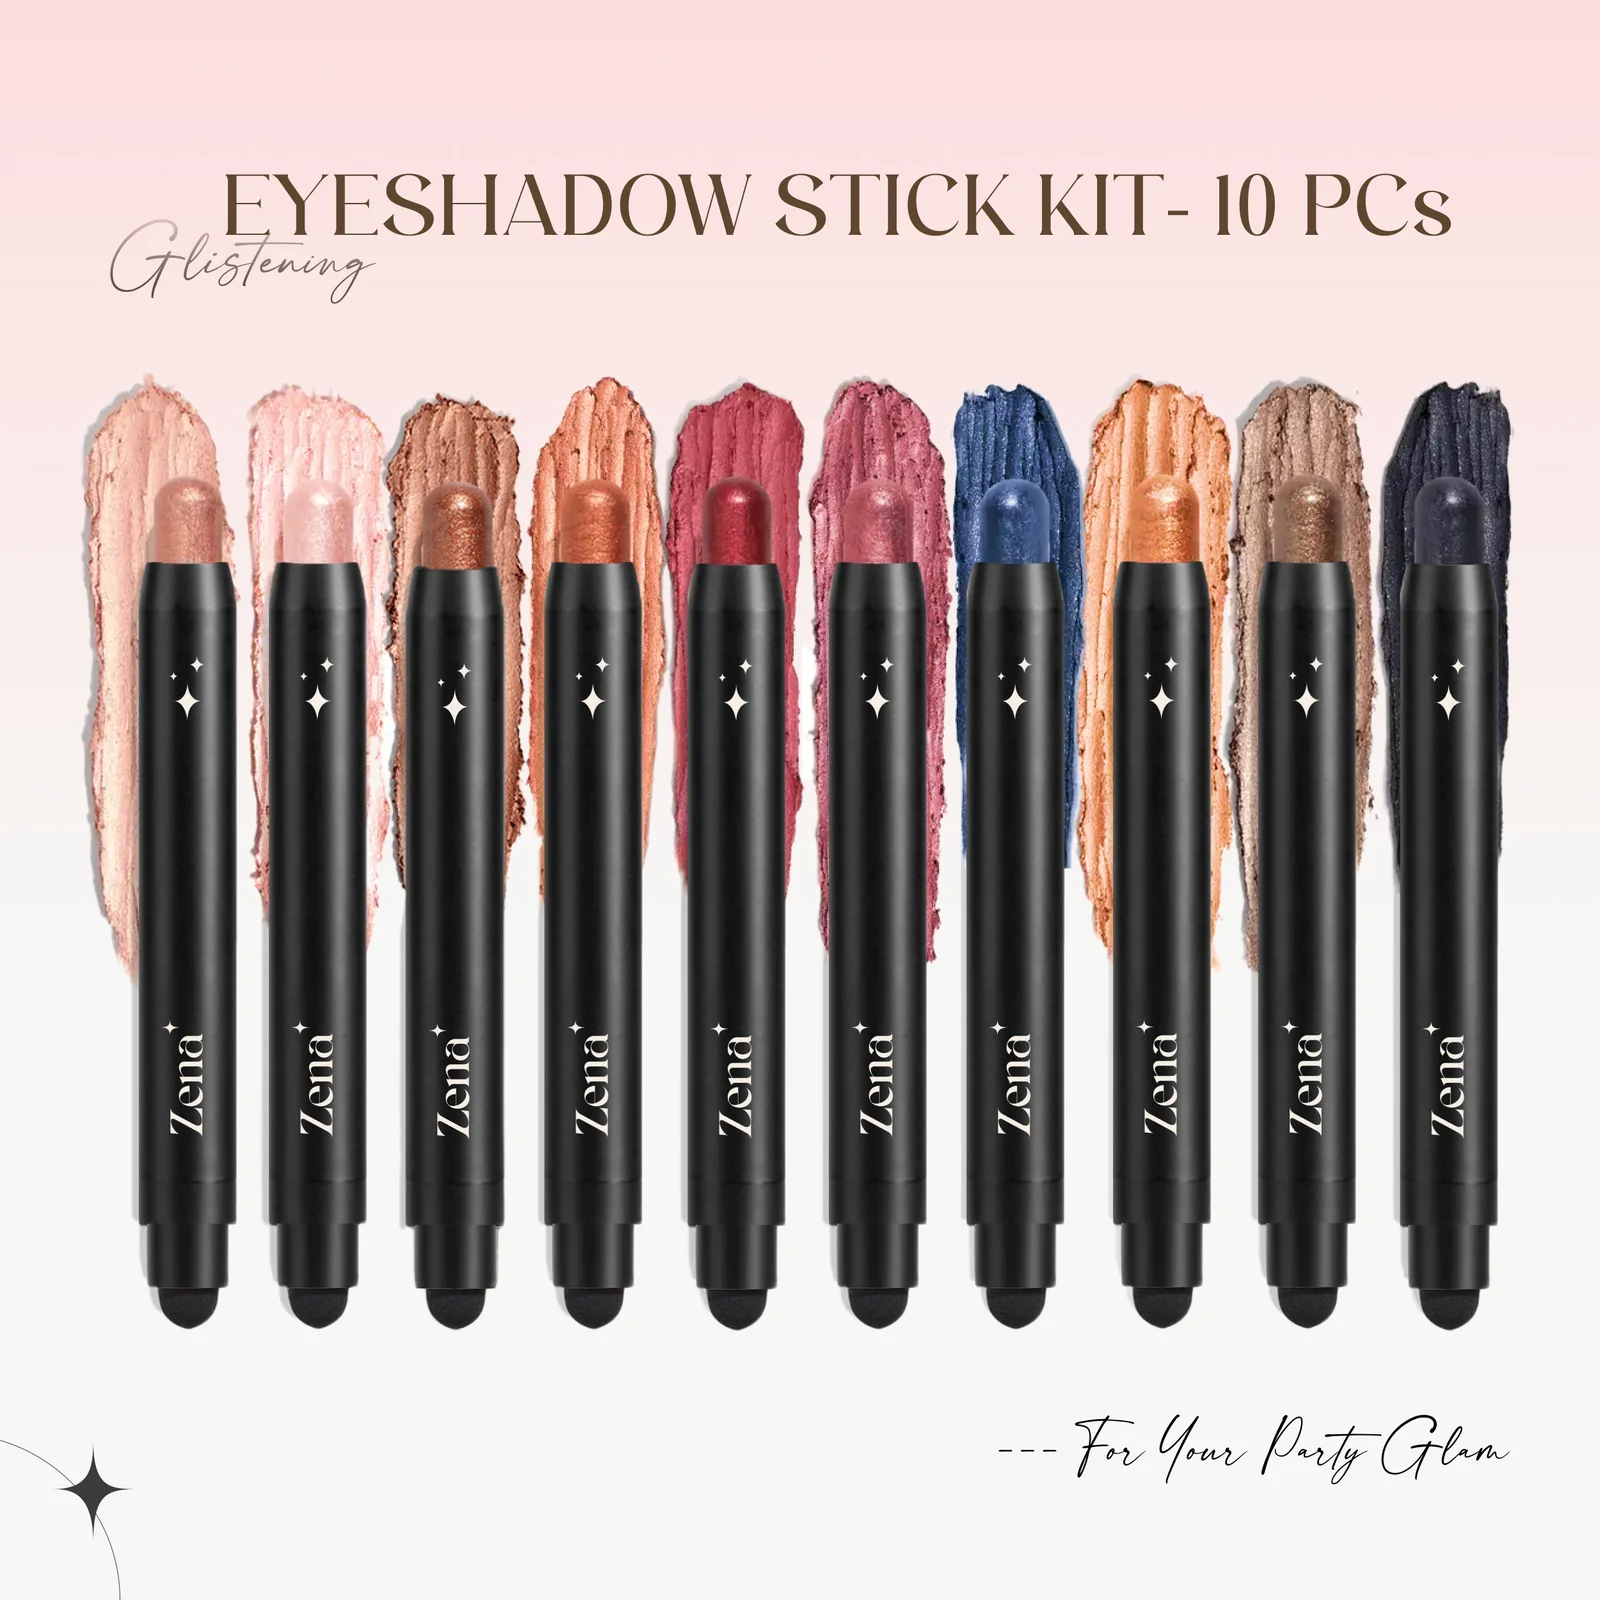
For detailed product specifications and purchases, please go to :https://zenamakeup.com/products/dazzle-collection-10-piece-glitter-cream-eyeshadow-stick-set
Leave a Reply