Glitter & Glamour: Amplifying Your Eyeshadow Sparkle with Glitter Cream Eyeshadow Sticks – A Masterclass
(Intro music: A jazzy, upbeat tune with a hint of sparkle sound effects)
Hello, Glamazons! Welcome, welcome, welcome to my dazzling lecture hall! I’m your host, Professor Sparklebottoms (yes, it’s a real name, and yes, I inherited a lot of glitter), and today, we’re diving deep into a topic near and dear to my heart: sparkle. More specifically, how to unleash the maximum sparkle potential of your eyeshadows using our secret weapon: Glitter Cream Eyeshadow Sticks! ✨
(Professor Sparklebottoms enters stage left, wearing a lab coat covered in sequins and oversized, glittery glasses. They carry a tray overflowing with glitter eyeshadows and cream sticks.)
Forget everything you thought you knew about glitter eyeshadow. We’re not just slapping it on and hoping for the best. We’re talking about strategically layering, maximizing impact, and achieving a level of luminosity that would make a disco ball jealous! 🕺
(Slight dramatic pause)
Now, I know what some of you are thinking: “Professor, isn’t glitter a pain? Doesn’t it get everywhere?!” And yes, my darlings, it can be. But that’s why we’re here! To conquer the glitter chaos and bend it to our sparkly will! We’re not going to let a little fallout stop us from achieving eye-catching, head-turning, jaw-dropping looks.
(Professor Sparklebottoms winks dramatically.)
So grab your notebooks, your brushes, and your inner sparkle enthusiast, because class is officially in session!
(Slide appears on screen: Title: Glitter & Glamour: Amplifying Your Eyeshadow Sparkle with Glitter Cream Eyeshadow Sticks)
Lecture Outline:
- The Glitterati: Understanding Glitter Eyeshadows
- Cream Dreams: Why Glitter Cream Eyeshadow Sticks are Your New BFF
- The Power of Layering: The Cream Stick Foundation Technique
- Color Theory & Glitter Harmony: Choosing the Perfect Combinations
- Application Techniques: Mastering the Sparkle
- The Cleanup Crew: Preventing Glitter Fallout
- Beyond the Lid: Exploring Creative Uses for Glitter Cream Sticks
- Troubleshooting Sparkle Emergencies: Common Issues and Solutions
- Practice Makes Perfect: Homework Assignment
- Graduation (aka, Go Forth and Sparkle!)
1. The Glitterati: Understanding Glitter Eyeshadows
(Slide appears: Various types of glitter eyeshadows: pressed, loose, baked, gel, etc. Images of models wearing different glitter eyeshadow looks.)
Before we can become masters of sparkle amplification, we need to understand our glittery subjects. Glitter eyeshadows come in a dazzling array of formulations, each with its own personality and quirks:
- Pressed Glitter: These are compact, generally easier to apply, and offer decent pigmentation. Think of them as the well-behaved members of the glitter family.
- Loose Glitter: The wild child of the group! Highly pigmented, incredibly sparkly, but also prone to fallout if not handled carefully. Requires a good glitter glue or adhesive.
- Baked Glitter: A slightly more refined version of pressed glitter. They often have a smoother texture and can be applied wet or dry for varying intensity.
- Gel Glitter: Suspended in a gel base, these offer a mess-free application and often dry down to a smudge-proof finish. Great for beginners!
- Cream Glitter: Similar to our beloved cream stick, but often comes in a pot or tube. Can be blended easily, but may crease on oily lids.
(Professor Sparklebottoms picks up a jar of loose glitter and dramatically blows a puff into the air. Glitter rains down on the stage.)
Ah, yes, loose glitter. The bane and blessing of every makeup artist. The key here is preparation. We’ll talk about that later.
(Table appears on screen summarizing the types of glitter eyeshadows.)
| Type of Glitter Eyeshadow | Pros | Cons | Best For |
|---|---|---|---|
| Pressed Glitter | Easy to apply, good pigmentation, less fallout. | Can be less impactful than loose glitter. | Everyday sparkle, beginners. |
| Loose Glitter | Highest sparkle intensity, customizable application. | Prone to fallout, requires adhesive, can be messy. | Dramatic looks, experienced users, special occasions. |
| Baked Glitter | Smooth texture, versatile application (wet or dry), blendable. | Can be sheer if applied dry. | Building intensity, creating dimensional looks. |
| Gel Glitter | Mess-free, smudge-proof, easy to blend. | Can dry down stiff, may not be as intense as loose glitter. | Festivals, quick and easy looks, those prone to glitter allergies. |
| Cream Glitter | Blendable, buildable, often hydrating. | Can crease on oily lids, may require setting with powder. | Creating a base, adding subtle shimmer, layering under powder eyeshadows. |
2. Cream Dreams: Why Glitter Cream Eyeshadow Sticks are Your New BFF
(Slide appears: Close-up images of various Glitter Cream Eyeshadow Sticks in different colors and textures.)
Now, let’s talk about our star player: Glitter Cream Eyeshadow Sticks! 🎉 These little wonders are the unsung heroes of the glitter world. Why, you ask?
- Smooth Application: They glide onto the lid like a dream, providing an even base for your powder eyeshadows.
- Adhesive Power: The creamy texture acts like a magnet for glitter, helping it adhere better and reducing fallout. Think of it as glitter glue, but with added color and dimension!
- Color Amplification: The cream base intensifies the color of your powder eyeshadows, making them appear more vibrant and saturated.
- Versatility: They can be worn alone for a subtle shimmer, used as a base for powder eyeshadows, or even as a highlighter on the inner corner of the eye.
- Travel-Friendly: Compact and convenient, they’re perfect for on-the-go sparkle emergencies.
(Professor Sparklebottoms holds up a Glitter Cream Eyeshadow Stick, gazing at it adoringly.)
Seriously, these are a game-changer. I used to spend hours battling glitter fallout, but these sticks have saved me countless tears (and sequins).
(Slide appears: A GIF showing the smooth application of a Glitter Cream Eyeshadow Stick on a model’s eyelid.)
Here’s the secret ingredient: the slight tackiness of the cream formula. This tackiness acts like a sticky canvas, grabbing onto the powder pigments and holding them in place. It’s like giving your eyeshadows a hug! 🤗
3. The Power of Layering: The Cream Stick Foundation Technique
(Slide appears: A step-by-step diagram illustrating the layering process: Cream Stick application, Powder Eyeshadow application, Blending, Optional: Additional Glitter application.)
This is where the magic truly happens! The key to maximizing sparkle is layering. Think of it as building a sparkly skyscraper, one shimmering layer at a time.
Here’s the breakdown:
- Prep the Lid: Start with a clean, dry eyelid. Apply an eyeshadow primer to create a smooth canvas and prevent creasing. 🎨
- Apply the Cream Stick: Glide the Glitter Cream Eyeshadow Stick across your eyelid, focusing on the areas where you want the most sparkle. You can use your finger or a brush to blend out the edges.
- Pat, Don’t Swipe: Using a flat eyeshadow brush, gently pat your powder eyeshadow onto the cream base. Avoid swiping, as this can disrupt the cream and cause fallout.
- Build Intensity: Repeat step 3 as needed to achieve your desired level of sparkle. You can use different shades of eyeshadow to create dimension and depth.
- Blend, Blend, Blend: Use a fluffy blending brush to soften any harsh lines and create a seamless transition between colors.
- (Optional) Add More Glitter: For maximum sparkle, you can add a final layer of loose glitter or a glitter topper on top of your powder eyeshadow. Use a glitter glue or adhesive for best results.
(Professor Sparklebottoms demonstrates the layering technique on a volunteer from the audience, adding a touch of comedic flair.)
See? Easy peasy, lemon squeezy! Now, remember, the key is to pat not swipe. We want to gently press the glitter into the cream, not drag it all over the place. Think of it as delicately placing tiny jewels on a velvet cushion. 💎
4. Color Theory & Glitter Harmony: Choosing the Perfect Combinations
(Slide appears: A color wheel with examples of complementary and analogous color combinations, paired with glitter eyeshadows.)
Now that we’ve mastered the technique, let’s talk about color! Choosing the right color combinations is crucial for creating a cohesive and visually stunning look.
Here are a few tips:
- Complementary Colors: Colors that are opposite each other on the color wheel (e.g., blue and orange, purple and yellow) create a striking contrast and make each other pop.
- Analogous Colors: Colors that are next to each other on the color wheel (e.g., blue, blue-green, green) create a harmonious and blended look.
- Monochromatic: Using different shades of the same color can create a sophisticated and subtle sparkle.
- Neutrals with a Pop: Pairing neutral eyeshadows with a vibrant glitter accent can add a touch of unexpected glamour.
(Table appears on screen outlining suggested color combinations.)
| Cream Stick Color | Powder Eyeshadow Suggestions | Look |
|---|---|---|
| Gold | Warm browns, bronzes, golds, champagne. | Classic, glamorous, golden goddess. |
| Silver | Cool greys, silvers, blacks, blues, purples. | Edgy, futuristic, icy queen. |
| Bronze | Coppers, rusts, browns, greens. | Earthy, warm, bohemian. |
| Rose Gold | Pinks, mauves, roses, purples, golds. | Romantic, feminine, dreamy. |
| Iridescent | Any color! Acts as a topper and enhances the underlying eyeshadow color. | Adds a multi-dimensional shimmer to any look. |
| Black | Metallics, jewel tones, smokey shades. | Dramatic, sultry, rock-n-roll. |
(Professor Sparklebottoms pulls out a palette of eyeshadows and demonstrates different color combinations on their hand.)
Don’t be afraid to experiment! Glitter is all about having fun and expressing your individuality. Try pairing unexpected colors together and see what magic you can create. Just remember to blend, blend, blend!
5. Application Techniques: Mastering the Sparkle
(Slide appears: Images and GIFs demonstrating different application techniques: Flat brush, finger application, blending brush, detailing brush.)
The right tools and techniques can make all the difference when it comes to applying glitter eyeshadow. Here are a few tips:
- Flat Brush: Perfect for packing on color and creating a concentrated sparkle.
- Finger Application: Great for applying cream shadows and blending out the edges. The warmth of your finger helps to melt the product into the skin.
- Blending Brush: Essential for softening harsh lines and creating a seamless transition between colors.
- Detailing Brush: Ideal for applying glitter to specific areas, such as the inner corner of the eye or along the lash line.
(Professor Sparklebottoms demonstrates the different application techniques on a makeup mannequin.)
Remember, practice makes perfect! Don’t be discouraged if your first attempt isn’t perfect. Just keep experimenting and finding what works best for you.
(Tips appear on screen in bullet points):
- Start Small: Begin with a small amount of glitter and build up the intensity as needed.
- Tap Off Excess: Before applying your brush to your eyelid, tap off any excess glitter to prevent fallout.
- Use a Light Hand: Apply glitter with a light, gentle touch to avoid disrupting the cream base.
- Clean Your Brushes Regularly: This will prevent color transfer and ensure a smooth application.
- Don’t Forget the Lower Lash Line: A touch of glitter on the lower lash line can add a subtle sparkle and complete the look.
6. The Cleanup Crew: Preventing Glitter Fallout
(Slide appears: Images of various methods for cleaning up glitter fallout: Makeup wipes, tape, lint roller, vacuum cleaner.)
Ah, yes, the dreaded fallout! It’s the price we pay for our sparkly indulgence, but fear not! There are ways to minimize the mess.
- Apply Eyeshadow First: Do your eye makeup before applying your base makeup. This way, you can easily clean up any fallout without ruining your foundation.
- Use an Eyeshadow Shield: These handy little tools catch any fallout as you apply your eyeshadow.
- Under-Eye Patches: Apply hydrating under-eye patches before starting your eye makeup. They’ll catch any fallout and keep your under-eye area moisturized.
- Makeup Wipes: Gently dab a makeup wipe under your eyes to remove any fallout. Avoid rubbing, as this can spread the glitter.
- Tape or Lint Roller: Wrap tape around your fingers, sticky side out, and gently dab it under your eyes to pick up any stray glitter. A lint roller works just as well!
(Professor Sparklebottoms dramatically demonstrates the tape method on themselves.)
And for the really stubborn glitter, a mini vacuum cleaner can be a lifesaver! Just be careful not to suck your eyelashes off! 😅
7. Beyond the Lid: Exploring Creative Uses for Glitter Cream Sticks
(Slide appears: Images of models using Glitter Cream Eyeshadow Sticks in unconventional ways: Highlighter, lip topper, body glitter.)
Our Glitter Cream Eyeshadow Sticks are more than just eyeshadow! Get creative and experiment with these unconventional uses:
- Highlighter: Apply a light shade to the high points of your face (cheekbones, brow bone, bridge of the nose) for a subtle glow.
- Lip Topper: Dab a small amount onto the center of your lips to add a touch of sparkle to your lipstick.
- Body Glitter: Apply to your collarbones, shoulders, or décolletage for a shimmering effect. Perfect for parties and special events!
- Inner Corner Highlight: This is a classic, but always worth mentioning! Brightens the eyes instantly.
(Professor Sparklebottoms applies a Glitter Cream Eyeshadow Stick to their cheekbones, transforming into a shimmering goddess.)
The possibilities are endless! Let your imagination run wild and see what sparkling creations you can come up with!
8. Troubleshooting Sparkle Emergencies: Common Issues and Solutions
(Slide appears: A list of common issues and solutions related to glitter eyeshadow application.)
Even the most seasoned glitter enthusiast encounters the occasional hiccup. Here are some common issues and how to fix them:
- Fallout: Use a glitter glue or adhesive, apply eyeshadow first, and clean up with tape or a makeup wipe.
- Creasing: Use an eyeshadow primer, set your cream shadow with a translucent powder, and avoid applying too much product.
- Patchy Application: Blend your cream shadow thoroughly and use a flat brush to pat on your powder eyeshadow.
- Lack of Pigmentation: Choose a cream stick that is close in color to your powder eyeshadow, and build up the intensity in layers.
- Glitter Sensitivity: Use a hypoallergenic glitter eyeshadow and avoid applying it too close to your eyes. If irritation occurs, discontinue use immediately.
(Professor Sparklebottoms offers words of encouragement.)
Don’t give up! Every mistake is a learning opportunity. The more you practice, the better you’ll become at mastering the art of sparkle.
9. Practice Makes Perfect: Homework Assignment
(Slide appears: Instructions for the homework assignment: Create three different eyeshadow looks using Glitter Cream Eyeshadow Sticks as a base. Take pictures and share them on social media using the hashtag #ProfessorSparklebottoms.)
Alright, students, it’s time to put your newfound knowledge to the test! Your homework assignment is to create three different eyeshadow looks using Glitter Cream Eyeshadow Sticks as a base.
- A Subtle Shimmer: Create a natural, everyday look with a touch of sparkle.
- A Bold and Colorful Look: Experiment with complementary or analogous color combinations.
- A Dramatic and Glamorous Look: Go all out with loose glitter and bold eyeliner.
Take pictures of your creations and share them on social media using the hashtag #ProfessorSparklebottoms. I can’t wait to see what you come up with!
10. Graduation (aka, Go Forth and Sparkle!)
(Slide appears: A celebratory image of confetti and glitter falling from the sky.)
Congratulations, my dazzling students! You have officially completed my Glitter & Glamour Masterclass! You are now equipped with the knowledge and skills to unleash your inner sparkle and create eye-catching looks that will turn heads wherever you go.
(Professor Sparklebottoms throws confetti into the air.)
Remember, glitter is more than just makeup; it’s a state of mind. It’s about embracing your individuality, expressing your creativity, and shining your light on the world.
So go forth and sparkle, my darlings! And never be afraid to add a little extra glitter to your life! ✨
(Outro music: The jazzy, upbeat tune returns as Professor Sparklebottoms takes a final bow.)
(Fade to black.)
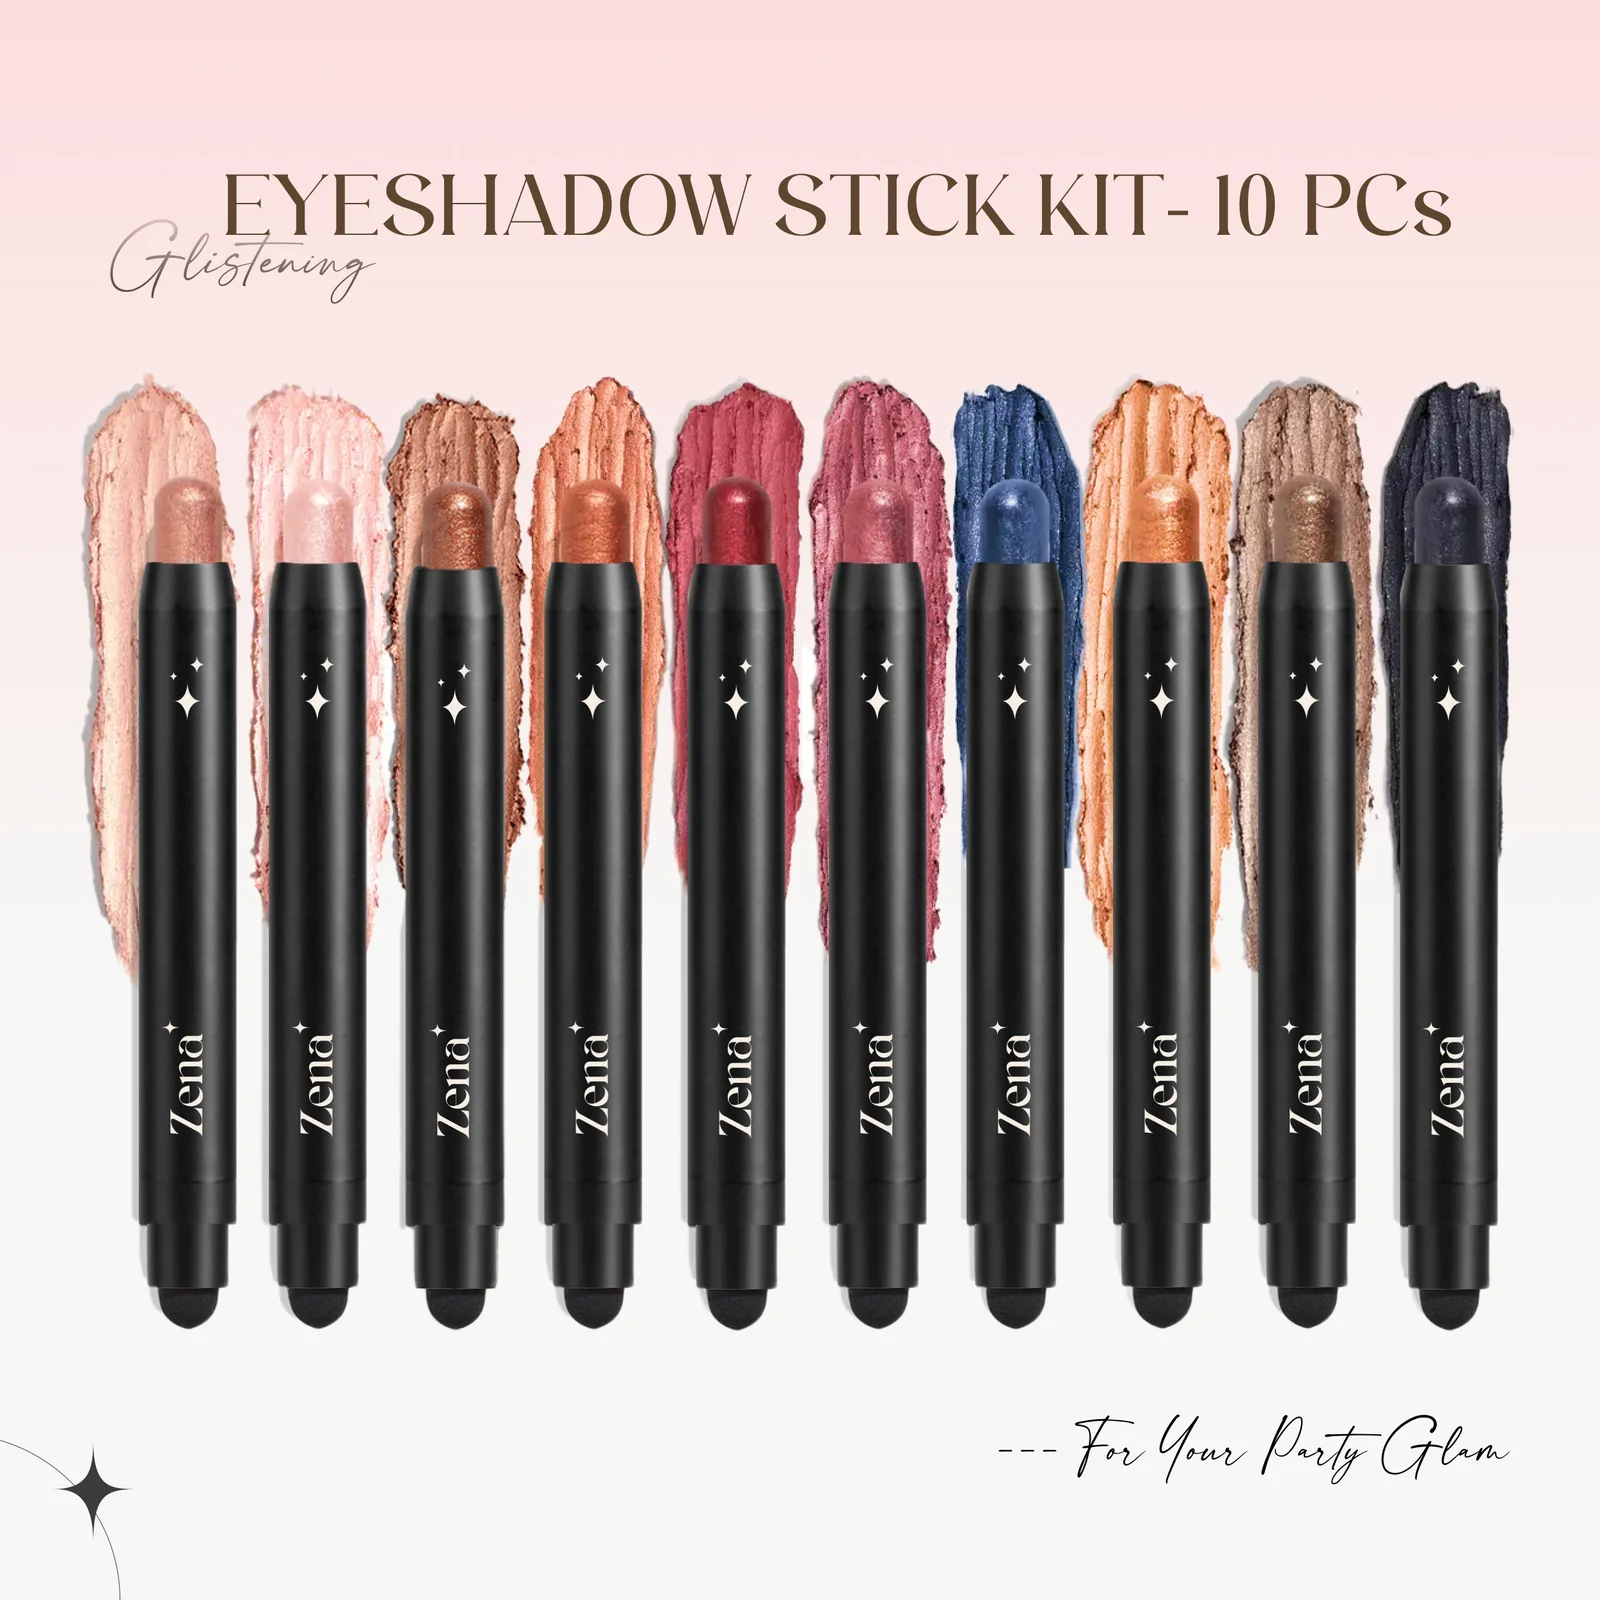
For detailed product specifications and purchases, please go to :https://zenamakeup.com/products/dazzle-collection-10-piece-glitter-cream-eyeshadow-stick-set
Leave a Reply