Sparkle Secrets: Mastering Inner Corner & Brow Bone Highlighting with Glitter Cream Eyeshadow Sticks 🌟✨
(A Lecture in Luminescence & Levity)
Introduction: Hello, Sparkle Squad! 👋
Alright, future makeup maestros and glittering goddesses! Today, we’re diving deep (deeper than the Mariana Trench of shimmer) into the art of highlighting the inner corners of your eyes and brow bones with – you guessed it – those magical, mess-minimizing, mood-boosting wonders: Glitter Cream Eyeshadow Sticks!
Forget dusty powder fallout and precarious application techniques. We’re talking about effortless, targeted sparkle that can instantly transform your look from "meh" to "mesmerizing." Think of this lecture as your official passport to Sparkle City! ✈️
(Disclaimer: Excessive sparkle application may result in compliments, envious stares, and an overwhelming desire to dance under a disco ball. Proceed with caution… or don’t! 😉)
I. Why Highlight These Areas, Anyway? The Science (and Sass) Behind the Sparkle 🤓
Before we get our glitter on, let’s understand why we’re even bothering to highlight these specific areas. It’s not just about following trends (though, let’s be real, it totally is a little bit about that). It’s about manipulating light to create the illusion of bigger, brighter eyes and a more defined brow.
- Inner Corner Highlight: This is your secret weapon against tired-looking eyes. A touch of shimmer here instantly makes you look more awake and alert, even if you’ve only had three hours of sleep and survived solely on caffeine and sheer willpower. It reflects light outwards, making your eyes appear wider and more open. Think of it as a tiny, sparkly spotlight for your soul windows! ✨
- Brow Bone Highlight: Placing shimmer just under the arch of your eyebrow creates the illusion of a lifted brow. This, in turn, makes your eyes appear larger and more defined. It’s like a mini brow lift, without the needles or the awkward conversations with your plastic surgeon. Plus, it adds a touch of sophistication and elegance. We’re talking Audrey Hepburn meets a unicorn! 🦄
II. The Glitter Cream Eyeshadow Stick Advantage: Why We’re Obsessed (and You Will Be Too!) 💖
Why not just use any old highlighter? Great question! Here’s why glitter cream eyeshadow sticks are the MVP of inner corner and brow bone highlighting:
| Feature | Glitter Cream Eyeshadow Stick | Powder Highlighter | Loose Glitter |
|---|---|---|---|
| Application | Precise, controlled | Can be messy, fallout | Literal glitter bomb |
| Blendability | Effortless, seamless | Can be chalky | Difficult to blend |
| Longevity | Long-lasting, minimal creasing | Can fade, especially with oily skin | Short-lived, prone to fallout |
| Mess Factor | Low! | High! | Catastrophic! |
| Portability | Super convenient, travel-friendly | Can break easily | Not travel-friendly |
| Overall Vibe | Effortless Glam | Depends on the product | Disco Ball Mayhem |
As you can see, glitter cream eyeshadow sticks offer the perfect balance of precision, blendability, longevity, and minimal mess. They’re the lazy girl’s guide to instant glam (and we’re all about that life!). Plus, they’re less likely to end up all over your face, your clothes, and your pet hamster. 🐹
III. Choosing Your Sparkle Shade: A Guide to Glitter Color Theory (Simplified!) 🎨
Not all glitter is created equal! Choosing the right shade for your skin tone and eye color is crucial to achieving a harmonious and flattering look. Let’s break it down:
- Fair Skin:
- Best Bets: Champagne, light gold, pearly white, soft pink. These shades will complement your skin without overwhelming it. Think delicate and ethereal. ✨
- Avoid: Anything too dark or bronze, as it can look muddy.
- Medium Skin:
- Best Bets: Rose gold, bronze, copper, warm gold. You have more flexibility with shades, so experiment and have fun! Think radiant and sun-kissed. ☀️
- Avoid: Anything too cool-toned or silver, as it can wash you out.
- Olive Skin:
- Best Bets: Gold, bronze, emerald green, sapphire blue. Embrace rich, jewel-toned shades that enhance your skin’s natural warmth. Think opulent and exotic. 💎
- Avoid: Anything too pastel or muted, as it can look dull.
- Dark Skin:
- Best Bets: Deep gold, bronze, copper, vibrant jewel tones (think ruby red, amethyst purple, emerald green). Go bold and embrace the drama! Think regal and captivating. 👑
- Avoid: Anything too light or ashy, as it can look chalky.
Pro Tip: Consider your undertones! Are you warm, cool, or neutral? This will further guide your shade selection. Warm undertones look best with gold and bronze, while cool undertones shine in silver and pearl.
IV. Application Techniques: The Art of the Sparkle Swipe ✍️
Okay, now for the fun part! Let’s get those glitter cream eyeshadow sticks into action. Here are a few techniques for flawless application:
Okay, now for the fun part! Let’s get those glitter cream eyeshadow sticks into action. Here are a few techniques for flawless application:
- Inner Corner Highlight:
- Prep the Area: Start with a clean, primed eyelid. This will help the glitter adhere better and prevent creasing.
- Apply the Stick: Gently dab or swipe the glitter cream eyeshadow stick into the inner corner of your eye, focusing on the tear duct area.
- Blend, Blend, Blend!: Use your finger or a small, fluffy brush to blend the glitter outwards, seamlessly merging it with your eyeshadow. The key is to avoid harsh lines!
- Build the Intensity: If you want more sparkle, apply another layer. Remember, you can always add more, but it’s harder to take away!
- Pro Tip: For a more natural look, use a light hand and focus on the very inner corner. For a more dramatic look, extend the glitter slightly onto the lower lash line.
- Brow Bone Highlight:
- Prep the Area: Ensure your eyebrows are groomed and filled in.
- Apply the Stick: Apply the glitter cream eyeshadow stick directly under the arch of your eyebrow, following the natural curve of your brow bone.
- Blend, Blend, Blend!: Use your finger or a brush to blend the glitter downwards towards your eyelid and upwards towards your brow. Again, seamless blending is key!
- Placement Matters: Focus the highlight on the highest point of your arch to create the most lift.
- Pro Tip: A lighter shade will create a more dramatic lift, while a shade closer to your skin tone will provide a more subtle glow.
V. Troubleshooting Sparkle Snafus: Common Mistakes and How to Avoid Them 🚨
Even with the magic of glitter cream eyeshadow sticks, mistakes can happen. Here’s how to avoid some common pitfalls:
- Creasing:
- Problem: Your glitter is settling into your eyelid creases.
- Solution: Use an eyeshadow primer before applying the glitter. Set the glitter with a translucent powder. Avoid applying too much product in one go.
- Too Much Sparkle:
- Problem: You look like you’re ready to join a circus.
- Solution: Less is more! Start with a small amount and build up the intensity gradually. Use a lighter shade of glitter. Tone down the rest of your makeup to balance the look.
- Uneven Application:
- Problem: One eye is sparkling more than the other.
- Solution: Take your time! Use a small brush to apply the glitter with precision. Check your work in a well-lit mirror.
- Glitter Fallout:
- Problem: Glitter is migrating to other parts of your face.
- Solution: Use a good quality glitter cream eyeshadow stick that is designed to stay put. Set the glitter with a setting spray. Gently tap off any excess glitter before applying.
VI. Level Up Your Sparkle Game: Advanced Techniques & Creative Applications 🚀
Feeling confident? Let’s take your sparkle skills to the next level!
- Ombre Inner Corner: Use two different shades of glitter cream eyeshadow stick to create a subtle ombre effect in your inner corner. Start with a lighter shade near the tear duct and blend it into a slightly darker shade towards the center of your eyelid.
- Graphic Brow Bone Highlight: Instead of blending the glitter all the way down to your eyelid, create a sharp, graphic line under your eyebrow. This is a bold and modern way to highlight your brow bone.
- Glitter Eyeliner: Use a glitter cream eyeshadow stick as an eyeliner. This is a fun and festive way to add some sparkle to your eye look. You can create a classic winged liner or a more abstract design.
- Layering Textures: Combine your glitter cream eyeshadow stick with other eyeshadow textures, such as matte or shimmer shades, to create a multi-dimensional look.
VII. Product Recommendations: Our Favorite Sparkle Sticks! 🛍️
(This is not a sponsored section, just our honest opinions!)
| Product | Price Range | Key Features | Shade Range |
|---|---|---|---|
| Milk Makeup Lid Lube Cream Eyeshadow Stick | $$ | Creamy, blendable formula, long-lasting, vegan & cruelty-free | Wide |
| ColourPop Super Shock Shadow | $ | Highly pigmented, bouncy texture, affordable | Extensive |
| Laura Mercier Caviar Stick Eye Colour | $$$ | Rich color payoff, crease-resistant, luxurious feel | Classic |
| Julep Eyeshadow 101 Crème to Powder Waterproof Eyeshadow Stick | $$ | Waterproof, long-wearing, easy to use | Diverse |
VIII. Sparkle Safety: A Few Words of Caution ⚠️
While we love glitter, it’s important to use it safely!
- Avoid getting glitter in your eyes! This can cause irritation and even damage.
- Use cosmetic-grade glitter only. Craft glitter is not safe for use on your skin.
- Remove glitter gently. Use an oil-based cleanser or makeup remover to avoid scrubbing.
- Be mindful of the environment. Consider using biodegradable glitter.
IX. Conclusion: Go Forth and Sparkle! ✨🎉
Congratulations, you’ve officially graduated from Sparkle School! You now possess the knowledge and skills to confidently highlight your inner corners and brow bones with glitter cream eyeshadow sticks. So go forth, experiment, and embrace your inner sparkle!
Remember, makeup is all about self-expression and having fun. Don’t be afraid to try new things and break the rules. And most importantly, don’t forget to shine! ✨
(Bonus points for anyone who wears glitter to the next lecture! 😉)
(End of Lecture)
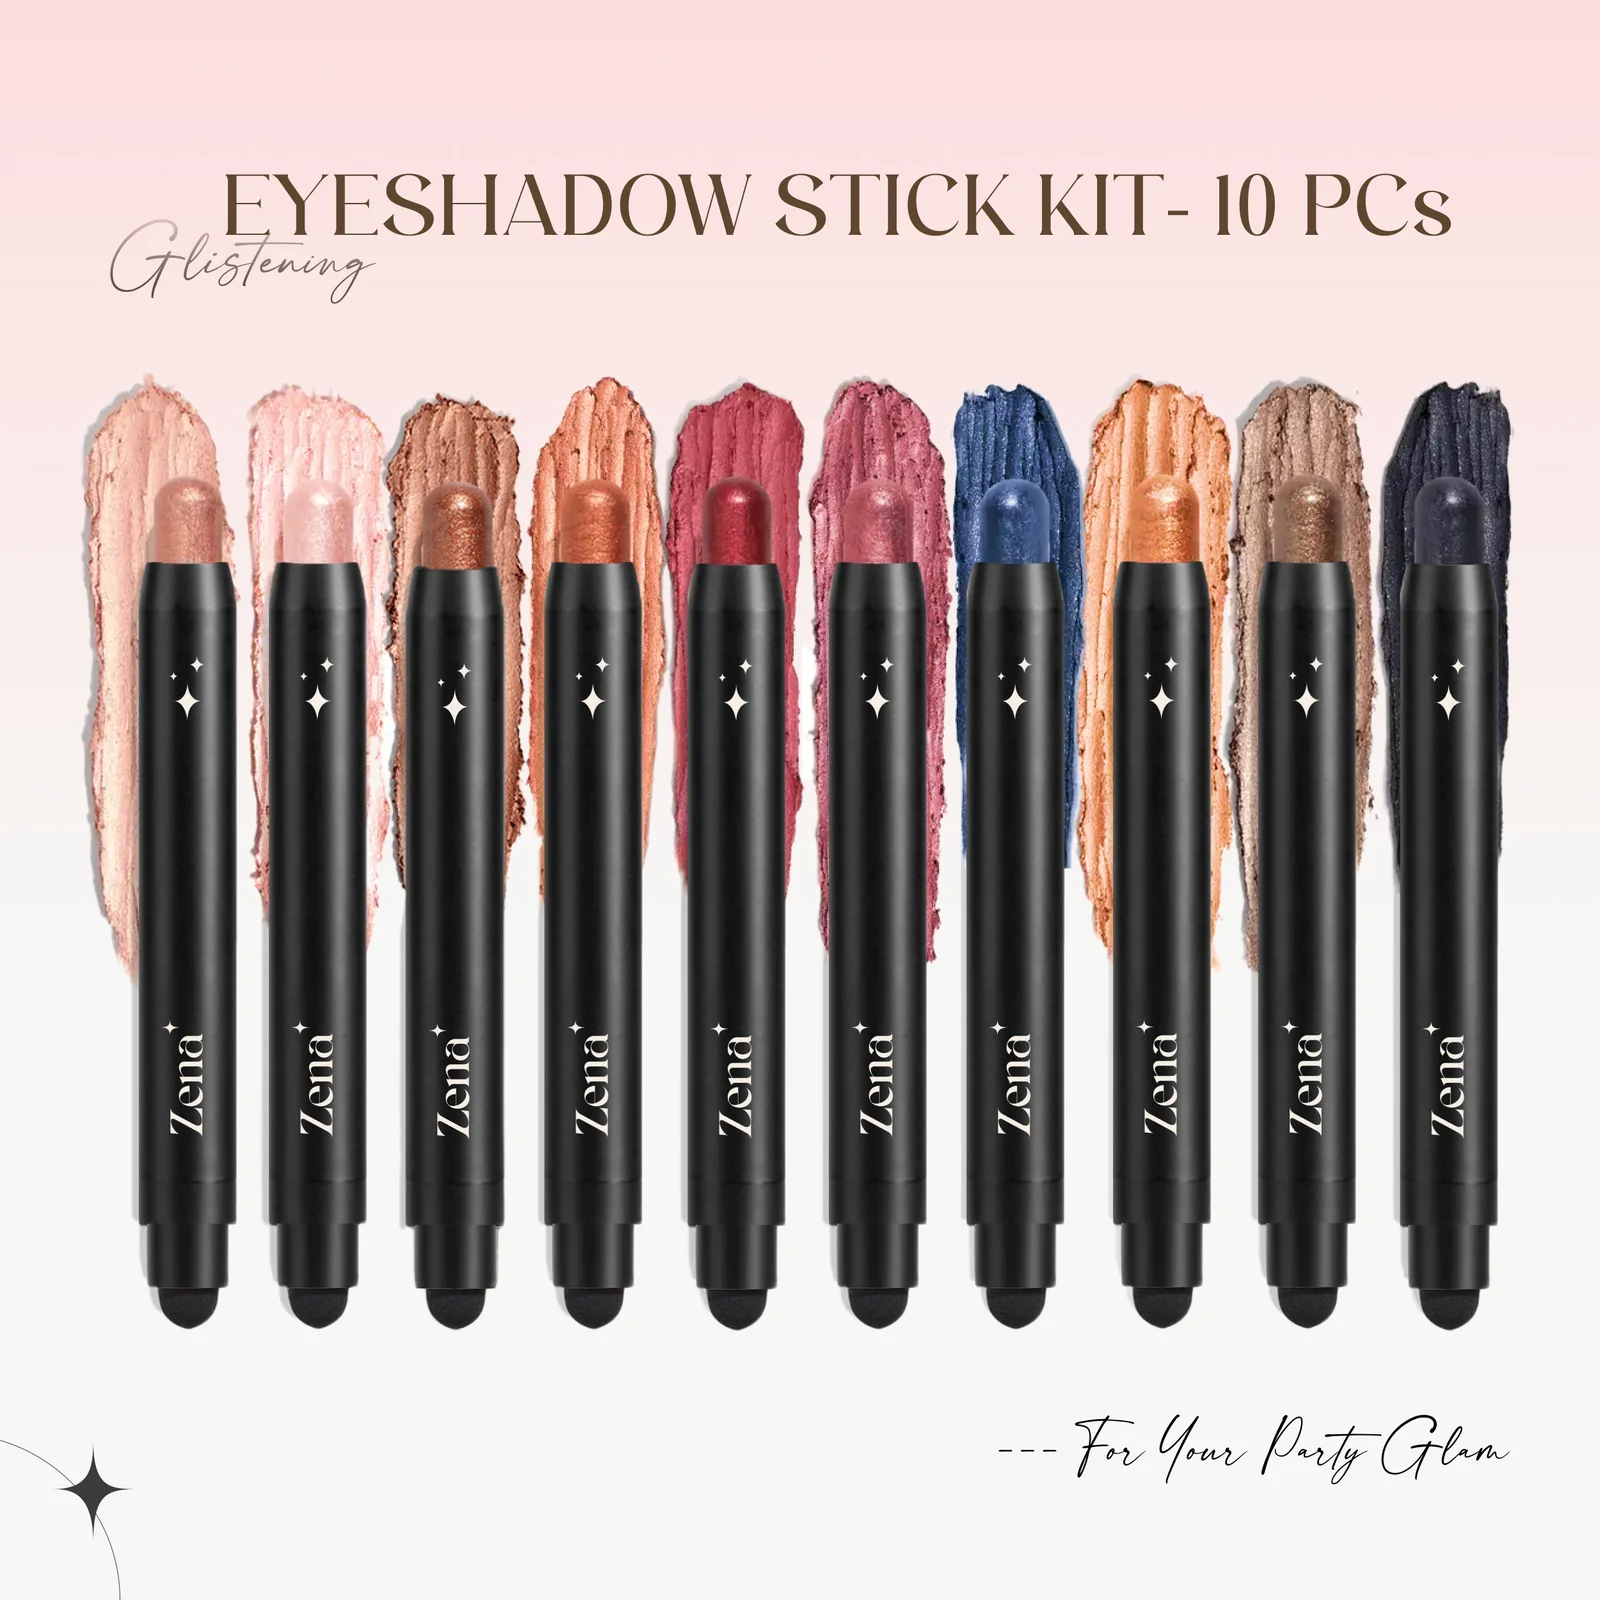
For detailed product specifications and purchases, please go to :https://zenamakeup.com/products/dazzle-collection-10-piece-glitter-cream-eyeshadow-stick-set
Leave a Reply