The Peel-Off Jelly Lip Stain Masterclass: Sculpting Luscious Lips with Patience (and a Little Bit of Magic!)
(Professor Lipstick, PhD. – Purveyor of Pouts & Practitioner of Perfect Pigment)
(Lecture Hall: Illuminated by the soft glow of ring lights and the hushed whispers of eager students)
Alright, settle down, settle down, my darlings! Welcome, welcome to the Peel-Off Jelly Lip Stain Masterclass. Today, we’re diving deep into the whimsical world of peel-off lip stains – those gooey, colorful concoctions that promise perfectly tinted pouts with minimal effort. Now, I know what you’re thinking: "Professor, are these things actually worth the hype? Are we talking a subtle, natural flush, or a sticky, patchy disaster?"
Fear not, my beauties! With the right knowledge, the right technique, and a healthy dose of patience (because let’s be honest, these things require patience), you can achieve both a beautifully defined lip line and a gorgeous full lip tint that lasts for hours.
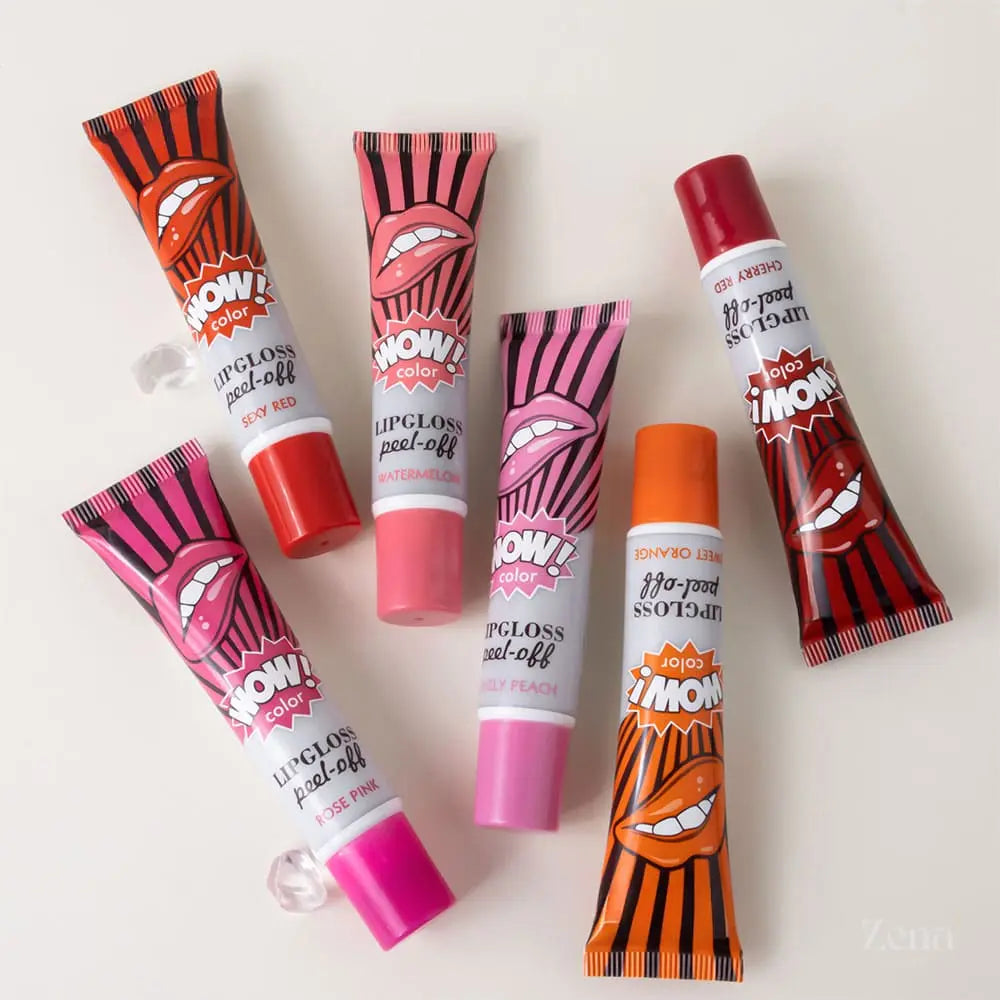
So, grab your notebooks (or your iPads, I’m not judging), your favorite flavor of lip stain (mine’s currently Watermelon Wonder), and let’s get peeling! 🍉
Lecture Outline:
- The Peel-Off Phenomenon: A brief history & why we’re obsessed.
- Decoding the Formula: What’s in this jiggly stuff anyway?
- The Anatomy of a Perfect Application: Preparing for Peeling Perfection.
- Sculpting the Lip Line: The Art of Precision & Definition.
- Full Lip Tint Tango: Achieving a Uniform, Vibrant Hue.
- Troubleshooting the Tint: Addressing Common Peel-Off Problems.
- Post-Peel Perfection: Hydration, Maintenance, and Lip Love.
- Beyond the Basics: Experimenting with Colors & Techniques.
- The Ethical Peel: Choosing Cruelty-Free & Sustainable Options.
- Q&A: Unleash Your Lip Stain Queries!
1. The Peel-Off Phenomenon: A Brief History & Why We’re Obsessed 🕰️
The peel-off lip stain… it’s a relatively recent arrival in the beauty world, but its roots can be traced back to the broader trend of long-lasting, transfer-proof lip color. Remember those early lip tars and liquid lipsticks that promised all-day wear? Well, the peel-off stain is like their quirky, more playful cousin.
Its initial appeal was undoubtedly the novelty. The idea of painting your lips with a colorful goo, letting it dry, and then… peeling it off to reveal a perfect tint? That’s pure makeup magic! ✨
But beyond the novelty, the peel-off lip stain offers some legitimate benefits:
- Long-lasting Color: Unlike traditional lipsticks that fade with eating and drinking, these stains actually stain the lips, providing color that can last for hours.
- Transfer-Proof: No more lipstick on your coffee cup or your partner’s cheek! The color is in your lips, not on them.
- Low Maintenance: Once applied, you can pretty much forget about it. No need for constant reapplication.
- Fun Factor: Let’s be honest, peeling it off is strangely satisfying. 😌
So, the peel-off lip stain is a combination of cool science, practical benefits, and a healthy dose of playful fun. It’s no wonder we’re obsessed!
2. Decoding the Formula: What’s In This Jiggly Stuff Anyway? 🧪
Okay, let’s get a little bit nerdy for a moment and peek behind the curtain of the peel-off formula. While the exact ingredients will vary from brand to brand, here are some common players:
| Ingredient Category | Common Examples | Purpose | Potential Concerns |
|---|---|---|---|
| Film Formers | Polyvinyl Alcohol (PVA) | This is the magic ingredient that allows the stain to form a film that you can peel off. | Can be drying, especially if used in high concentrations. |
| Humectants | Glycerin, Hyaluronic Acid | These ingredients help to retain moisture and prevent the film from becoming too brittle and uncomfortable. | Can sometimes feel sticky. |
| Colorants | FD&C Dyes, Lake Dyes | These are the pigments that give the stain its color. | Some dyes can be irritating to sensitive skin. Look for brands that use food-grade dyes. |
| Water | Aqua | Acts as a solvent and helps to dissolve the other ingredients. | None. |
| Preservatives | Parabens, Phenoxyethanol | These prevent the growth of bacteria and mold in the product, extending its shelf life. | Some people are sensitive to certain preservatives. Look for brands that use natural or alternative preservatives. |
| Flavorings | Artificial Flavors | These add a pleasant taste to the stain. | Can be irritating to sensitive skin. |
Important Note: Always check the ingredient list before using a peel-off lip stain, especially if you have sensitive skin or known allergies. Look for brands that are transparent about their ingredients and use high-quality, safe components.
3. The Anatomy of a Perfect Application: Preparing for Peeling Perfection 👄
The key to a successful peel-off lip stain experience lies in the preparation. Think of it like prepping a canvas before painting a masterpiece. (Okay, maybe not quite a masterpiece, but you get the idea!)
Here’s your pre-peel checklist:
- Exfoliate: Gently exfoliate your lips to remove any dead skin cells. This will ensure that the stain adheres evenly and lasts longer. A simple sugar scrub works wonders! 🍯
- Hydrate: Apply a thin layer of lip balm and let it absorb completely. This will create a smooth, moisturized base for the stain.
- Cleanse: Wipe away any excess lip balm or oil with a tissue. You want your lips to be clean and dry.
- Outline (Optional): If you’re going for a super precise lip line, you can use a lip liner to lightly outline your lips before applying the stain. This will act as a guide.
- Gather Your Supplies: Have your lip stain, an applicator (usually a doe-foot applicator is included), cotton swabs for cleanup, and a mirror ready to go.
4. Sculpting the Lip Line: The Art of Precision & Definition ✍️
Now for the fun part: applying the stain! When focusing on a defined lip line, precision is paramount. Think of yourself as a lip architect, carefully constructing the perfect pout.
Technique:
Technique:
- Start in the center of your bottom lip. Apply a thin, even layer of stain, following your natural lip line.
- Move outwards towards the corners of your mouth. Use the applicator to carefully trace the outline of your lips.
- Repeat on your top lip. Start at the cupid’s bow and work your way outwards.
- Use a cotton swab to clean up any mistakes. Don’t be afraid to take your time and correct any imperfections.
- Apply a second layer (optional) for more intense color. Just make sure the first layer is completely dry before applying the second.
- Let it dry completely! This is crucial. Do not peel until the stain is completely dry and feels like a tight film. This usually takes 10-20 minutes. Resist the urge to touch it! 🧘♀️
Pro Tips for Precision:
- Use a lip brush for even more control. If you find the doe-foot applicator too bulky, try using a fine-tipped lip brush to apply the stain.
- Work in small sections. Don’t try to apply the stain to your entire lip at once. Focus on one section at a time to ensure precision.
- Use a magnifying mirror. This will help you see every detail and avoid mistakes.
- Practice makes perfect! Don’t get discouraged if your first attempt isn’t flawless. Keep practicing, and you’ll get the hang of it.
5. Full Lip Tint Tango: Achieving a Uniform, Vibrant Hue 💃
If you’re aiming for a full lip tint, the goal is to achieve even, saturated color across your entire lip. Think of it like painting a watercolor wash – you want a smooth, consistent layer of pigment.
Technique:
- Apply a generous layer of stain to your entire lip. Don’t be afraid to go a little thicker than you would for a defined lip line.
- Use the applicator to spread the stain evenly. Make sure to cover every nook and cranny of your lips.
- Apply a second layer for more intense color. Again, make sure the first layer is completely dry before applying the second.
- Let it dry completely! This is even more crucial for a full lip tint. If the stain isn’t completely dry, the color won’t adhere evenly, and you’ll end up with a patchy mess.
- Peel off slowly and carefully. Start at one corner of your mouth and gently peel the stain away from your lips.
- Admire your beautifully tinted pout! ✨
Tips for Uniform Color:
- Apply the stain in a single, continuous motion. Avoid going back and forth, as this can create streaks.
- Use a light hand. Don’t press too hard with the applicator, as this can push the stain around and create uneven coverage.
- Check for any missed spots. Before letting the stain dry, take a close look in the mirror and fill in any areas that you may have missed.
- Don’t be afraid to experiment with different application techniques. Some people prefer to use a lip brush, while others find the doe-foot applicator works just fine. Find what works best for you!
6. Troubleshooting the Tint: Addressing Common Peel-Off Problems 🛠️
Let’s face it, peel-off lip stains aren’t always sunshine and rainbows. Sometimes, things go wrong. But fear not! I’m here to help you troubleshoot some common peel-off problems:
| Problem | Possible Cause(s) | Solution(s) |
|---|---|---|
| Patchy Color | Uneven application, stain not completely dry, dry lips, poor quality stain. | Exfoliate lips before application, apply a lip balm and let it absorb, apply the stain in a single, continuous motion, make sure the stain is completely dry before peeling, try a different brand of stain. |
| Color Doesn’t Last Long | Lips not properly prepped, stain not applied thickly enough, eating oily foods. | Exfoliate and moisturize lips before application, apply a thicker layer of stain, avoid eating oily foods immediately after application. |
| Stain is Difficult to Peel Off | Stain applied too thinly, stain not completely dry, dry lips. | Apply a thicker layer of stain, make sure the stain is completely dry before peeling, moisturize lips before application. |
| Stain is Too Sticky | Too much stain applied, stain not completely dry, high humectant content in the formula. | Apply a thinner layer of stain, make sure the stain is completely dry before peeling, blot lips with a tissue after peeling to remove any excess stickiness. |
| Irritation or Allergic Reaction | Sensitivity to ingredients in the stain. | Discontinue use immediately, consult a doctor if symptoms persist. Always perform a patch test before applying a new product to your lips. |
| Uneven Lip Line After Peeling | Stain not applied precisely enough, peeling too aggressively. | Use a lip brush for more control, apply the stain in small sections, peel off slowly and carefully, use a cotton swab to clean up any imperfections. |
7. Post-Peel Perfection: Hydration, Maintenance, and Lip Love ❤️
Okay, you’ve peeled off your stain, and you’re rocking a gorgeous pout. But the journey doesn’t end there! Here’s how to keep your lips looking their best:
- Hydrate, Hydrate, Hydrate! Peel-off lip stains can be drying, so it’s essential to keep your lips hydrated. Apply a moisturizing lip balm throughout the day.
- Avoid Oily Foods: Oily foods can break down the stain and cause it to fade faster. Try to avoid them, especially immediately after application.
- Protect Your Lips from the Sun: The sun can also cause your lip color to fade. Apply a lip balm with SPF to protect your lips from harmful UV rays.
- Reapply as Needed: While peel-off lip stains are long-lasting, they’re not permanent. You may need to reapply them after a few hours, depending on your activity level.
8. Beyond the Basics: Experimenting with Colors & Techniques 🎨
Once you’ve mastered the basics, it’s time to get creative! Here are some ideas for experimenting with peel-off lip stains:
- Mix and Match Colors: Create custom shades by layering different colors of peel-off lip stain.
- Ombre Lips: Apply a darker shade of stain to the outer corners of your lips and a lighter shade to the center to create an ombre effect.
- Glitter Lips: Apply a layer of clear lip gloss over your peel-off lip stain and then press glitter onto your lips.
- Lip Art: Use a fine-tipped brush to create intricate designs on your lips with peel-off lip stain.
The possibilities are endless! Don’t be afraid to experiment and have fun.
9. The Ethical Peel: Choosing Cruelty-Free & Sustainable Options 🌿
In today’s world, it’s more important than ever to make conscious choices about the beauty products we use. When it comes to peel-off lip stains, look for brands that are:
- Cruelty-Free: Ensure that the brand does not test its products on animals. Look for the Leaping Bunny or PETA certification.
- Vegan: Check the ingredient list to make sure that the product does not contain any animal-derived ingredients.
- Sustainable: Choose brands that use eco-friendly packaging and sustainable sourcing practices.
There are many ethical and sustainable peel-off lip stain options available on the market. Do your research and choose brands that align with your values.
10. Q&A: Unleash Your Lip Stain Queries! 🙋♀️
Alright, class, we’ve reached the end of our lecture. Now it’s your turn! What questions do you have about peel-off lip stains? Don’t be shy! I’m here to help you achieve your ultimate lip goals!
(Professor Lipstick beams, ready to answer a flurry of questions about all things peel-off and perfect pouts!)
For detailed product specifications and purchases, please go to :https://zenamakeup.com/products/peel-off-jelly-lip-stain
Leave a Reply