Lecture: Unleash Your Inner Siren: Mastering the Sexy Stained Lip Marker Tint for a Defined Lip Line and a Beautiful Inner Tint
(Intro Music: A sultry saxophone solo fades in and then out)
Alright, darlings! Settle in, buttercups! Today, we’re diving headfirst into the delicious world of lip marker tints, specifically focusing on achieving that coveted "just bitten" look with a defined lip line and a beautifully blended inner tint. We’re not talking about those sad, dried-out markers you used in elementary school. Oh no, we’re talking about sophisticated, modern lip markers that are practically magic wands for your pout! 🪄
Forget clumpy lipstick, sticky gloss, and the dreaded lipstick-on-your-teeth situation. Lip marker tints are here to revolutionize your lip game, offering a natural, long-lasting stain that’s perfect for everything from a casual brunch to a glamorous night out.
Why Lip Marker Tints? A Love Letter to Low-Maintenance Glamour
Let’s be honest, who has time for constant touch-ups? We’re busy conquering the world! 🌍 Lip marker tints are the answer to our prayers. Here’s why they deserve a permanent spot in your makeup bag:
- Longevity: These babies are designed to stay put. They stain the lips, providing hours of color that won’t transfer onto your coffee cup or your significant other’s cheek. (Praise be!) 🙌
- Natural Look: The stain effect is incredibly natural, mimicking the look of naturally flushed lips. No more cakey, unnatural-looking color.
- Lightweight Feel: Say goodbye to that heavy, gloopy feeling! Lip marker tints are featherlight and comfortable to wear. You’ll barely even know you’re wearing anything.
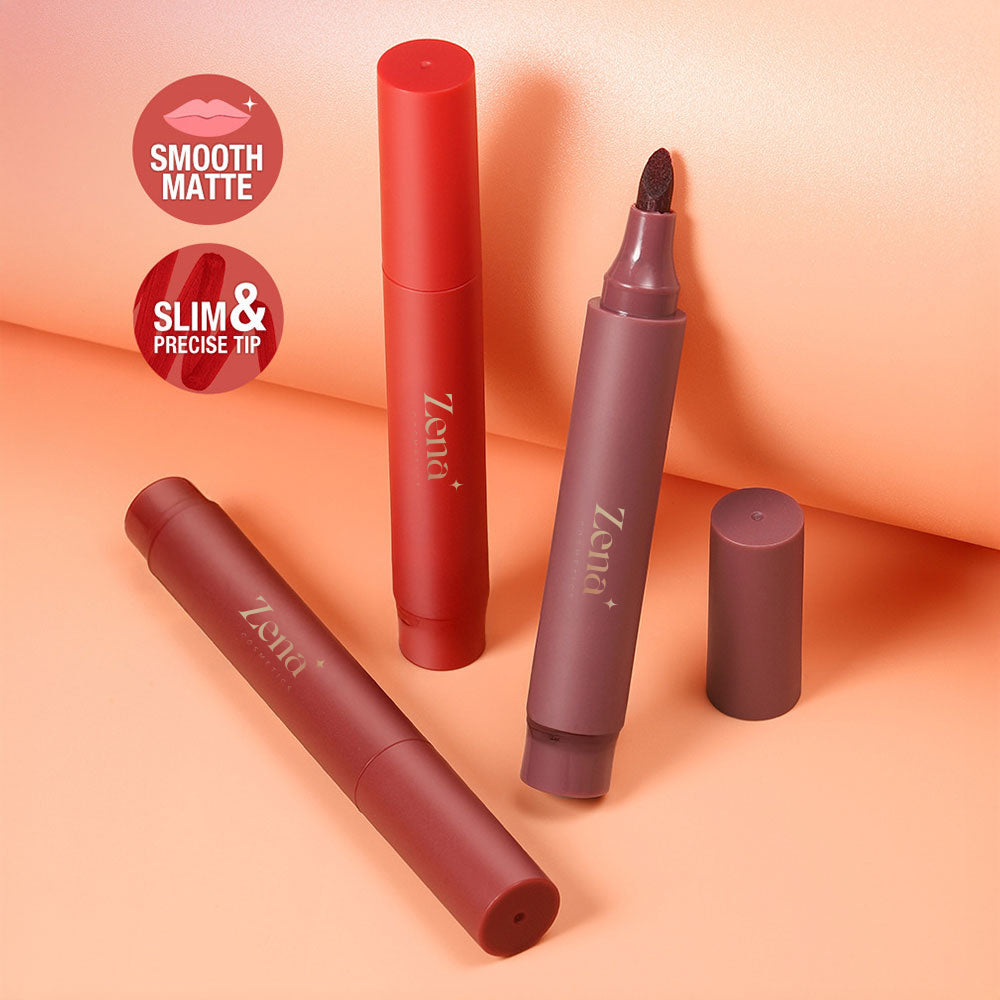
- Precision Application: The marker tip allows for precise application, making it easy to define your lip line and create a flawless finish. No more wobbly, uneven lines! 🙅♀️
- Versatility: From a subtle, everyday stain to a bold, statement lip, lip marker tints can do it all. We’ll explore different techniques today!
- Travel-Friendly: Compact and leak-proof, these little guys are perfect for on-the-go touch-ups or throwing in your purse for a quick lip pick-me-up. ✈️
The Tools of the Trade: What You’ll Need
Before we get started, let’s gather our supplies. Think of this as our culinary prep before creating a masterpiece! 👩🍳
- Your Chosen Lip Marker Tint: This is the star of the show! Choose a color that complements your skin tone and desired look. We’ll talk about color selection later.
- Lip Balm (Optional but Recommended): Hydrated lips are happy lips! A little lip balm before application can create a smoother canvas. 💋
- Lip Liner (Optional): If you want extra definition, a lip liner that matches your lip color or the lip marker tint is a great addition.
- Concealer (Optional): To clean up any mistakes and further define the lip line.
- Cotton Swabs: For precise corrections and blending.
- Makeup Remover Wipes: Because, let’s be real, mistakes happen. Don’t fret!
Understanding the Anatomy of a Lip Marker Tint
Not all lip marker tints are created equal. Let’s break down the key components to help you choose the right one:
| Feature | Description | Considerations |
|---|---|---|
| Tip Applicator | The shape and material of the tip applicator. | Felt Tip: Offers precision and control. Good for beginners. Brush Tip: Allows for more flexibility and blending. * Sponge Tip: Provides a softer, diffused application. |
| Formula | The consistency and pigmentation of the tint. | Water-Based: Lightweight and hydrating. Creates a natural stain. Gel-Based: More pigmented and longer-lasting. * Oil-Based: Can be more moisturizing and prevent drying. |
| Ingredients | The ingredients that make up the formula. | Look for hydrating ingredients like hyaluronic acid or glycerin. Avoid drying ingredients like alcohol if you have sensitive lips. |
| Packaging | The design of the packaging. | A secure cap is essential to prevent the marker from drying out. A comfortable grip can make application easier. |
| Color Range | The variety of shades available. | Choose colors that complement your skin tone and desired look. Consider experimenting with different shades to find your perfect match. |
The Art of the Defined Lip Line: A Step-by-Step Guide
Now, let’s get down to business! We’re going to create a defined lip line that enhances your natural shape and makes your lips look fuller and more sculpted.
Step 1: Prep Your Pout (Optional but Highly Recommended)
Just like a painter preps their canvas, we need to prepare our lips for optimal results.
- Exfoliate: Gently exfoliate your lips with a lip scrub or a soft toothbrush to remove any dead skin and create a smooth surface. Nobody wants lumpy lipstick! 🙅♀️
- Hydrate: Apply a thin layer of lip balm and let it absorb for a few minutes before applying the lip marker tint. This will prevent your lips from drying out and ensure a more even application.
Step 2: Outline Your Lips (Using the Lip Marker Tint)
This is where the magic begins!
- Start at the Cupid’s Bow: Using the tip of the lip marker tint, carefully outline the Cupid’s bow (the two peaks in the center of your upper lip). This will help create a symmetrical and defined shape.
- Pro Tip: Use short, light strokes for more control.
- Connect the Corners: Continue outlining your upper lip, connecting the Cupid’s bow to the corners of your mouth.
- Outline the Lower Lip: Repeat the process on your lower lip, starting at the center and working your way outwards.
- Pro Tip: To make your lips look fuller, slightly overline your natural lip line, especially at the center of the lower lip. But don’t go overboard! We want to enhance, not create a cartoon character. 🤡
- Check for Symmetry: Step back and take a look at your lip line in the mirror. Make sure it’s even and symmetrical. Use a cotton swab dipped in makeup remover to clean up any mistakes.
Step 3: Fill in the Outer Edges (Creating the Definition)
Now we’re going to add depth and dimension to our lip line.
Now we’re going to add depth and dimension to our lip line.
- Apply a Second Layer: Apply a second layer of lip marker tint to the outer edges of your lips, focusing on the area you just outlined. This will create a darker, more defined border.
- Pro Tip: Use a slightly heavier hand when applying the second layer to create a more intense color payoff.
- Blend (Slightly): Use your finger or a cotton swab to gently blend the outer edges of the lip line inwards, softening the transition between the defined border and the inner part of your lips. We want a gradient, not a harsh line. 🎨
Step 4: The Beautiful Inner Tint: A Masterclass in Blending
This is where we create that "just bitten" effect that’s so effortlessly chic.
- Apply to the Center: Apply a small amount of lip marker tint to the center of your lips, both upper and lower.
- Pro Tip: Start with a small amount of product. You can always add more, but it’s harder to take away!
- Blend, Blend, Blend! This is the most important step. Use your finger or a cotton swab to blend the color outwards towards the defined lip line. The goal is to create a seamless transition between the darker outer edges and the lighter inner tint. Think of it like creating an ombre effect.
- Pro Tip: Use a patting motion rather than a rubbing motion to blend the color. This will prevent you from smearing the lip line.
- Build the Color (If Necessary): If you want a more intense inner tint, apply another small amount of lip marker tint to the center of your lips and blend again.
- Check Your Work: Step back and admire your masterpiece! Make sure the color is evenly distributed and the blending is seamless.
Step 5: The Finishing Touches: Sealing the Deal
We’re almost there! Let’s add the final touches to complete the look.
- Concealer (Optional): Use a small amount of concealer to clean up any edges around your lips and further define the lip line. This will create a crisp, polished look.
- Blot (Optional): If you want a more matte finish, gently blot your lips with a tissue.
- Smile! You’re ready to conquer the world with your perfectly stained pout! 😄
Troubleshooting: Common Lip Marker Tint Challenges and Solutions
Let’s face it, even the best of us encounter a few bumps in the road. Here are some common challenges and how to overcome them:
| Challenge | Solution |
|---|---|
| Dry Lips | Exfoliate and hydrate your lips before application. Choose a lip marker tint with moisturizing ingredients. * Apply a lip balm on top of the tint. |
| Uneven Application | Use short, light strokes when applying the tint. Apply multiple thin layers rather than one thick layer. * Blend, blend, blend! |
| Color Bleeding | Use a lip liner to create a barrier around your lips. Avoid overlining your lips too much. * Use a concealer to clean up any edges. |
| Color Fading Quickly | Choose a lip marker tint with a long-lasting formula. Avoid eating oily foods, which can break down the stain. * Reapply the tint as needed. |
| Marker Tip Drying Out | Store the lip marker tint horizontally. Make sure the cap is tightly closed after each use. * If the tip is dry, try dipping it in water for a few seconds. |
| Too Much Product Applied | Use a tissue to blot any excess product away. Use a cotton swab with makeup remover to wipe away any access product |
Color Theory: Choosing the Right Shade for Your Skin Tone
Choosing the right color is crucial to achieving a flattering and harmonious look. Here’s a quick guide to help you navigate the world of lip marker tint shades:
| Skin Tone | Recommended Shades | Avoid |
|---|---|---|
| Fair | Light pinks, peaches, nudes, berry shades. | Dark, vampy shades that can look too harsh. |
| Light to Medium | Rosy pinks, corals, mauves, berry shades. | Very pale nudes that can wash you out. |
| Medium to Olive | Peaches, corals, reds, berries, warm browns. | Anything too pastel or chalky. |
| Tan to Deep | Reds, berries, plums, wines, deep browns. | Light, washed-out shades. |
Beyond the Basics: Advanced Techniques and Creative Looks
Once you’ve mastered the basic technique, you can start experimenting with different techniques and creating more complex looks.
- The Gradient Lip: Create a more dramatic gradient effect by using two different shades of lip marker tint. Apply a darker shade to the outer edges of your lips and a lighter shade to the center, then blend.
- The Ombre Lip: Similar to the gradient lip, but with a more defined transition between the two colors.
- The Glossy Finish: Apply a clear lip gloss on top of the lip marker tint for a glossy, hydrated look.
- The Matte Finish: Blot your lips with a tissue and apply a translucent powder on top of the lip marker tint for a matte, long-lasting finish.
Final Thoughts: Embrace Your Inner Lip Artist!
The beauty of lip marker tints is their versatility and ease of use. Don’t be afraid to experiment with different colors, techniques, and finishes to find what works best for you. And most importantly, have fun! Makeup should be an expression of your personality and creativity.
Now go forth and conquer the world, one perfectly stained pout at a time!
(Outro Music: A sassy, upbeat pop song fades in)
Remember to tag me in your lip art creations! I can’t wait to see what you come up with! #SexyStainedLips #LipMarkerMagic #PoutPerfection
For detailed product specifications and purchases, please go to :https://zenamakeup.com/products/sexy-stained-lip-marker-tint
Leave a Reply