Lecture: Kiss and Tell – Mastering the Gradient Lip with Sexy Stained Lip Marker Tint 💋💄
Welcome, beauty enthusiasts, trendsetters, and fellow victims of the endless quest for the perfect pout! Today, we’re diving headfirst into the alluring world of gradient lips, specifically, how to achieve that coveted "just-bitten" look with the magical tool that is the Sexy Stained Lip Marker Tint.
Forget those overly complicated tutorials with a million steps and a PhD in color theory. We’re here to demystify the ombre lip, making it achievable even for those of us who consider applying mascara a Herculean feat.
(Disclaimer: No actual Hercules required. Although, if you happen to have one handy, maybe he can hold your mirror while you apply? Just a thought.)
Why Gradient Lips? What’s the Fuss?
Before we get our hands dirty (or rather, our lips stained), let’s address the burning question: why bother with a gradient lip in the first place?
- Youthful Vibe: A gradient lip instantly gives you that fresh, youthful look. It’s like a mini-facelift without the needles or awkward post-op photos. 🧖♀️
- Plumper Illusion: The strategic placement of color creates the illusion of fuller lips, even if you weren’t blessed with Angelina Jolie’s pout. Consider it contouring for your lips! ✨
- Effortless Chic: It looks effortlessly cool and modern, like you woke up looking fabulous without trying (even if you spent an hour meticulously blending). 💁♀️
- Versatility: Gradient lips can be adapted for any occasion, from a casual brunch to a glamorous night out. Think of it as the little black dress of lip looks. 👗
The Star of the Show: Sexy Stained Lip Marker Tint – Your New Best Friend
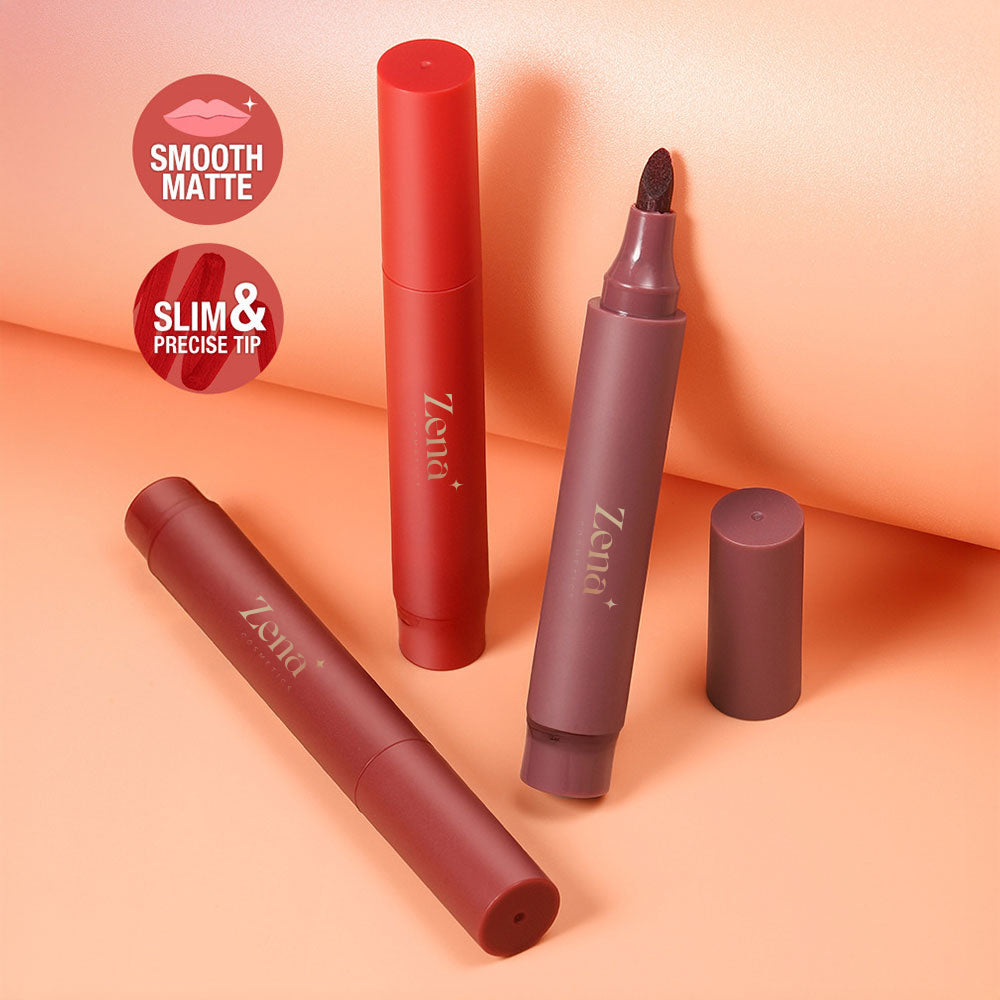
Okay, let’s talk about the hero of our story: the Sexy Stained Lip Marker Tint. Why this particular product?
- Precision Application: The marker tip allows for pinpoint accuracy, crucial for creating a defined gradient. Forget messy lipsticks and brushes! 🎯
- Buildable Color: You can layer the tint to achieve your desired intensity, from a subtle wash of color to a bold statement. 🎨
- Long-Lasting Power: Stains are notoriously long-lasting, meaning you won’t have to constantly reapply throughout the day. Perfect for avoiding those awkward lipstick-on-teeth moments. 😬
- Lightweight Feel: Unlike heavy lipsticks, lip stains feel lightweight and comfortable on the lips. It’s like you’re not wearing anything at all… almost. 😉
The Gradient Lip Masterclass: Step-by-Step (Even a Toddler Could Do It!)
Alright, let’s get down to the nitty-gritty. Here’s your foolproof guide to creating a stunning gradient lip with your Sexy Stained Lip Marker Tint.
Step 1: Prep Your Canvas (The Boring but Necessary Part)
Just like a painter needs a smooth canvas, your lips need to be prepped for optimal color payoff and longevity.
- Exfoliate: Gently exfoliate your lips with a lip scrub or a soft toothbrush to remove any dead skin. Nobody wants flaky gradient lips! 🙅♀️
- Hydrate: Apply a hydrating lip balm to moisturize your lips. Chapped lips are the enemy of a smooth gradient. 💧
- Prime (Optional): If you want extra staying power, you can apply a thin layer of lip primer. This will create a smooth base for the tint to adhere to.
Step 2: The Base Color (Creating the Foundation)
Now, let’s establish our base color. This will typically be a lighter shade than the color you’ll use for the inner part of your lips.
- Apply a thin layer of nude or light pink tinted lip balm or concealer all over the lips to create a base. This will help the lip marker tint adhere better and give a smoother, more even application.
- Optional: Blend outwards. Use a clean finger or a cotton swab to gently blend the base color outwards, focusing on the edges of your lips. This will create a soft, diffused effect.
Step 3: The Inner Power (The Gradient Magic Begins!)
This is where the magic happens! Grab your Sexy Stained Lip Marker Tint (we recommend a bolder, more vibrant shade for this step) and prepare to transform your pout.
This is where the magic happens! Grab your Sexy Stained Lip Marker Tint (we recommend a bolder, more vibrant shade for this step) and prepare to transform your pout.
- Apply the tint to the inner part of your lips: Starting at the center of your lower lip, gently dot the tint along the inner rim. Repeat on your upper lip. Think of it like creating a little "O" shape in the center of your lips. 👄
- Blend, Blend, Blend! Use a clean fingertip, a cotton swab, or a small lip brush to gently blend the tint outwards towards the edges of your lips. This is crucial for creating a seamless gradient effect.
- Pro Tip: Use short, tapping motions to blend the tint. Avoid rubbing, which can create streaks.
Step 4: Layering (For Extra Oomph!)
If you want a more intense gradient, you can layer the tint.
- Repeat Step 3: Apply another layer of tint to the inner part of your lips, focusing on the center.
- Blend Again: Gently blend the tint outwards, ensuring a smooth transition between the inner and outer colors.
Step 5: The Finishing Touches (Polishing Your Masterpiece)
Almost there! Let’s add the final touches to perfect your gradient lip.
- Clean Up: Use a cotton swab dipped in makeup remover to clean up any smudges or uneven edges. Precision is key! 🔎
- Highlight (Optional): Add a touch of highlighter to your cupid’s bow to accentuate your lips and create a more defined shape. ✨
- Gloss (Optional): Apply a clear lip gloss over the top for a glossy, plumped-up finish. 💦
Troubleshooting: Common Gradient Lip Fails and How to Avoid Them
Let’s face it, even the best of us make mistakes. Here are some common gradient lip fails and how to avoid them:
| Problem | Cause | Solution | 😩 Emoji |
|---|---|---|---|
| Harsh Lines | Inadequate blending. | Blend, blend, blend! Use short, tapping motions and be patient. | 😬 |
| Uneven Color Distribution | Uneven application of tint. | Apply the tint evenly to the inner part of your lips and focus on blending outwards. | 😒 |
| Dry, Flaky Lips | Lack of exfoliation and hydration. | Exfoliate and hydrate your lips before applying any color. | 😫 |
| Color Bleeding | Applying too much tint. | Start with a small amount of tint and build up the color gradually. | 😨 |
| The "Clown" Effect | Choosing colors that clash or are too bold. | Experiment with different color combinations and start with more subtle shades. | 🤡 |
Color Combinations: Your Gradient Lip Palette
The beauty of gradient lips is that you can experiment with endless color combinations. Here are a few of our favorites to get you started:
| Inner Color | Outer Color | Vibe | 🔥 Emoji |
|---|---|---|---|
| Bright Red | Berry Pink | Bold & Flirty | ❤️ |
| Coral | Peach | Sunny & Playful | ☀️ |
| Plum | Mauve | Sophisticated & Chic | 💜 |
| Hot Pink | Light Pink | Fun & Girly | 💖 |
| Orange | Nude | Trendy & Edgy | 🧡 |
The Sexy Stained Lip Marker Tint: Beyond Gradient Lips
While the Sexy Stained Lip Marker Tint is a gradient lip superstar, it’s also a versatile product that can be used in other ways:
- Full Lip Color: Apply the tint all over your lips for a long-lasting, natural-looking stain.
- Lip Liner: Use the marker tip to define your lip line and prevent lipstick from bleeding.
- Cheek Tint: Dab a small amount of tint onto your cheeks and blend for a natural flush of color. (Use sparingly!)
Final Thoughts: Embrace the Gradient Lip Revolution!
The gradient lip is more than just a makeup trend; it’s a statement. It’s a way to express your creativity, enhance your natural beauty, and have a little fun with your look. So, grab your Sexy Stained Lip Marker Tint, unleash your inner artist, and get ready to rock the perfect gradient pout!
Now go forth and conquer the world, one perfectly blended lip at a time! 😉 💋
For detailed product specifications and purchases, please go to :https://zenamakeup.com/products/sexy-stained-lip-marker-tint
Leave a Reply