The Brow Architect: Shaping Perfection with the Brow Perfection Trio
(A Lecture on Sculpting the Perfect Brow Arch)
Alright, class, settle down! Today, we’re not dissecting frogs 🐸 or memorizing obscure historical dates 📜. We’re tackling something far more crucial, far more impactful on your daily existence: the eyebrow arch.
Yes, I said it. The eyebrow arch. That tiny, furry, yet infinitely expressive curve above your eye that can make you look like you’re either plotting world domination 😈 or contemplating the existential dread of a lost sock 🧦. It’s a big deal, people. A big deal.
And today, we’re going to learn how to wield the ultimate weapon in the fight against unruly, shapeless brows: The Brow Perfection Trio.
Forget Michelangelo’s David. We’re creating eyebrow masterpieces here! 💪
I. Introduction: Why the Arch Matters (and Why You Should Care)
Let’s face it, folks. Eyebrows are the unsung heroes of your face. They’re like the picture frame around your eyes, highlighting their beauty and giving your face structure. A well-defined arch can:
- Lift the Eye: Instantly makes you look more awake and refreshed, even if you’ve been up all night binge-watching cat videos. 🐈
- Define Your Features: Creates a more sculpted and balanced facial appearance.
- Add Expression: Allows you to convey a wider range of emotions, from surprise 😲 to seductive smolder 🔥.
- Boost Confidence: Trust me, when your brows are on point, you feel like you can conquer the world. 👑
Conversely, poorly shaped brows can make you look perpetually tired 😴, angry 😠, or even…well…a little bit… off.
Think of it like this: Your face is a stage, and your eyebrows are the spotlight. A dim, flickering spotlight makes even the best actor look bad. A bright, focused spotlight? Now that’s a star! ✨
So, are you ready to become a brow architect? Let’s grab our tools and get started!
II. The Brow Perfection Trio: Your Arsenal of Awesome
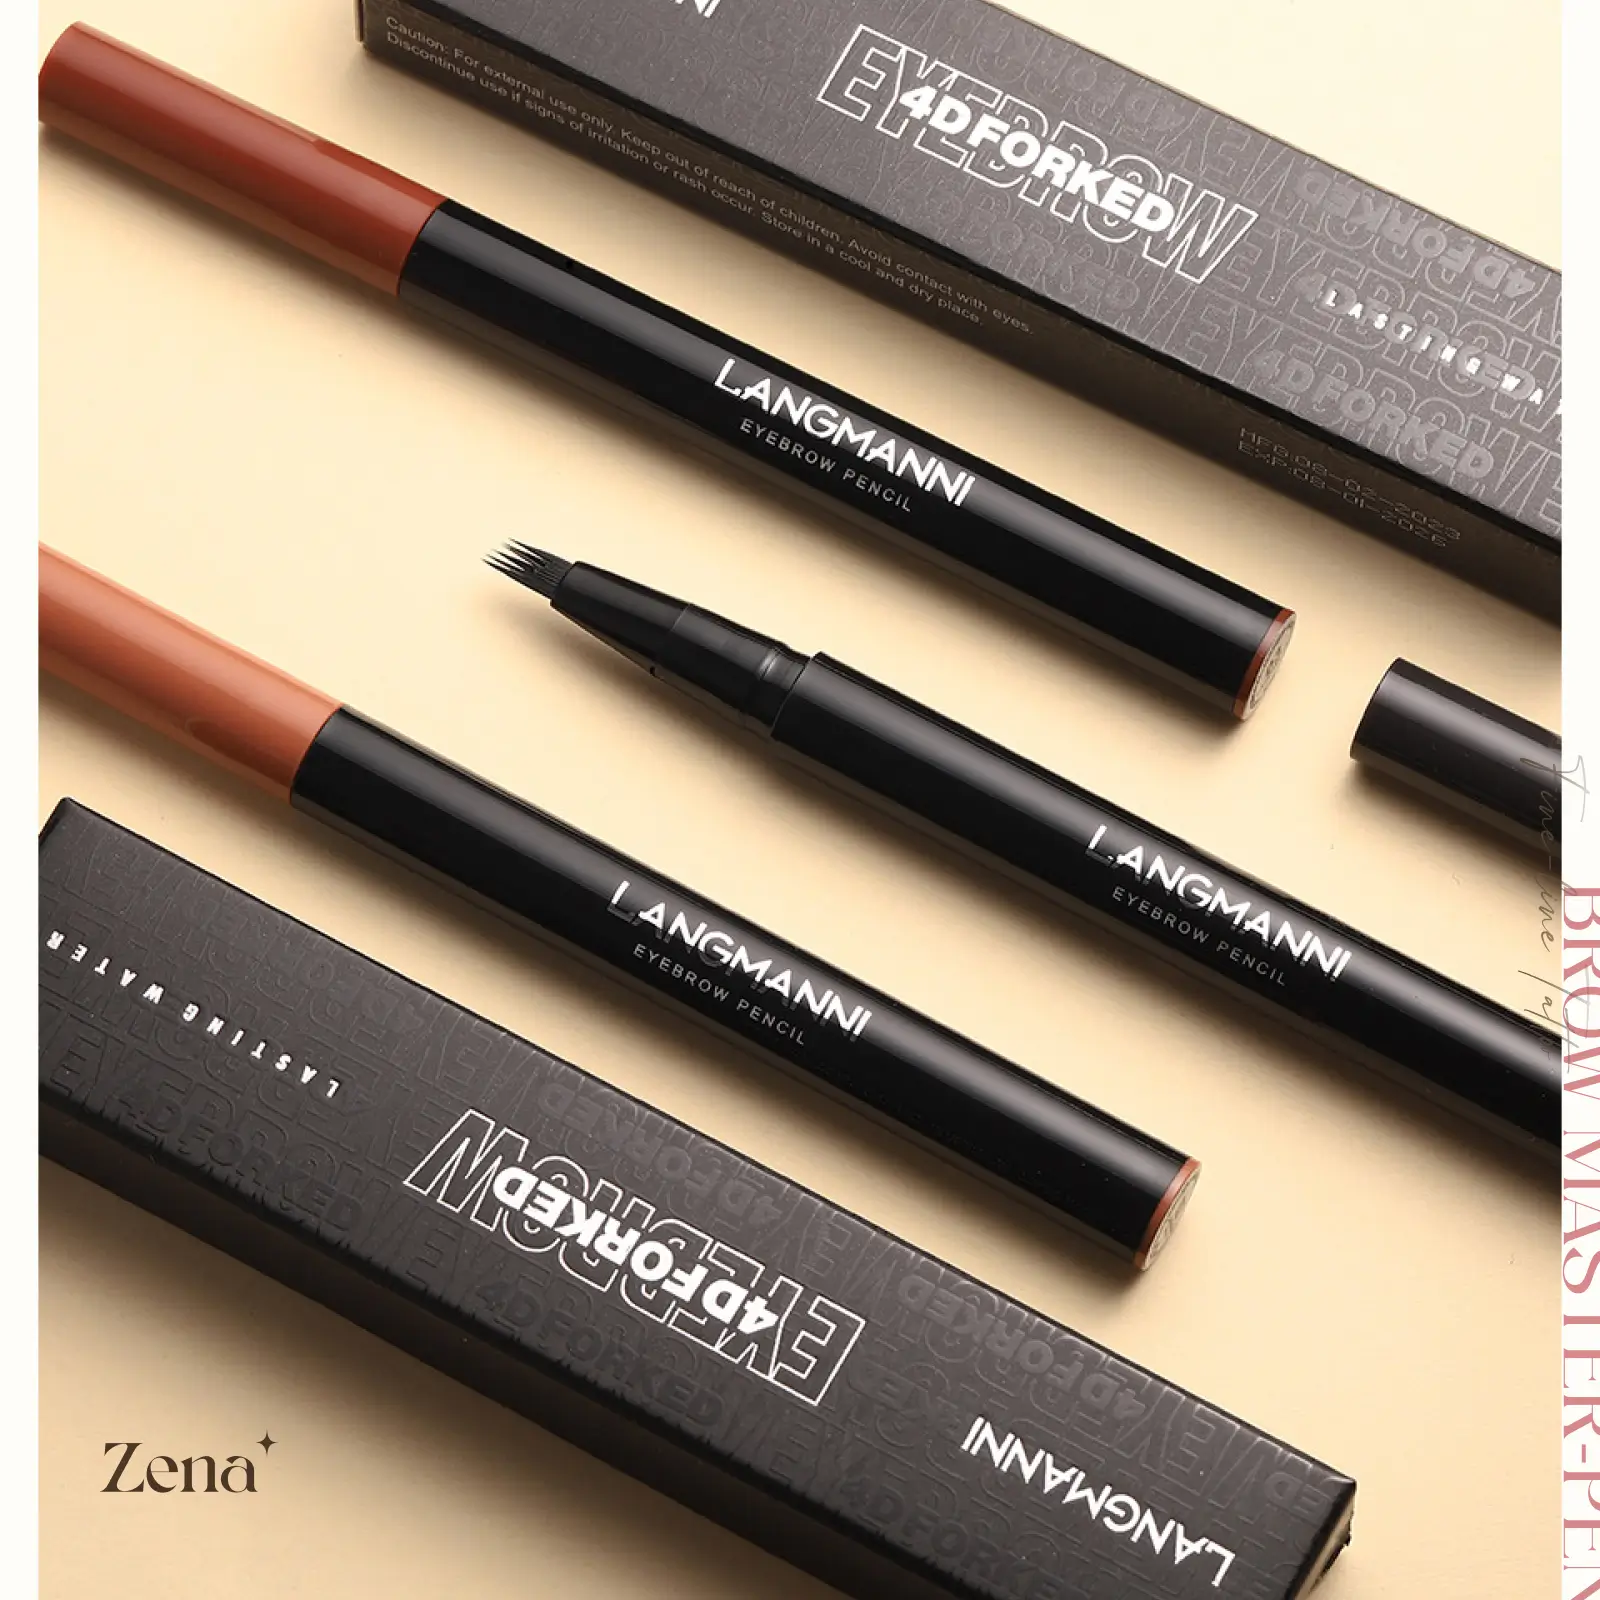
Before we dive into the nitty-gritty of shaping, let’s familiarize ourselves with our star players: The Brow Perfection Trio.
This isn’t just a collection of random brow products. It’s a carefully curated ensemble designed to take you from "brow catastrophe" to "brow-tiful masterpiece" in minutes.
Here’s the breakdown:
| Tool | Description | Purpose | Key Features |
|---|---|---|---|
| Shaping Pencil ✏️ | A finely tipped pencil with a creamy, blendable formula. Available in various shades to match your natural brow color. Think of it as your artistic sketching tool. | To fill in sparse areas, define the brow shape, and create the arch. It’s your primary sculpting instrument, allowing for precise lines and natural-looking hair strokes. | Precision tip for detailed work. Long-lasting formula. Blendable for a natural finish. Wide range of shades available. |
| Setting Wax 🍯 | A clear or tinted wax that helps to hold brow hairs in place and add definition. Think of it as your brow hair choreographer. | To tame unruly hairs, set the brow shape, and add shine. It helps to keep your brows looking polished and perfect all day long. It also adds subtle definition and dimension. | Long-lasting hold. Adds shine and definition. Can be used alone or over the pencil. Clear or tinted options available to suit all brow colors. |
| Spoolie Brush 🌀 | A small, mascara-like brush with soft bristles. This is your blending and grooming guru. | To blend product, groom brow hairs, and create a natural finish. It’s crucial for dispersing the pencil and wax evenly, preventing harsh lines and creating a soft, blended look. Think of it as the "eraser" for your brows. | Soft bristles for gentle blending. Perfect size for brow grooming. Durable and easy to clean. Essential for achieving a natural, polished look. |
III. The Art of Shaping: A Step-by-Step Guide to Arch Mastery
Now that we know our tools, let’s get down to business. This is where the magic happens!
A. Preparation: The Foundation of Flawless Brows
Before you even think about touching your brows with a pencil, you need to prepare the canvas. This involves:
- Gather Your Supplies: Make sure you have your Brow Perfection Trio, a good magnifying mirror (natural light is your best friend!), and a pair of tweezers.
- Cleanse Your Brows: Remove any makeup or skincare products from your brow area. A clean slate is essential for optimal product application.
- Brush Your Brows: Use the spoolie brush to brush your brow hairs upwards and outwards. This will reveal your natural brow shape and highlight any sparse areas.
B. Mapping Your Brow: The Architect’s Blueprint
This is arguably the most important step. Think of it like drawing the architectural plans before building a skyscraper. You need a clear vision of what you’re trying to achieve.
This is arguably the most important step. Think of it like drawing the architectural plans before building a skyscraper. You need a clear vision of what you’re trying to achieve.
Here’s how to map your brow:
- The Starting Point: Place a pencil vertically against the side of your nose. Where the pencil intersects your brow is where your brow should ideally start. This prevents the dreaded "unibrow" situation. 🙅♀️
- The Arch: Hold the pencil against your nose and angle it so it passes through the outer edge of your iris (when looking straight ahead). Where the pencil intersects your brow is where your arch should ideally be. This is the highest point of your brow and is crucial for creating lift and definition.
- The Ending Point: Hold the pencil against your nose and angle it so it extends to the outer corner of your eye. Where the pencil intersects your brow is where your brow should ideally end. This prevents the "tadpole tail" effect. 🐛
Why is this mapping so important? Because it ensures that your brows are balanced and symmetrical. No one wants one brow soaring to the heavens while the other is stuck in the mud. ⚖️
C. Shaping with the Shaping Pencil: Filling in the Gaps and Building the Arch
Now that you have your blueprint, it’s time to start filling in the blanks and building that beautiful arch.
- Choose the Right Shade: Select a shaping pencil shade that closely matches your natural brow color. If you’re unsure, it’s always better to go a shade lighter than darker.
- Use Light, Feather-Like Strokes: Avoid drawing harsh, solid lines. Instead, use short, feathery strokes that mimic the look of natural brow hairs. Focus on filling in sparse areas and defining the overall shape.
- Build Intensity Gradually: Start with a light hand and gradually build up the color until you achieve your desired look. It’s always easier to add more product than to remove it.
- Focus on the Arch: This is where you’ll want to add the most definition. Use the shaping pencil to create a slightly more pronounced arch, following the mapping guidelines you established earlier. Remember, the arch should be the highest point of your brow, creating a lifted and defined look.
- Don’t Overdo It! The goal is to enhance your natural brows, not to create entirely new ones. Avoid drawing outside your natural brow line too much, as this can look unnatural and overdone.
Pro Tip: Hold the pencil further down the shaft. This will naturally lighten your pressure and give you a more natural look.
D. Setting with the Setting Wax: Taming the Strays and Adding Definition
Now that you’ve filled in your brows, it’s time to set them in place and add some definition with the setting wax.
- Apply the Wax Sparingly: A little goes a long way! Use the applicator to pick up a small amount of wax and apply it to your brows, following the direction of hair growth.
- Focus on the Arch: Pay particular attention to the arch, as this is where you want the most hold and definition.
- Use a Light Touch: Avoid applying too much wax, as this can make your brows look stiff and unnatural.
- Choose the Right Wax: If you have very dark brows, a clear wax is a good option. If you have lighter brows, a tinted wax can add a subtle hint of color and definition.
E. Blending and Grooming with the Spoolie Brush: The Finishing Touch
This is the final step, and it’s crucial for achieving a natural, polished look.
- Blend, Blend, Blend! Use the spoolie brush to blend the shaping pencil and setting wax together, softening any harsh lines and creating a seamless finish.
- Groom Your Hairs: Use the spoolie brush to groom your brow hairs into place, ensuring that they are all facing the same direction. This will create a more polished and defined look.
- Check for Symmetry: Take a step back from the mirror and check your brows for symmetry. If necessary, make any minor adjustments with the shaping pencil or setting wax.
IV. Troubleshooting: Common Brow Blunders and How to Fix Them
Let’s be honest, even the most experienced brow artists make mistakes. Here are some common brow blunders and how to fix them:
| Problem | Solution |
|---|---|
| Brows are too dark. | Use a lighter shade of shaping pencil. Gently blend the product with the spoolie brush to soften the color. You can also use a clean cotton swab to remove any excess product. |
| Brows are too thin. | Avoid over-plucking or waxing. Use the shaping pencil to fill in sparse areas, focusing on creating natural-looking hair strokes. Consider using a brow growth serum to encourage hair growth. |
| Brows are too close together. | Tweeze any stray hairs between your brows to create a wider gap. Remember the starting point rule from our mapping exercise! |
| Brows are too far apart. | This is a tricky one. You can try using the shaping pencil to extend the inner corners of your brows, but be careful not to overdo it, as this can look unnatural. Sometimes, it’s best to embrace your natural brow shape. |
| Brows are uneven. | This is where mapping becomes your best friend! Use the mapping technique to identify the areas where your brows are uneven. Fill in the thinner brow to match the thicker brow, or tweeze the thicker brow to match the thinner brow. Be patient and take your time. |
| Brows look too drawn-on/unnatural. | You’re likely using too much product or applying it too heavily. Use light, feathery strokes with the shaping pencil and blend thoroughly with the spoolie brush. Remember, the goal is to enhance your natural brows, not to create entirely new ones. Less is more! |
| Brows are too arched. | If you’ve accidentally created too much of an arch, you can try softening it with the spoolie brush. You can also use a cotton swab to gently remove some of the shaping pencil from the arch area. Avoid over-plucking or waxing the arch, as this can make it difficult to correct. |
| Brows are too straight. | Gently tweeze hairs from the underneath of where the arch should be. Then fill in accordingly. This will take some practice to create that arch perfectly. |
V. Advanced Techniques: Taking Your Brow Game to the Next Level
Once you’ve mastered the basics, you can start experimenting with more advanced techniques to take your brow game to the next level.
- Highlighting the Brow Bone: Apply a matte or shimmery highlighter to your brow bone to further lift and define your brows.
- Using Different Shades of Pencil: Use a lighter shade of pencil to fill in the inner corners of your brows and a darker shade to define the arch and tail. This creates a more dimensional and natural-looking brow.
- Ombre Brows: Create a gradient effect by using a lighter shade of pencil at the inner corners of your brows and gradually transitioning to a darker shade at the arch and tail.
- Laminating the Brows: This process involves using a chemical solution to lift and set the brow hairs in place, creating a fuller and more defined brow look. It’s best left to the professionals, but it can be a great option for those with unruly or sparse brows.
VI. Conclusion: Embrace Your Inner Brow Architect
Congratulations, class! You’ve officially completed Brow Arch 101. 🎓
You’ve learned the importance of the eyebrow arch, the power of the Brow Perfection Trio, and the techniques for shaping, filling, and setting your brows to perfection.
Remember, practice makes perfect. Don’t be afraid to experiment and find what works best for you. And most importantly, have fun!
Now go forth and conquer the world, one perfectly arched brow at a time! 🌍
(Class dismissed! Now, go practice! And for extra credit, bring me pictures of your amazing brow transformations next week! 😉)
For detailed product specifications and purchases, please go to :https://zenamakeup.com/products/brow-perfection-trio-tint-shape-and-define-set
Leave a Reply