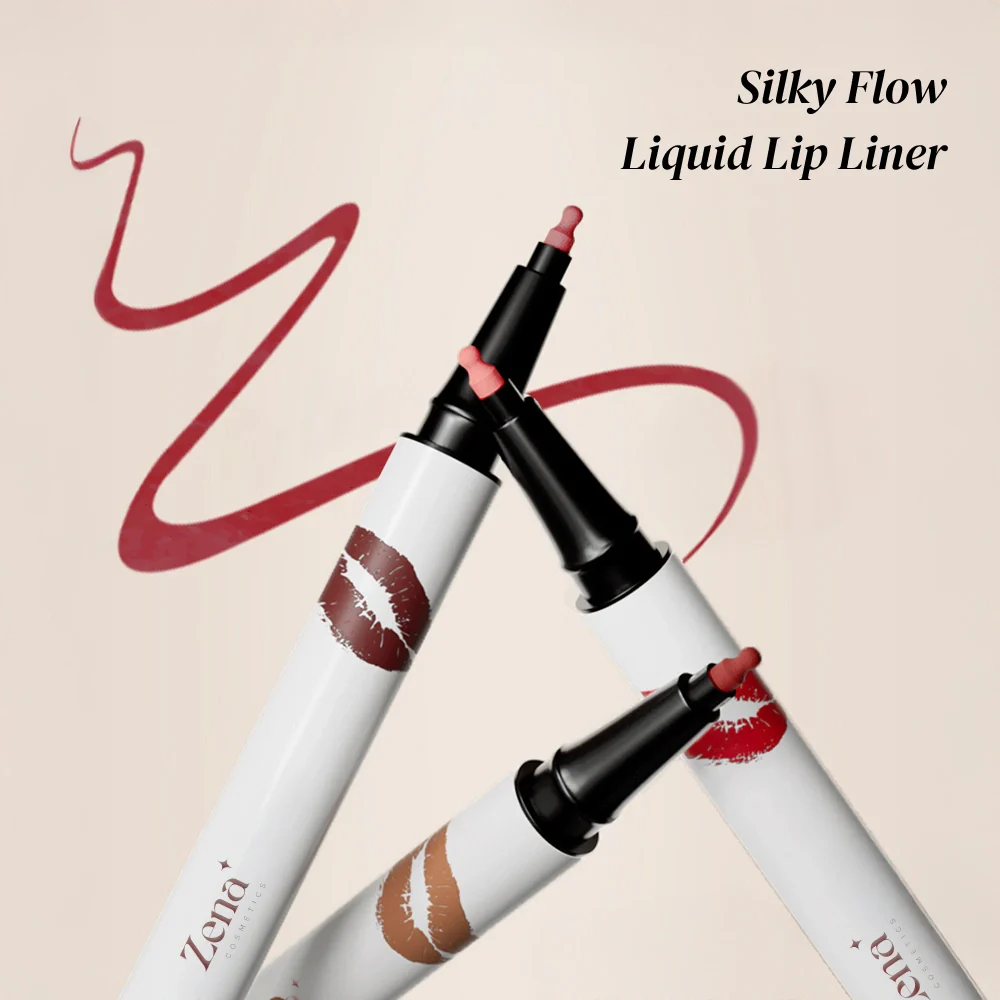
Silky Flow Liquid Lip Liner: Your Secret Weapon for a Plump Pout (A.K.A. How to Get Lips That Stop Traffic) 💋
Lecture Hall: Your Bathroom Mirror
Professor: You (with a sassy attitude and a Silky Flow Liquid Lip Liner)
Subject: Lip Augmentation Illusion 101 (Without the Needles!)
Alright, settle down, settle down! Welcome, darlings, to Lip Augmentation Illusion 101. Today, we’re diving deep into the world of lip liner, specifically the glorious Silky Flow Liquid Lip Liner, and how it can transform your perfectly lovely (but perhaps slightly understated) lips into a full-blown, head-turning masterpiece. Forget the fillers (unless you’re into that, no judgement! 😉), we’re talking about the magic of makeup, baby!
This isn’t your grandma’s lip liner technique. We’re not aiming for that harsh, dated, overdrawn look that screams "1990s mall photo shoot." We’re going for sophisticated, natural-looking fullness that will have everyone wondering if you’ve had "a little something done." (Let them wonder, it’s more fun that way!)
So, grab your Silky Flow Liquid Lip Liner, a mirror, and your sassiest attitude. Class is in session! 📚
Course Outline:
- Why Liquid Liner? The Case for the Flow
- Understanding Lip Anatomy: Know Thy Canvas
- Color Theory for Plumpness: Choosing Your Weapon
- The Art of Overlining (Without Looking Like a Clown): The Delicate Dance
- Application Techniques: From Beginner to Lip-Lining Ninja
- Blending Like a Boss: Creating a Seamless Transition
- The Power of the Perfect Lipstick: Sealing the Deal
- Highlighter and Gloss: The Finishing Touches for Maximum Impact
- Troubleshooting: Common Mistakes and How to Fix Them
- Maintaining Your Lip Illusion: Longevity Secrets
- Bonus Round: Advanced Techniques for Extra Oomph!
1. Why Liquid Liner? The Case for the Flow 🌊
You might be thinking, "Why liquid liner? Can’t I just use my trusty pencil?" And the answer is, you could. But let’s be real, darling, the Silky Flow Liquid Lip Liner offers a few key advantages that will elevate your lip-lining game to a whole new level:
- Precision is Key: Liquid liner offers unparalleled precision. The fine tip allows you to create incredibly defined lines, crucial for subtle overlining that looks natural. Pencil liners, while versatile, can sometimes be too thick or prone to smudging.
- Long-Lasting Power: Liquid liners are typically formulated to be long-wearing, which means your perfectly lined lips will stay put for hours. No more worrying about your lip line fading after your first cup of coffee! ☕
- Intense Pigment: Liquid liners often boast richer pigmentation than pencil liners, ensuring that your lip line is bold and noticeable, even under layers of lipstick and gloss.
- The "Silky Flow" Advantage: The Silky Flow Liquid Lip Liner, in particular, is designed for smooth, effortless application. No tugging, no skipping, just a beautiful, even line every time. Think of it as the Rolls Royce of lip liners. 🚗
Table 1: Liquid vs. Pencil Lip Liner – A Showdown!
| Feature | Liquid Lip Liner (e.g., Silky Flow) | Pencil Lip Liner |
|---|---|---|
| Precision | High | Medium |
| Longevity | High | Medium |
| Pigmentation | High | Medium |
| Application | Smooth, effortless | Can be tugging |
| Blending | Requires more skill | Easier |
| Best For | Defined lines, overlining | All-over color |
2. Understanding Lip Anatomy: Know Thy Canvas 👄
Before you start drawing all over your face, let’s take a moment to appreciate the architecture of your lips. Knowing the key features will help you strategically overline for a natural, believable result.
- Cupid’s Bow: The double curve in the center of your upper lip. This is a key area to enhance for a more defined and youthful look. Think of it as the "M" on your lips. 💋
- Vermilion Border: The line where your lip color meets your skin. This is your overlining playground! Be subtle and smart.
- Lip Corners: The outer edges of your lips. Be careful not to overextend these, as it can make your mouth look droopy. Nobody wants a sad clown mouth. 🤡
- Natural Lip Shape: Are your lips naturally round, heart-shaped, or thin? Understanding your natural shape will help you determine where to add volume.
Image: A diagram of lip anatomy with labels for Cupid’s Bow, Vermilion Border, Lip Corners.
3. Color Theory for Plumpness: Choosing Your Weapon 🎨
Choosing the right lip liner color is crucial. It’s not just about matching your lipstick; it’s about creating the illusion of depth and volume.
- Nude Shades: The safest and most versatile option. Choose a nude shade that is slightly darker than your natural lip color. This creates a subtle shadow that makes your lips appear fuller.
- Rosy Browns: Perfect for a natural, everyday look. These shades add warmth and definition without being too dramatic.
- Mauves and Plums: Great for adding depth and sophistication. These shades work well with a variety of lipstick colors.
- Avoid Dark Colors: Dark lip liners can actually make your lips look smaller. Save those for dramatic, editorial looks.
Important Tip: Always test the lip liner on the back of your hand to see how it looks against your skin tone.
Font: Comic Sans (Just kidding! Please use a professional font like Arial or Times New Roman)
4. The Art of Overlining (Without Looking Like a Clown): The Delicate Dance 💃
This is where the magic happens! Overlining is the key to creating a fuller-looking lip, but it’s a delicate art. The goal is to enhance your natural lip shape, not to create a completely new one.
- Start Small: Begin by slightly overlining just outside your natural lip line, focusing on the center of your upper and lower lips.
- Follow Your Natural Shape: Don’t try to drastically alter your lip shape. Overline in a way that complements your natural contours.
- Blend, Blend, Blend: Use a lip brush or your finger to blend the lip liner into your lips. This will soften the line and create a more natural look.
- Know Your Limits: There’s a fine line between a subtly enhanced pout and a cartoonish overline. If you’re unsure, err on the side of caution. Less is more!
Do:
- Overline the Cupid’s Bow to enhance its shape.
- Slightly overline the center of your lower lip for added fullness.
- Use a light hand and blend thoroughly.
Don’t:
- Overline the corners of your lips.
- Use a dark lip liner to overline.
- Create harsh, unblended lines.
5. Application Techniques: From Beginner to Lip-Lining Ninja 🥷
Now for the fun part! Let’s break down the application process step-by-step.
- Prep Your Lips: Exfoliate your lips to remove any dry skin. Apply a lip balm to moisturize. Blot off any excess balm before applying lip liner. Smooth lips are happy lips! 😊
- Start at the Cupid’s Bow: Using your Silky Flow Liquid Lip Liner, create a small "X" at the center of your Cupid’s Bow. This will help you define the shape.
- Connect the Lines: Starting from the corners of your mouth, draw a line along your natural lip line, connecting it to the "X" at your Cupid’s Bow. Slightly overline the center of your upper lip as you go.
- Lower Lip: Start in the center of your lower lip and draw a line along your natural lip line, slightly overlining the center.
- Fill in the Corners: Connect the lines at the corners of your mouth.
- Blend, Blend, Blend! Use a lip brush or your finger to blend the lip liner into your lips.
Icon: A hand drawing a lip line with a liquid lip liner.
6. Blending Like a Boss: Creating a Seamless Transition 👩🎨
6. Blending Like a Boss: Creating a Seamless Transition 👩🎨
Blending is the secret to making your overlining look natural. A harsh, unblended lip line is a dead giveaway that you’ve been messing with your lip shape.
- Lip Brush: A lip brush is your best friend for blending lip liner. Use small, circular motions to soften the line.
- Finger: Your finger can also be used to blend lip liner. Just be sure to wash your hands first!
- Q-Tip: A Q-tip dipped in makeup remover can be used to clean up any mistakes and further blend the line.
- Focus on the Outer Edges: Pay special attention to blending the outer edges of your lip line, where the lip liner meets your skin.
Font: Webdings (Just kidding again! Stick to professional fonts!)
7. The Power of the Perfect Lipstick: Sealing the Deal 💄
Your lipstick choice can either make or break your lip-lining illusion.
- Matchy-Matchy: Choose a lipstick that is similar in color to your lip liner. This will create a seamless transition and make your lips look naturally fuller.
- Nude Lipsticks: Nude lipsticks are a great choice for creating a natural, everyday look.
- Creamy Formulas: Creamy lipstick formulas are more forgiving than matte formulas, which can accentuate any imperfections.
- Avoid Dark Lipsticks: Dark lipsticks can make your lips look smaller, negating the effect of your lip liner.
Table 2: Lipstick Formulas – Pros & Cons
| Formula | Pros | Cons |
|---|---|---|
| Creamy | Hydrating, forgiving, blends well, creates a fuller look | Can be less long-lasting |
| Matte | Long-lasting, highly pigmented | Can be drying, accentuates lines and imperfections |
| Glossy | Adds shine and volume, creates a youthful look | Can be sticky, less long-lasting |
| Satin | A balance between creamy and matte, comfortable to wear | Can still accentuate dryness if lips are not properly moisturized |
8. Highlighter and Gloss: The Finishing Touches for Maximum Impact ✨
These are the final touches that will take your lip game to the next level!
- Highlighter: Apply a touch of highlighter to your Cupid’s Bow to make your lips look more defined and plump.
- Lip Gloss: A dab of lip gloss in the center of your lower lip will add shine and volume.
- Avoid Overdoing It: Too much highlighter or gloss can make your lips look greasy. A little goes a long way!
Emoji: Sparkles ✨
9. Troubleshooting: Common Mistakes and How to Fix Them 🚑
Even the most experienced makeup artists make mistakes. Here are some common lip-lining blunders and how to fix them:
- Uneven Lip Line: Use a Q-tip dipped in makeup remover to clean up any unevenness.
- Harsh Lip Line: Blend, blend, blend! Use a lip brush or your finger to soften the line.
- Over-Overlining: Gently wipe away the excess lip liner with a tissue. Start over with a lighter hand.
- Lip Liner Bleeding: Use a lip primer to prevent lip liner from bleeding into fine lines around your mouth.
Icon: A red cross symbol ⛑️
10. Maintaining Your Lip Illusion: Longevity Secrets ⏳
You’ve spent all this time perfecting your pout, so you want it to last!
- Blot After Applying Lipstick: This will remove excess product and prevent smudging.
- Reapply Lip Liner After Eating: Eating can often cause your lip liner to fade, especially around the edges.
- Avoid Oily Foods: Oily foods can break down your lipstick and lip liner, causing them to fade more quickly.
- Carry Your Lip Liner and Lipstick: For touch-ups throughout the day.
Font: Wingdings (Okay, I’m really kidding now! Professional fonts only!)
11. Bonus Round: Advanced Techniques for Extra Oomph! 💥
Ready to take your lip-lining game to the next level? Try these advanced techniques:
- Contouring: Use a contour shade slightly darker than your skin tone to create a shadow under your lower lip. This will make your lips look fuller.
- Ombre Lips: Use a darker lip liner and a lighter lipstick to create an ombre effect. This will add depth and dimension to your lips.
- Highlighting the Inner Corners: Apply a touch of shimmer eyeshadow to the inner corners of your lips to make them look brighter and more voluminous.
Emoji: Explosion 💥
Conclusion:
Congratulations, darlings! You’ve successfully completed Lip Augmentation Illusion 101. You are now armed with the knowledge and skills to create a plump, gorgeous pout using the magic of the Silky Flow Liquid Lip Liner.
Remember, practice makes perfect. Don’t be afraid to experiment and find what works best for you. And most importantly, have fun! Makeup is all about expressing yourself and feeling confident in your own skin (or, in this case, on your own lips!).
Now go forth and conquer the world, one perfectly lined lip at a time! 💋 Class dismissed! 🎉
For detailed product specifications and purchases, please go to :https://zenamakeup.com/products/silky-flow-liquid-lip-liner
Leave a Reply